It’s a moment every home yogurt maker dreads. You’ve patiently heated the milk, carefully introduced your starter, and let your yogurt maker work its magic for hours. You open the lid, full of anticipation for that creamy, smooth, tangy perfection, only to find… a texture that’s more like cottage cheese than custard. If you’re staring at your jar asking What To Do If My Yogurt Is Grainy, take a deep breath. You’re not alone, this is one of the most common hiccups on the journey to yogurt mastery, and the good news is, it’s both fixable and, more importantly, preventable.
Welcome to Yogurt Maker Guide, your friendly corner of the internet for all things homemade yogurt. My first few batches? Let’s just say they were a “learning experience.” I’ve had yogurt that was too thin, too sour, and yes, disappointingly grainy. But through trial, error, and a little bit of food science, I’ve learned exactly why this happens and how to get that silky-smooth texture every single time. Let’s dive in and turn that grainy batch into a lesson learned and a stepping stone to yogurt perfection.
Why Does Homemade Yogurt Get Grainy Anyway?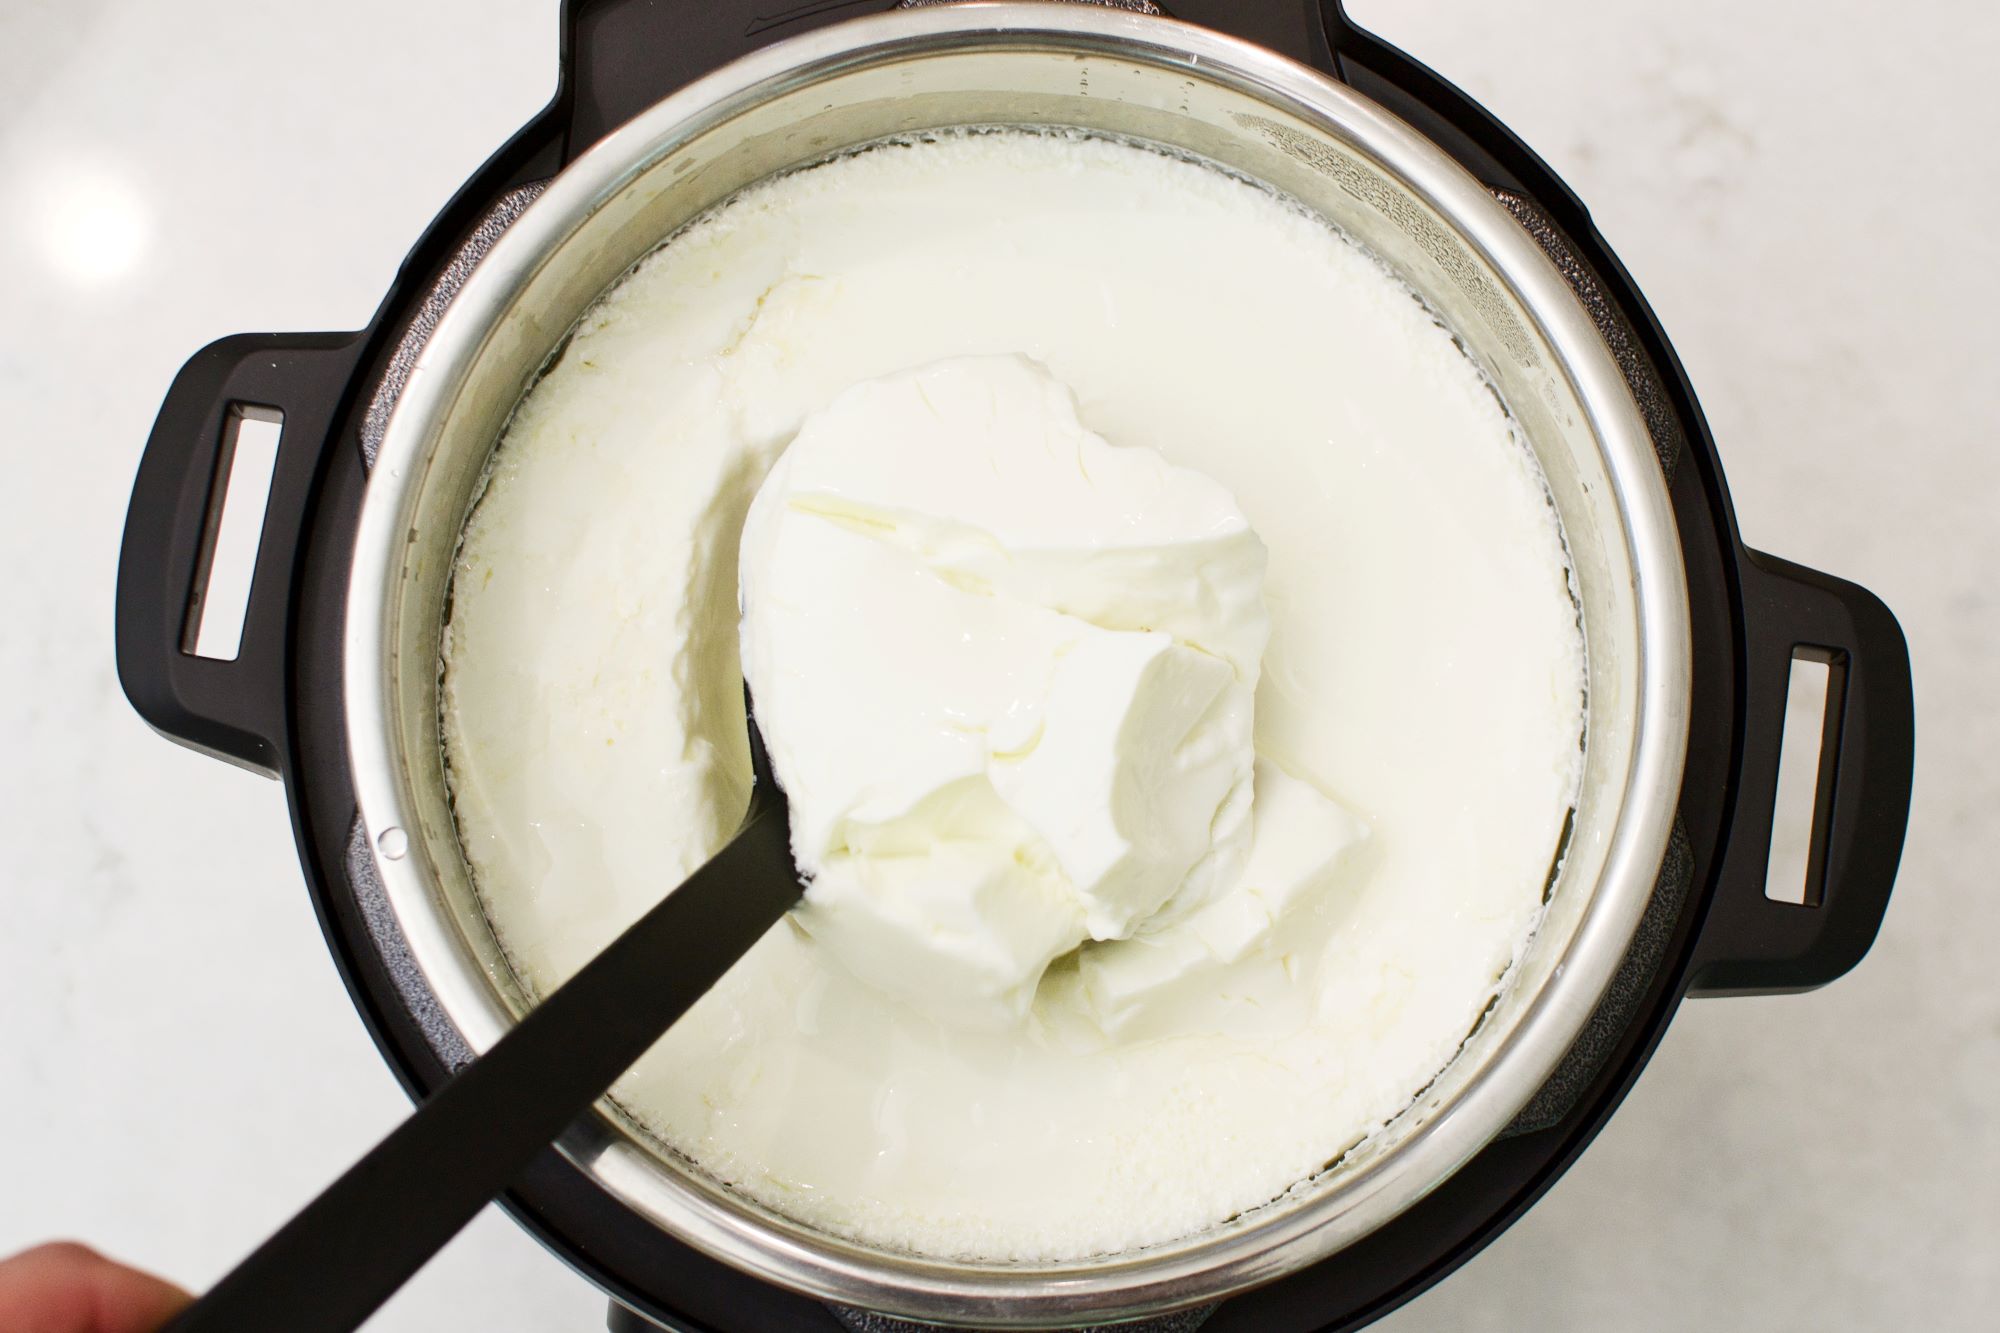
Before we talk about the fix, let’s play detective. Understanding the “why” is the secret to preventing it from ever happening again. Grainy yogurt is almost always a result of milk proteins, specifically casein, getting stressed out and clumping together instead of setting into a smooth, delicate gel.
Think of it like this: the proteins in milk are like tiny, perfectly coiled threads. When you make yogurt, you want them to gently uncoil and link up to form a fine, stable mesh. When they get frazzled, they bunch up into tight knots. What frazzles them? Usually, one of these three culprits.
Culprit #1: The Temperature Tango (Overheating)
This is the number one cause of grainy yogurt. If you heat your milk too quickly or to too high a temperature, you essentially “scramble” the proteins. The same thing happens if you add your starter culture to milk that is still too hot—it kills off some of the beneficial bacteria and shocks the proteins.
As food scientist Dr. Elara Vance puts it, “Consistent, gentle heating is paramount. The goal is to denature the proteins just enough for them to create a stable gel network during incubation. Aggressive heat shatters that potential, leading to protein aggregation, which the palate perceives as graininess.”
Culprit #2: The Culture Conundrum
The type and health of your starter culture play a huge role.
- Too much starter: Overloading your milk with culture can cause it to ferment too quickly and aggressively, leading to a lumpy, acidic result. It’s a case of “too much of a good thing.”
- Old or weak starter: A starter culture that’s past its prime might not have the right balance of bacteria to set the yogurt smoothly.
- Poorly mixed starter: If the starter isn’t fully dissolved before incubation, you can get pockets of intense fermentation that create lumpy bits.
Culprit #3: The Agitation Aggravation
Your yogurt needs peace and quiet to do its thing. Once you’ve mixed in the starter and it’s in the yogurt maker, resist the urge to stir, shake, or even nudge it. Disturbing the mixture while the proteins are trying to form their delicate network will break the bonds, causing the whey to separate and the texture to become lumpy.
|
Our Picks for the Best Yogurt Maker in 2025
As an Amazon Associate, we earn from qualifying purchases.
|
||
| Num | Product | Action |
|---|---|---|
| 1 | Yogurt Maker, Automatic Digital Yoghurt Maker Machine with 5 Glass Jars 42 Ozs, with Constant Temperature Control for Home Organic Yogurt, Cheese, Fruit Wine (No Cups) |

|
| 2 | Suteck Yogurt Maker - Stainless Steel Yogurt Makers with Adjustable Time & Temp Control,Automatic Shut-Off & Constant Temper for Homemade Greek, Probiotic Yogurt, BPA-Free 8 Glass Jars (48 oz) |
|
| 3 | Ultimate Probiotic Yogurt Maker with Adjustable Temperature & Time Control - Make Trillions of Live Probiotics & Get Better Gut Health - ULTIMATE LIFETIME WARRANTY - Wellness Gifts for Men & Women |
|
| 4 | Euro Cuisine YM360 Yogurt Maker with Adjustable Time & Temperature Control - 2-Quart Glass Jar, FREE Thermometer & Cotton Strainer Bag, 2025 Edition, Black, Make Yummy Organic Probiotic Yogurt at Home |
|
| 5 | DASH My Mug Ice Cream Maker Machine (Aqua): Multi-Purpose Soft Serve Ice Cream Machine with (2) Bowls for Homemade Gelato, Sorbet, Frozen Yogurt, Built-In Ingredient Chute, Easy to Clean and Store |
|
| 6 | Bear Yogurt Maker, Greek Yogurt Maker Machine with Strainer and Timer Control, Stainless Steel Inner Pot, Automatic Digital with 2 Glass Jars 1 Quart for Home Organic Yogurt, Cheese, Fruit Wine |
|
| 7 | Ultimate Yogurt Jars - Make More Delicious Yogurt! 8 Count Small Glass Yogurt Cups With Lids - 100% BPA Free, Airtight & Dishwasher Safe! Perfect Containers for Yoghurt, Oatmeal, Pudding, or Jello |
|
| 8 | Ultimate Probiotic Yogurt Maker with Adjustable Temperature & Time Control - Make Trillions of Live Probiotics & Get Better Gut Health - ULTIMATE LIFETIME WARRANTY - Wellness Gifts for Men & Women |
|
| 9 | Yogurt Maker, Automatic Digital Yoghurt Maker Machine with 5 Glass Jars 42 Ozs, with Constant Temperature Control for Home Organic Yogurt, Cheese, Fruit Wine (with 5 Cups) |
|
| 10 | Suteck Yogurt Maker with 8 Glass Jars, Time & Temp Adjustable Control Yogurt Machine, Homemade Greek & Probiotic Yogurt, Automatic Shut-Off, BPA-Free, 48 oz Total, |
|
The Big Question: Can I Fix My Grainy Yogurt?
So, you have a jar of grainy yogurt sitting on your counter. Is it destined for the bin? Absolutely not! While you can’t completely reverse the process back to its ideal state, you can drastically improve the texture and make it perfectly delicious.
The first thing to know is that grainy yogurt is perfectly safe to eat. The issue is purely about texture, not safety. Here are a couple of rescue missions you can try.
The Whisking Rescue
This is the simplest method. Vigorously whisking the chilled yogurt can break up many of the larger curds and create a smoother consistency. For an even better result, use an immersion blender or a regular blender. A few short pulses can transform the texture. Be careful not to over-blend, as you might make it too thin. This is my go-to method for yogurt that’s just slightly lumpy.
The Strain and Smooth Method
If your yogurt is very grainy or has separated significantly (a layer of watery whey is visible), straining is your best friend.
- Line a fine-mesh sieve with cheesecloth or a coffee filter and place it over a bowl.
- Pour the grainy yogurt into the sieve.
- Let it strain in the refrigerator for 30 minutes to a few hours. The excess whey will drip out, leaving behind a much thicker, creamier product.
- Once strained, transfer the thickened yogurt to a clean bowl and whisk it until smooth. You’ve just made something very similar to Greek yogurt!
What to Do If My Yogurt Is Grainy: Your Prevention Playbook
Fixing a batch is great, but making a perfect batch from the start is even better. This is where your yogurt maker becomes your best friend, as its main job is to eliminate the guesswork. Here’s a checklist to ensure silky-smooth yogurt every time.
- Heat Low and Slow: Heat your milk gently on the stove. Don’t rush it. Aim for 180°F (82°C) and hold it there for a few minutes. This rearranges the proteins for a thicker, more stable set. A double boiler is fantastic for this, as it prevents scorching.
- Cool Down Completely: This step is non-negotiable. Let the milk cool to between 105-115°F (40-46°C) before adding your starter. A digital thermometer is essential here. Too hot, and you’ll get grainy yogurt. Too cold, and it won’t culture properly.
- Temper Your Starter: Don’t just dump your cold starter into the warm milk. Take a cup of the warm milk and whisk it into your starter culture in a separate bowl until it’s a smooth, liquid slurry. Then, pour that slurry back into the main pot of milk and stir gently until just combined. This ensures an even distribution of bacteria without shocking them.
- Incubate in Peace: Once your jars are in the yogurt maker, put the lid on and walk away. A quality yogurt maker with an automatic timer is a game-changer because it provides a stable, consistent temperature without you having to worry. No peeking, no moving. Let it be.
- Chill Before You Dig In: After incubation, the yogurt structure is still fragile. Transfer the jars directly to the refrigerator and let them chill undisturbed for at least 6 hours, or preferably overnight. This “sets” the yogurt, firming up the texture and mellowing the flavor.
By following these steps, you take control of the variables that lead to problems. You’ll stop wondering what to do if my yogurt is grainy and start experimenting with flavors instead.
Frequently Asked Questions
Q: Why is my Greek yogurt grainy?
A: Graininess in Greek yogurt almost always traces back to the initial heating and culturing phase, before you even strain it. If the base yogurt is grainy, the final strained product will be too. Focus on heating the milk gently and cooling it properly before adding your starter.
Q: Can I use grainy yogurt in smoothies or for cooking?
A: Yes, absolutely! The texture is completely unnoticeable in a smoothie. It’s also perfectly fine for baking in things like muffins and cakes or for use in marinades, where it helps to tenderize meat.
Q: Does the type of milk I use matter?
A: It can. Higher-fat milk, like whole milk, contains more milk solids and fat, which generally leads to a creamier, more stable yogurt that is less prone to graininess. Ultra-pasteurized (UHT) milk can sometimes result in a softer or less reliable set.
Q: How long should I incubate my yogurt to avoid a grainy texture?
A: Incubation time affects tanginess more than texture, but over-incubation can lead to separation and a lumpy result. A typical range is 7-9 hours. A yogurt maker with a precise timer helps you nail this every time.
Q: I followed all the steps and it’s still a little lumpy. What gives?
A: Check your starter culture. Try a fresh batch or a different brand. Different starter blends have different bacterial strains, which can produce slightly different textures. You can learn more by reading our guide to choosing the right starter culture.
Your Journey to Perfect Yogurt
Making yogurt at home is a rewarding process, and hitting a bump like a grainy batch is part of the learning curve. It doesn’t mean you’ve failed; it just means you’re becoming a true yogurt maker who understands the craft. Remember the key takeaways: control your temperature, be gentle with your culture, and let the yogurt set in peace.
Don’t let a single batch discourage you. With these tips in your back pocket, you now know exactly what to do if my yogurt is grainy and how to prevent it in the future. Now go forth, and may your next batch be the creamiest, dreamiest yogurt you’ve ever tasted.