There’s something magical about a swirl of tangy, creamy frozen yogurt on a warm day, isn’t there? It hits that sweet spot between a healthy treat and a decadent dessert. But have you ever wondered how to bring that magic into your own kitchen? If you’re asking, “What Is The Process Of Making Frozen Yogurt,” you’ve landed in the perfect spot. It’s a journey I’m thrilled to guide you on, and trust me, it’s easier and more rewarding than you might think.
The secret isn’t one single step, but a delightful two-part process. First, you create an incredible, fresh yogurt base. Second, you chill and churn it into a frozen masterpiece. And while a yogurt maker can’t freeze your treat, it’s the absolute best-in-class tool for perfecting that crucial first step. Let’s break it all down.
The Two-Act Play of Homemade Frozen Yogurt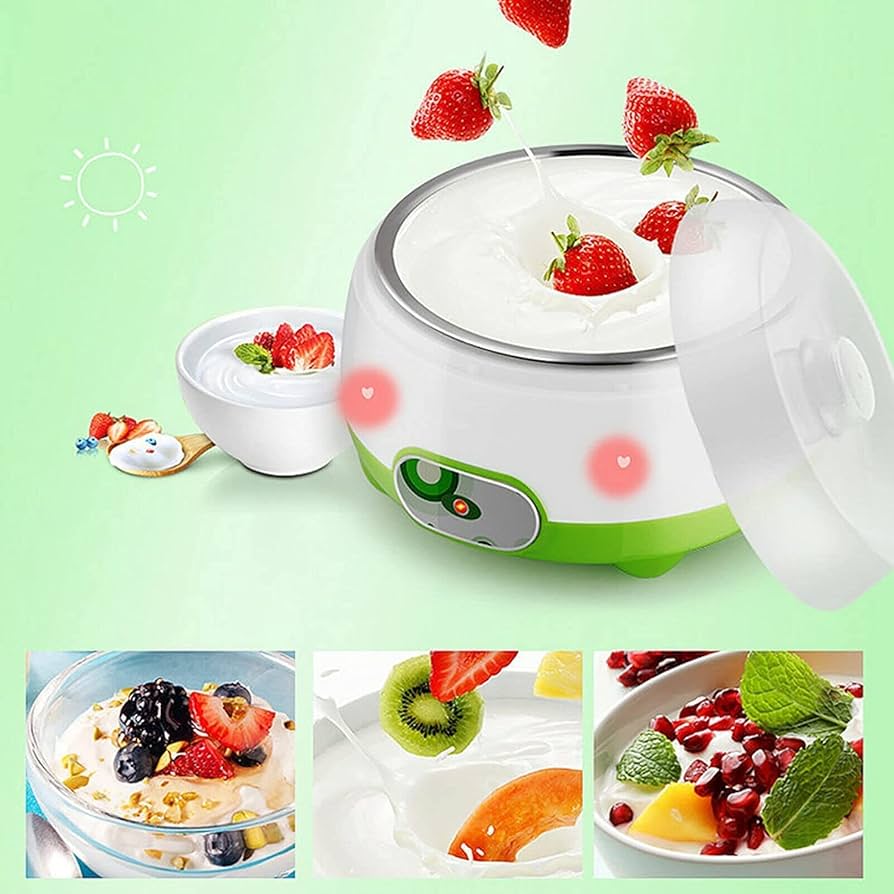
Think of making frozen yogurt like a theatrical production in two acts. Your yogurt maker is the star of Act One, setting the stage perfectly. An ice cream maker (or your freezer) takes the lead in the dramatic, chilling finale of Act Two.
Act 1: Incubation (The Yogurt Maker’s Starring Role)
This is where the real flavor and health benefits are born. The core function of a yogurt maker is to hold a milk and starter culture mixture at a consistently warm, stable temperature (usually around 110-115°F or 43-46°C) for several hours. This process is called incubation or fermentation.
A yogurt maker isn’t a freezer; it’s a cozy, controlled incubator. It creates the perfect environment for beneficial bacteria (the starter culture) to work their magic, converting the lactose in milk into lactic acid. This is what thickens the milk and gives yogurt its signature tangy flavor.
Trying to do this without a dedicated machine can be a bit of a gamble. You might try an oven with the light on or a warm spot in your house, but temperature fluctuations can lead to yogurt that’s too runny, too sour, or doesn’t set at all. A yogurt maker removes all the guesswork.
Act 2: Freezing (The Chilling Finale)
Once you have your beautiful, fresh yogurt base, it’s time to turn it into a frozen treat. This step is all about getting the yogurt cold, and fast, while incorporating air. This is what prevents large, crunchy ice crystals from forming and instead creates that smooth, scoopable texture we all love. You can’t achieve this in a yogurt maker because it’s designed to generate gentle heat, not intense cold. The process of making frozen yogurt absolutely requires a freezing element.
Why You Need a Yogurt Maker for the Best Base
So, if the yogurt maker only does the first half of the job, is it really necessary? Let me put it this way: a great painter needs a perfectly prepped canvas. Your yogurt maker prepares that canvas. By using one, you control everything: the thickness, the tanginess, and most importantly, the ingredients. No stabilizers, no artificial sweeteners, no preservatives. Just pure, probiotic-rich goodness that will serve as the foundation for the best frozen yogurt you’ve ever tasted.
|
Our Picks for the Best Yogurt Maker in 2025
As an Amazon Associate, we earn from qualifying purchases.
|
||
| Num | Product | Action |
|---|---|---|
| 1 | Ultimate Probiotic Yogurt Maker with Adjustable Temperature & Time Control - Make Trillions of Live Probiotics & Get Better Gut Health - ULTIMATE LIFETIME WARRANTY - Wellness Gifts for Men & Women |

|
| 2 | Yogurt Maker, Automatic Digital Yoghurt Maker Machine with 5 Glass Jars 42 Ozs, with Constant Temperature Control for Home Organic Yogurt, Cheese, Fruit Wine (No Cups) |
|
| 3 | Euro Cuisine YM360 Yogurt Maker with Adjustable Time & Temperature Control - 2-Quart Glass Jar, FREE Thermometer & Cotton Strainer Bag, 2025 Edition, Black, Make Yummy Organic Probiotic Yogurt at Home |
|
| 4 | DASH My Mug Ice Cream Maker Machine (Aqua): Multi-Purpose Soft Serve Ice Cream Machine with (2) Bowls for Homemade Gelato, Sorbet, Frozen Yogurt, Built-In Ingredient Chute, Easy to Clean and Store |
|
| 5 | Suteck Yogurt Maker - Stainless Steel Yogurt Makers with Adjustable Time & Temp Control,Automatic Shut-Off & Constant Temper for Homemade Greek, Probiotic Yogurt, BPA-Free 8 Glass Jars (48 oz) |
|
| 6 | Yogurt Maker, Automatic Digital Yoghurt Maker Machine with 5 Glass Jars 42 Ozs, with Constant Temperature Control for Home Organic Yogurt, Cheese, Fruit Wine (with 5 Cups) |
|
| 7 | Bear Yogurt Maker, Greek Yogurt Maker Machine with Strainer and Timer Control, Stainless Steel Inner Pot, Automatic Digital with 2 Glass Jars 1 Quart for Home Organic Yogurt, Cheese, Fruit Wine |
|
| 8 | Ultimate Yogurt Jars - Make More Delicious Yogurt! 8 Count Small Glass Yogurt Cups With Lids - 100% BPA Free, Airtight & Dishwasher Safe! Perfect Containers for Yoghurt, Oatmeal, Pudding, or Jello |
|
| 9 | Suteck Yogurt Maker with 8 Glass Jars, Time & Temp Adjustable Control Yogurt Machine, Homemade Greek & Probiotic Yogurt, Automatic Shut-Off, BPA-Free, 48 oz Total, |
|
| 10 | Ultimate Probiotic Yogurt Maker with Adjustable Temperature & Time Control - Make Trillions of Live Probiotics & Get Better Gut Health - ULTIMATE LIFETIME WARRANTY - Wellness Gifts for Men & Women |
|
How to Make the Perfect Frozen Yogurt Base
Ready to get started? Let’s walk through the detailed steps. This guide focuses on creating the yogurt base with a yogurt maker, which is the most crucial part of what is the process of making frozen yogurt.
Step-by-Step Guide to Your Yogurt Base
- Heat the Milk: Start with about 4 cups (1 liter) of whole milk. Pour it into a saucepan and heat it gently over medium heat until it reaches 180°F (82°C). This step is called scalding, and it’s vital because it denatures the milk proteins, which results in a much thicker, creamier final yogurt. Use a food thermometer for accuracy!
- Cool it Down: Remove the milk from the heat and let it cool to between 110-115°F (43-46°C). This is extremely important. If the milk is too hot, it will kill the live cultures in your starter. If it’s too cool, they won’t activate properly. A good trick is to place the saucepan in an ice bath to speed this up, but keep a close eye on that thermometer.
- Introduce the Starter: Once the milk is at the right temperature, it’s time to inoculate it. Take about a cup of the warm milk and whisk it in a separate bowl with your starter culture. This could be 2-3 tablespoons of a plain, store-bought yogurt with live active cultures or a packet of freeze-dried yogurt starter. Whisk until it’s completely smooth.
- Combine and Incubate: Pour the starter-milk mixture back into the main pot of milk and whisk gently to combine everything thoroughly. Now, pour this mixture into the containers of your yogurt maker. Place them inside the machine, put the lid on, and turn it on.
- Let the Magic Happen: This is the easiest part. Let the yogurt maker incubate the mixture for 8-12 hours. The longer it incubates, the tangier your yogurt will be. The first time I made it, I went for 8 hours and it was mild and creamy. Now, I prefer a 10-hour tang. Feel free to experiment to find your perfect flavor profile.
- Chill Out: Once incubation is done, the yogurt will be set but still warm. Carefully remove the containers, put their lids on, and place them in the refrigerator to chill and set completely for at least 4 hours, or preferably overnight. This chilling step is essential for the texture.
You’ve now made a perfect, delicious yogurt base! You can enjoy it as is, or move on to Act Two.
Turning Your Yogurt into a Frozen Dream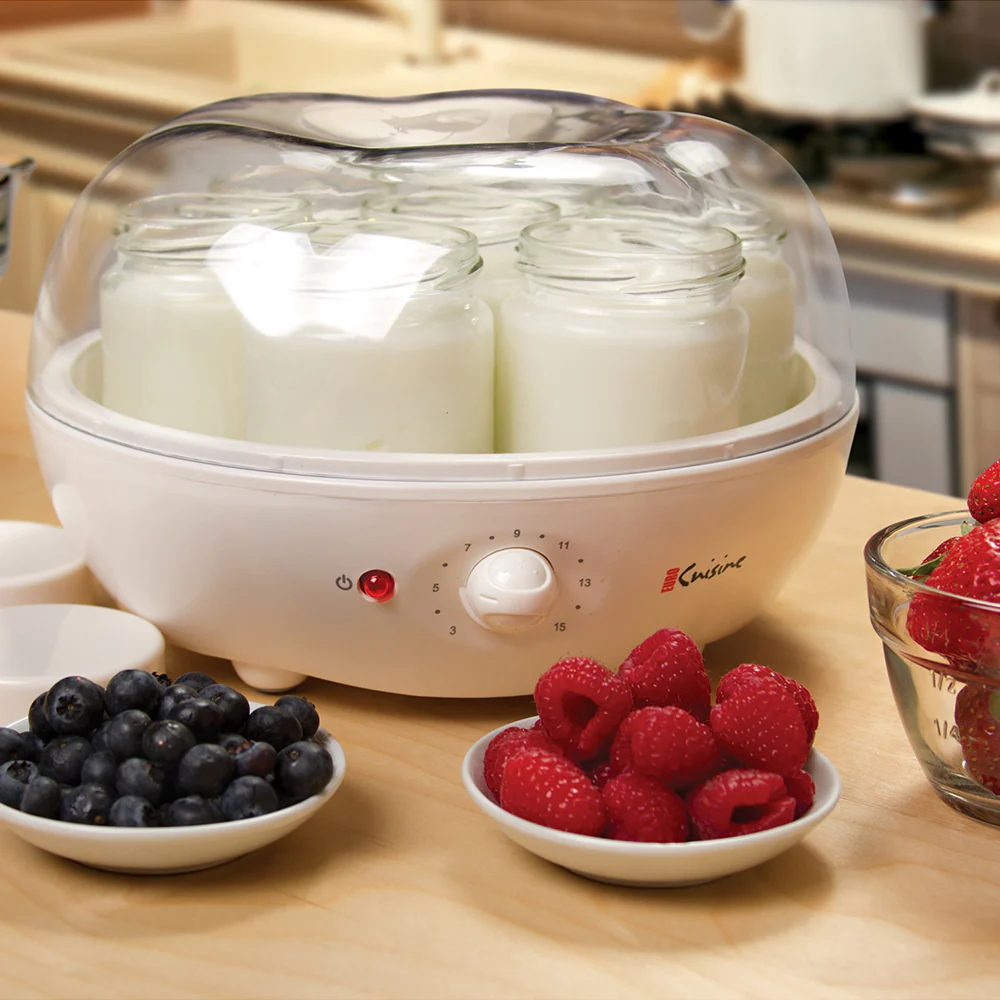
Now for the fun part. Here’s how you take that gorgeous homemade yogurt and complete the process of making frozen yogurt.
Using an Ice Cream Maker (Recommended)
An ice cream maker is the best tool for the job. It churns the mixture while freezing it, guaranteeing a smooth, creamy result.
- Prepare the Mixture: In a large bowl, combine your chilled homemade yogurt with your desired sweetener (like honey, maple syrup, or sugar) and flavorings (like vanilla extract or fruit purees). A general rule of thumb is about 1/2 to 3/4 cup of sweetener for every 4 cups of yogurt, but taste and adjust.
Expert Tip from Dr. Elena Vance, Food Scientist: “Remember that sugar doesn’t just add sweetness; it’s crucial for texture in frozen desserts. It lowers the freezing point of the mixture, which helps prevent it from turning into a solid, icy block.”
- Churn: Pour your sweetened yogurt mixture into the frozen bowl of your ice cream maker and churn according to the manufacturer’s instructions, usually for about 20-30 minutes. It will reach the consistency of soft-serve.
- Harden: You can enjoy it immediately as soft-serve, or for a firmer, scoopable texture, transfer it to an airtight, freezer-safe container and freeze for at least 2-4 hours.
The No-Churn Method
Don’t have an ice cream maker? No problem! You can still get a great result with a little extra effort.
- Prepare and Freeze: Prepare your sweetened yogurt mixture as above. Pour it into a shallow, freezer-safe dish (like a loaf pan).
- Stir, Stir, Stir: Place it in the freezer. Every 30-45 minutes for the first 2-3 hours, take it out and stir it vigorously with a whisk or fork. Your goal is to break up the ice crystals as they form.
- Final Freeze: After 2-3 hours of intermittent stirring, the mixture should be fairly thick. Cover it and let it freeze completely for another 2-4 hours until firm. The texture won’t be quite as silky as churned frozen yogurt, but it will be absolutely delicious.
Frequently Asked Questions (FAQ)
Q1: Why is my homemade frozen yogurt icy?
This is the most common issue! It’s usually caused by one of three things: not enough fat (use whole milk yogurt), not enough sugar (sugar is key for texture), or the mixture freezing too slowly, which allows large ice crystals to form. Using an ice cream maker is the best way to prevent this.
Q2: Can I use store-bought yogurt for the base?
Absolutely! If you’re short on time, you can use a high-quality, full-fat plain Greek or regular yogurt as your base. The benefit of making your own, however, is unparalleled freshness and complete control over the ingredients and tartness.
Q3: How long does homemade frozen yogurt last in the freezer?
For the best texture and flavor, it’s best to enjoy it within 1-2 weeks. After that, it can start to develop more ice crystals. Always store it in a well-sealed, airtight container.
Q4: What are the best mix-ins for frozen yogurt?
The sky’s the limit! Chocolate chips, fresh berries, chopped nuts, swirls of caramel, or crushed cookies are all fantastic. For best results, add them in the last few minutes of churning or fold them in just before the final hardening freeze.
Q5: Is homemade frozen yogurt healthier than store-bought?
Yes, overwhelmingly so. You control the amount and type of sugar, and you avoid the artificial ingredients, gums, and stabilizers found in many commercial brands. Plus, your fresh yogurt base is packed with beneficial live probiotics.
Your Homemade Journey Awaits
Understanding what is the process of making frozen yogurt is the first step toward creating an endlessly customizable, healthy, and delicious dessert right in your own kitchen. It’s a simple two-act play where your yogurt maker shines in creating a flawless, fresh base, and a little chilling and churning brings down the house.
Once you taste the vibrant flavor of frozen yogurt made from a base you fermented yourself, you’ll never look back. It’s a rewarding process that puts you in complete control, saving you money and delighting your taste buds. So go ahead, embrace the process, and get ready to scoop up some joy.