Welcome to the wonderful, creamy, and surprisingly simple world of homemade yogurt. If you’ve ever savored a spoonful of rich, tangy yogurt and thought, “I wish I could make this,” I’ve got fantastic news for you: you absolutely can. The secret doesn’t lie in some ancient culinary magic, but in understanding a simple, scientific step. So, What Is The Incubation Process? In short, it’s the heart of yogurt making—the warm, cozy nap where milk transforms into the probiotic-packed delight we all love. And the best tool to make this process foolproof? A trusty yogurt maker.
For years, I was a dedicated buyer of store-bought yogurt, thinking the homemade version was reserved for culinary wizards. My first few attempts without a machine were… let’s just say inconsistent. Soupy one day, overly tart the next. It wasn’t until I invested in a simple yogurt maker that everything clicked. It took the guesswork out of the equation and gave me perfect results, every single time. Let’s dive into how this humble appliance can turn your kitchen into a personal yogurt factory.
Why a Yogurt Maker is Your Secret Weapon
Let’s be real: you can make yogurt without a dedicated machine. People have done it for centuries using ovens with pilot lights, coolers with hot water bottles, or even just a warm spot in the house. But the key to consistently great yogurt is one thing: stable temperature. This is where a yogurt maker isn’t just a convenience; it’s a game-changer. It’s your guarantee for a thick, creamy, and safe-to-eat final product.
How Does a Yogurt Maker Actually Work?
A yogurt maker is a surprisingly simple device. Its one and only job is to create and maintain the perfect warm environment for the good bacteria in your yogurt starter to thrive. It’s essentially a gentle, low-power incubator. It holds your milk and starter mixture at a consistent temperature, typically between 100°F and 115°F (38°C to 46°C), for a set period. This steady warmth is the magic ingredient, allowing the live cultures to ferment the lactose (milk sugar) into lactic acid, which in turn thickens the milk and gives yogurt its signature tangy flavor.
|
Our Picks for the Best Yogurt Maker in 2025
As an Amazon Associate, we earn from qualifying purchases.
|
||
| Num | Product | Action |
|---|---|---|
| 1 | Suteck Yogurt Maker - Stainless Steel Yogurt Makers with Adjustable Time & Temp Control,Automatic Shut-Off & Constant Temper for Homemade Greek, Probiotic Yogurt, BPA-Free 8 Glass Jars (48 oz) |

|
| 2 | Suteck Yogurt Maker with 8 Glass Jars, Time & Temp Adjustable Control Yogurt Machine, Homemade Greek & Probiotic Yogurt, Automatic Shut-Off, BPA-Free, 48 oz Total, |
|
| 3 | Bear Yogurt Maker, Greek Yogurt Maker Machine with Strainer and Timer Control, Stainless Steel Inner Pot, Automatic Digital with 2 Glass Jars 1 Quart for Home Organic Yogurt, Cheese, Fruit Wine |
|
| 4 | Euro Cuisine YM360 Yogurt Maker with Adjustable Time & Temperature Control - 2-Quart Glass Jar, FREE Thermometer & Cotton Strainer Bag, 2025 Edition, Black, Make Yummy Organic Probiotic Yogurt at Home |
|
| 5 | Ultimate Probiotic Yogurt Maker with Adjustable Temperature & Time Control - Make Trillions of Live Probiotics & Get Better Gut Health - ULTIMATE LIFETIME WARRANTY - Wellness Gifts for Men & Women |
|
| 6 | Ultimate Yogurt Jars - Make More Delicious Yogurt! 8 Count Small Glass Yogurt Cups With Lids - 100% BPA Free, Airtight & Dishwasher Safe! Perfect Containers for Yoghurt, Oatmeal, Pudding, or Jello |
|
| 7 | Ultimate Probiotic Yogurt Maker with Adjustable Temperature & Time Control - Make Trillions of Live Probiotics & Get Better Gut Health - ULTIMATE LIFETIME WARRANTY - Wellness Gifts for Men & Women |
|
| 8 | DASH My Mug Ice Cream Maker Machine (Aqua): Multi-Purpose Soft Serve Ice Cream Machine with (2) Bowls for Homemade Gelato, Sorbet, Frozen Yogurt, Built-In Ingredient Chute, Easy to Clean and Store |
|
| 9 | Yogurt Maker, Automatic Digital Yoghurt Maker Machine with 5 Glass Jars 42 Ozs, with Constant Temperature Control for Home Organic Yogurt, Cheese, Fruit Wine (with 5 Cups) |
|
| 10 | Yogurt Maker, Automatic Digital Yoghurt Maker Machine with 5 Glass Jars 42 Ozs, with Constant Temperature Control for Home Organic Yogurt, Cheese, Fruit Wine (No Cups) |
|
Key Features to Look For in a Yogurt Maker
Shopping for a yogurt maker can feel a bit overwhelming, but it boils down to a few key features. Think about how you’ll use it and what matters most to your routine.
- Temperature Control: Some basic models have one preset temperature, which works fine for most standard yogurts. More advanced models offer adjustable temperature settings, giving you the power to experiment with different types of cultures (like those for kefir or non-dairy yogurts).
- Automatic Timer and Shut-off: This is a lifesaver. You can set the incubation time (say, 8 hours) and walk away. The machine will turn off automatically, preventing your yogurt from over-fermenting and becoming too sour.
- Capacity and Jar Type: Do you want one large batch or several individual servings? Models come with a single large container or a set of smaller glass or plastic jars. Glass jars are great because they’re non-reactive, easy to clean, and perfect for grab-and-go portions.
- Material: Look for BPA-free plastic and high-quality glass or stainless steel components to ensure your yogurt is free from unwanted chemicals.
The Nitty-Gritty: What is the Incubation Process Step-by-Step?
Alright, let’s break down the journey from a carton of milk to a jar of creamy goodness. The what is the incubation process question is best answered by seeing it in action. Here’s how you’ll use your yogurt maker to nail it.
- Heat the Milk: The first step is to gently heat your milk to about 180°F (82°C). This might seem counterintuitive since we’re going to cool it down again, but this step is crucial. It kills any competing bacteria in the milk and denatures the milk proteins, which helps them set together for a thicker, smoother yogurt.
- Cool it Down: Let the milk cool to between 110-115°F (43-46°C). This is the “Goldilocks” zone—not too hot, not too cold. If it’s too hot, you’ll kill the delicate starter cultures. If it’s too cold, they won’t activate properly. A digital kitchen thermometer is your best friend here.
- Introduce the Starter Culture: Now it’s time to add your magic ingredient. This can be a spoonful of a previous batch of homemade yogurt, a high-quality plain store-bought yogurt with “live and active cultures,” or a freeze-dried yogurt starter powder. Whisk it in gently but thoroughly to ensure it’s evenly distributed.
- Pour and Incubate: Pour the mixture into your yogurt maker’s container or jars. Place them inside the machine, put the lid on, and set the timer. Most yogurts will take between 6 to 12 hours. The longer you incubate, the tangier your yogurt will be.
- The Big Chill: Once the incubation is complete, the yogurt will be set but still warm and a bit fragile. The final step is to refrigerate it for at least 6 hours, or preferably overnight. This stops the fermentation process and allows the yogurt to firm up and develop its final flavor. Do not skip this step!
Pro Tips for Perfect Homemade Yogurt Every Time
After countless batches, I’ve learned a few tricks that make a world of difference.
Choosing Your Starter Culture
The starter you use directly impacts the flavor and texture of your yogurt. A store-bought yogurt will replicate its own taste profile. A powdered starter, which you can buy online, gives you more control and you can choose specific bacterial strains for milder or tangier results. Remember to check that the label says “live and active cultures.”
The Time Factor: How Long is Long Enough?
The incubation time is your primary tool for controlling tanginess.
- 6-8 hours: A milder, sweeter yogurt. A great starting point for beginners.
- 9-10 hours: A moderately tangy yogurt, similar to most commercial brands.
- 11-12+ hours: A very tangy, robust yogurt, almost like a Greek-style yogurt in flavor.
“The beauty of homemade yogurt lies in its living nature. You are cultivating a community of beneficial bacteria, or probiotics, that are fantastic for gut health. The controlled environment of a yogurt maker ensures these probiotics flourish, giving you a product far superior to many commercial options.” – Dr. Alisha Chen, Registered Dietitian and Fermentation Specialist
The Chill Down is Non-Negotiable
I can’t stress this enough. Rushing the chilling process is the #1 reason for runny yogurt. When you pull the jars out of the maker, resist the urge to stir or shake them. Gently place them in the fridge and walk away. The cold temperature is what helps the proteins fully set into that thick, spoonable texture you’re after.
The Sweet Rewards: Benefits of Making Your Own Yogurt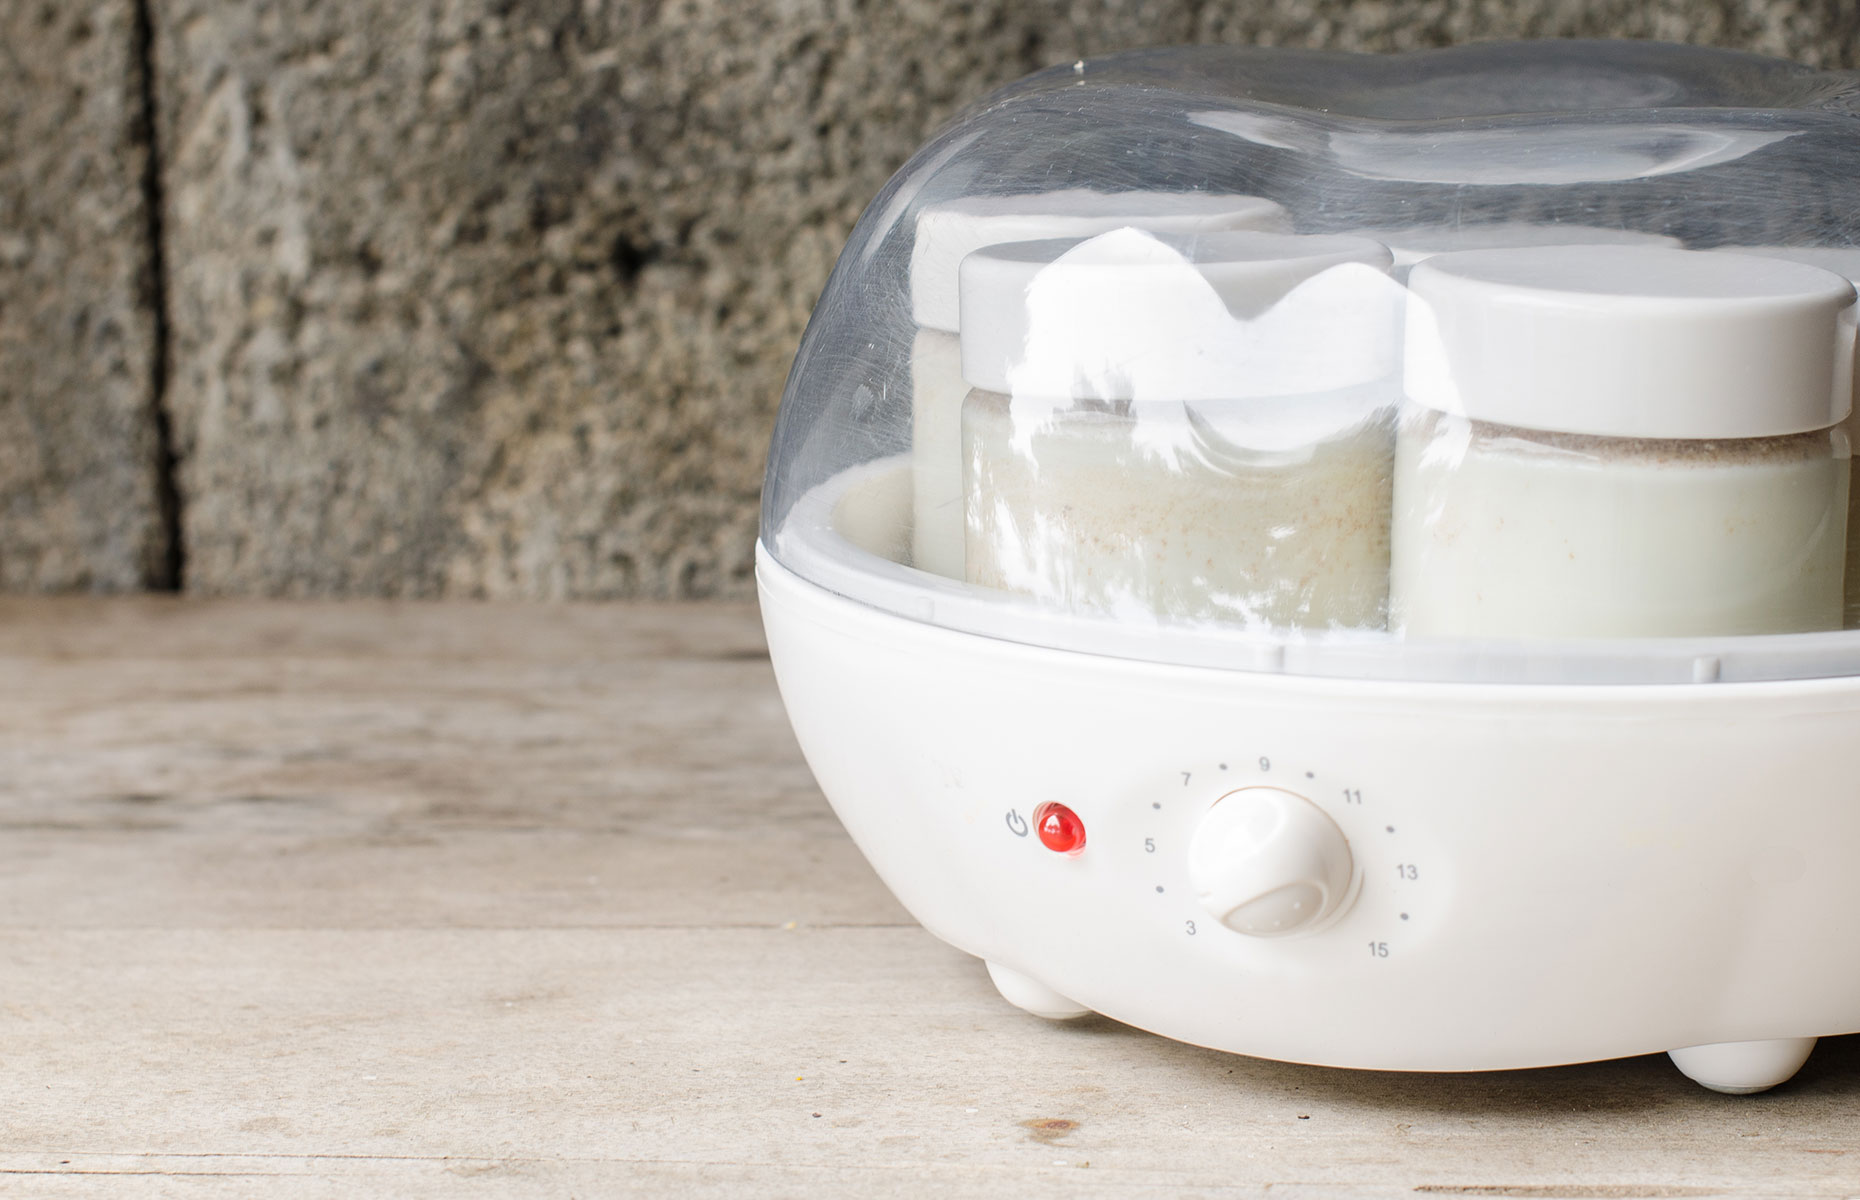
Why go to all this trouble? The benefits are huge, and once you start, you’ll wonder why you didn’t do it sooner.
- Better for Your Health: You control everything that goes in. No added sugars, thickeners, or artificial ingredients. It’s also packed with more live probiotics than many store-bought versions.
- Incredible Flavor: Homemade yogurt just tastes better. It’s fresher, creamier, and you can customize the flavor and tang to your exact preference.
- Easy on Your Wallet: A gallon of milk and a small amount of starter can produce a huge amount of yogurt for a fraction of the cost of buying individual cups.
- Endless Customization: Once you have your plain yogurt base, the possibilities are endless. Make it Greek-style by straining it, swirl in fruit puree, add granola, or use it in savory dishes like marinades and dips.
Keeping it Clean: How to Care for Your Yogurt Maker
The best way to ensure great yogurt is to start with a perfectly clean machine. Most yogurt maker containers and jars are dishwasher safe (check the manual!), but a good hand wash with hot, soapy water works just as well. Make sure everything is completely dry before you start a new batch. The base unit that contains the heating element should never be submerged in water; simply wipe it down with a damp cloth if needed.
Frequently Asked Questions (FAQ)
Why is my homemade yogurt runny?
This is the most common issue! The likely culprits are: the milk wasn’t heated high enough, it was still too hot when you added the starter, you didn’t incubate it long enough, or you didn’t chill it sufficiently before stirring.
Can I use non-dairy milk in my yogurt maker?
Yes, but with some adjustments. Almond, soy, and coconut milk can all be used. However, they lack the lactose and protein structure of dairy milk, so you’ll often need to add a thickener (like agar-agar or tapioca starch) and use a specific non-dairy starter culture.
How long does homemade yogurt last in the fridge?
Properly stored in an airtight container, your delicious homemade yogurt will last for about 1 to 2 weeks.
Do I need to buy a new starter every time?
Nope! You can save a few tablespoons from your current batch to use as the starter for your next one. After 4-5 “generations,” you may notice the flavor changing or weakening, at which point it’s a good idea to start fresh with a new commercial starter.
Is it cheaper to make your own yogurt?
Absolutely. While there’s an initial investment in the yogurt maker, the long-term savings are significant. The cost of a gallon of milk is far less than the equivalent amount of pre-packaged yogurt cups.
Your Yogurt-Making Journey Begins Now
Mastering homemade yogurt truly comes down to understanding one thing: what is the incubation process. It’s the quiet, patient, and warm transformation that does all the heavy lifting. A yogurt maker simply perfects that environment, removing the variables and guaranteeing you a delicious, healthy, and rewarding result every time. It’s an invitation to take control of your food, experiment with flavors, and enjoy one of life’s simplest and most satisfying culinary pleasures. So go ahead, take the plunge. Your taste buds (and your gut) will thank you.