There’s nothing quite like the creamy, tangy perfection of a fresh batch of homemade yogurt. You pull the jars from your trusty yogurt maker, admire your handiwork, and dream of the parfaits and smoothies to come. But then comes the part nobody really talks about: the cleanup. If you’ve ever stared at that stubborn, dried-on film clinging to your jars or container, you know the struggle is real. So, What Is The Best Way To Remove Yogurt Residue without endless scrubbing? As your dedicated guide to all things homemade yogurt, I’m here to tell you that it’s easier than you think. You just need a little science and a few pro tips.
Let’s be honest, we’ve all been there. You get busy, leave the container on the counter for a bit too long, and suddenly that thin layer of leftover yogurt has turned into a cement-like crust. Before you’re tempted to give up and go back to store-bought, let’s dive into why it happens and how to make your yogurt maker cleanup an absolute breeze.
The Magic of a Yogurt Maker (And Why It Creates Stubborn Residue)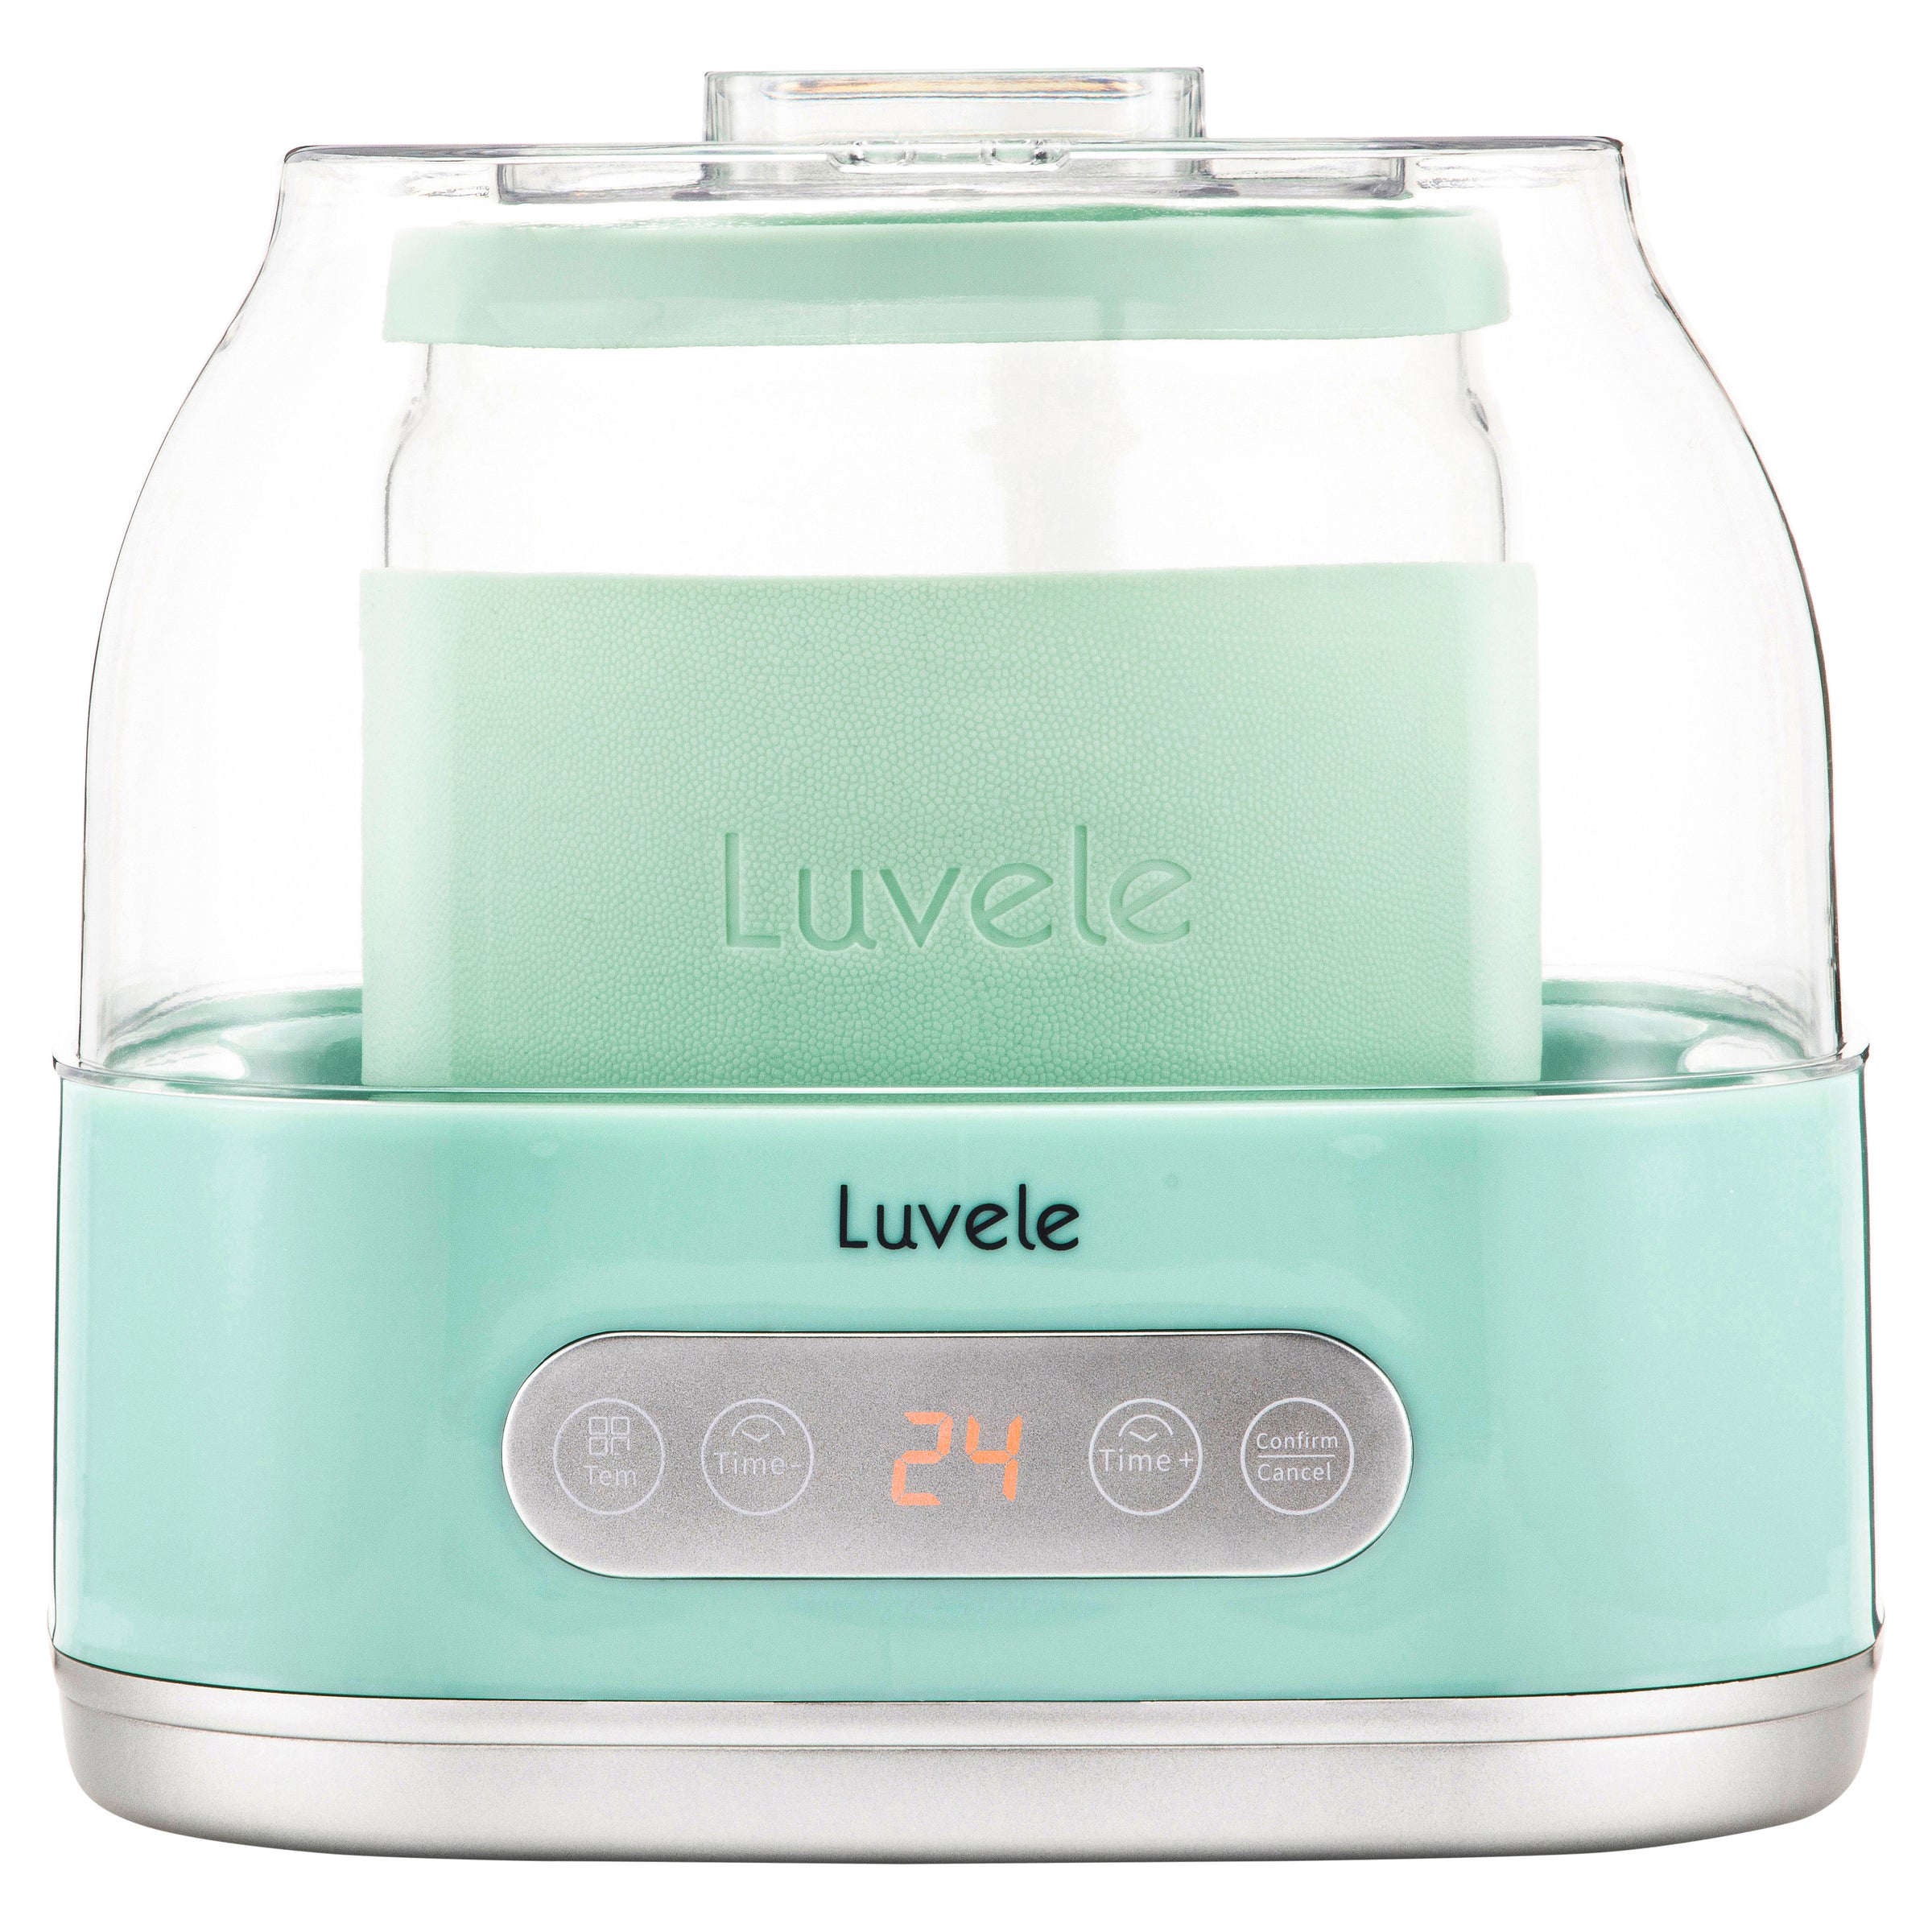
A yogurt maker isn’t just a gadget; it’s a gateway to healthier, tastier, and more affordable yogurt. It’s your personal fermentation station, creating the perfect warm and stable environment for good bacteria (the starter cultures) to work their magic, turning plain milk into thick, delicious yogurt.
So, How Does a Yogurt Maker Actually Work?
The core function is incredibly simple. A yogurt maker gently heats the milk and culture mixture to a precise, consistent temperature—usually around 110-115°F (43-46°C)—and holds it there for several hours. This is the “incubation” phase, where the bacteria thrive, consume lactose (milk sugar), and produce lactic acid. It’s this lactic acid that causes the milk proteins to coagulate and thicken, creating the yogurt texture we know and love.
That gentle, prolonged heat is the key to perfect yogurt, but it’s also the culprit behind stubborn residue. As the yogurt sets, a thin layer of milk proteins (specifically casein) and calcium can essentially “bake” onto the sides of the container. When this layer dries, it forms a tough, hard-to-remove film.
Bảng trống.Choosing a Yogurt Maker That’s Easy to Clean
Before we even get to the scrubbing, let’s talk prevention. When you’re shopping for a yogurt maker, thinking about the cleanup can save you a lot of future frustration.
- Material Matters: Yogurt makers typically come with either a single large container or a set of smaller individual jars.
- Glass Jars: These are fantastic. Glass is non-porous, meaning it won’t stain or absorb odors. Residue tends to slide off more easily, and they are almost always dishwasher safe.
- Plastic Containers/Jars: While often more budget-friendly and less breakable, plastic can be a bit trickier. It’s slightly porous and can sometimes hold onto a faint film or odor if not cleaned properly. Look for high-quality, BPA-free plastic.
- Dishwasher-Safe Components: This is a non-negotiable for many of us! Check the product description to ensure the inner container, jars, and lids are all rated for the dishwasher. This handles 90% of the work for you.
- Simple Design: The fewer nooks, crannies, and complicated parts, the easier it is to clean. A simple tub or straightforward jars are always a win.
What Is the Best Way to Remove Yogurt Residue? A Step-by-Step Guide
Alright, the deed is done, and the residue is there. Don’t panic! Here are my tried-and-true methods, from the easiest fix to the heavy-duty solutions.
The Golden Rule: The Pre-Rinse and Soak
The absolute, number-one, best way to remove yogurt residue is to deal with it immediately.
- Scrape and Rinse: As soon as you’ve transferred your yogurt to a storage container, use a silicone spatula to scrape out as much as you can. Immediately rinse the container or jars with warm water. This removes the majority of the residue before it has a chance to dry.
- Add Soap and Soak: Add a drop of dish soap and fill the container with warm water. Let it soak while you eat your breakfast or clean up the rest of the kitchen. By the time you come back, a quick wipe with a sponge is usually all it takes.
My Personal Experience: The first time I let a full batch of Greek yogurt residue dry in my maker’s tub, I spent what felt like an eternity scrubbing. I only made that mistake once! Now, a quick rinse-and-soak is a non-negotiable part of my yogurt-making ritual.
Method 1: The Baking Soda Scrub (For Dried-On Film)
If the residue has already dried, it’s time to bring in a gentle abrasive. Baking soda is your best friend here.
- Create a Paste: In the bottom of the yogurt container, mix a few tablespoons of baking soda with just enough water to form a thick paste.
- Apply and Wait: Smear the paste over all the areas with dried-on residue. Let it sit for 15-20 minutes. The alkaline nature of the baking soda helps to break down the proteins.
- Scrub Gently: Use a non-abrasive sponge or cloth to scrub in a circular motion. The baking soda provides a gentle scouring action that lifts the film without scratching your container.
- Rinse and Wash: Rinse thoroughly and then wash as usual with soap and water.
Method 2: The Vinegar Solution (For Stubborn Mineral and Protein Buildup)
Sometimes, especially if you have hard water, you’ll get a cloudy film that’s a combination of milk protein and mineral deposits. This is where acid comes to the rescue.
- Create the Solution: Fill the container with equal parts white vinegar and warm water.
- Soak it Up: Let the container soak for at least 30 minutes, or up to an hour for really tough buildup. The acetic acid in the vinegar is excellent at dissolving both mineral deposits and breaking down the protein bonds.
- Wipe and Wash: After soaking, most of the residue should wipe away easily. Dump the solution and wash the container with hot, soapy water to remove any lingering vinegar smell.
Important Note: While both are great cleaners, avoid mixing vinegar and baking soda directly together in your container. They will react and bubble, but they neutralize each other, reducing their individual cleaning power.
Pro Tips for Perfect Yogurt (and an Easier Cleanup!)
A great batch of yogurt starts long before the cleanup. Interestingly, how you make your yogurt can affect how much residue is left behind.
- Choose the Right Starter: Using a high-quality, fresh yogurt starter culture can lead to a smoother, more stable set, which often translates to less residue clinging to the sides.
- Don’t Over-Culture: Incubating your yogurt for too long can sometimes cause it to separate, releasing whey and leaving behind thicker, more concentrated proteins on the container walls. Follow the recommended times for your culture and desired tanginess. Check out our guide on incubation times for more details.
- Strain Smart: If you’re making Greek yogurt, strain it in a separate cheesecloth-lined colander rather than trying to separate it in the yogurt maker’s container. This contains the mess and makes cleaning the main pot much simpler.
The Benefits of Homemade Yogurt
You might be thinking, “This sounds like a bit of work.” But the rewards are more than worth the five minutes it takes to clean up properly.
- Healthier: You control everything—the type of milk, the sweetness, and the cultures. No added sugars, thickeners, or preservatives.
- Tastier: The flavor of fresh, homemade yogurt is unparalleled. It’s vibrant, tangy, and incredibly creamy.
- Cheaper: A gallon of milk costs a fraction of the price of buying the equivalent amount of pre-made yogurt, especially for organic or Greek varieties.
- Environmentally Friendly: Think of all the plastic tubs you won’t be throwing away!
Long-Term Care: How to Clean and Maintain Your Machine
Proper care goes beyond just the jars. Remember to care for the machine itself.
- The Base Unit: Always unplug the machine before cleaning! Never, ever submerge the base unit in water. Simply wipe the interior and exterior with a damp cloth to remove any spills or condensation.
- The Lid: The lid can collect a lot of condensation. Wash it by hand or place it on the top rack of your dishwasher if it’s rated as safe.
- Storage: Make sure all parts are completely dry before reassembling and storing your yogurt maker to prevent any mildew or musty smells.
Frequently Asked Questions
Can I use steel wool to remove tough yogurt residue?
No, please don’t! Steel wool and other harsh abrasive pads will permanently scratch the surface of both plastic and glass containers, creating tiny crevices where bacteria and residue can hide in the future, making cleaning even harder.
Why does my plastic yogurt container still feel greasy after washing?
This is often due to a stubborn film of milk fat. The baking soda paste method is excellent for cutting through this greasy feeling. A final wipe with a little white vinegar on a paper towel can also help.
Is it safe to put all parts of my yogurt maker in the dishwasher?
Always check your manufacturer’s manual. Most inner pots, glass jars, and lids are top-rack dishwasher safe, but the main electrical base unit should never be put in a dishwasher or submerged in water.
How do I get the yogurt smell out of my plastic container?
If a smell lingers after washing, let the container soak in a vinegar-water solution for an hour. Alternatively, you can make a paste of baking soda and water, coat the inside, and let it sit overnight before washing. Letting it air dry in the sun can also work wonders.
What is the best way to remove yogurt residue from the threads of the jar lids?
Use a small bottle brush or an old toothbrush. Dip it in soapy water or a baking soda paste to get into those small grooves where residue loves to hide.
Your Journey to Perfect Yogurt Awaits
Making your own yogurt at home is a rewarding, healthy, and delicious journey. And now, you’re armed with the knowledge to make cleanup a simple, stress-free part of the process. By understanding why residue forms and using the right techniques—from a quick preventative rinse to a powerful vinegar soak—you can keep your equipment in pristine condition for years to come. So go ahead, make that next batch with confidence, knowing that you’ve mastered what is the best way to remove yogurt residue.