Hello, fellow yogurt enthusiasts! Here at Yogurt Maker Guide, we’re on a constant quest for the creamiest, dreamiest, and most delicious cultured dairy creations you can make right in your own kitchen. We’ve explored everything from tangy classic yogurts to rich Greek styles. Today, we’re diving into a question we get all the time: What Is Skyr? If you’ve ever walked past it in the dairy aisle, intrigued by its promise of high protein and thick texture, you’re in the right place. Get ready, because this Icelandic wonder isn’t just another yogurt—it’s a game-changer, and believe it or not, you can master making it at home.
So, What is Skyr, Really? More Than Just Yogurt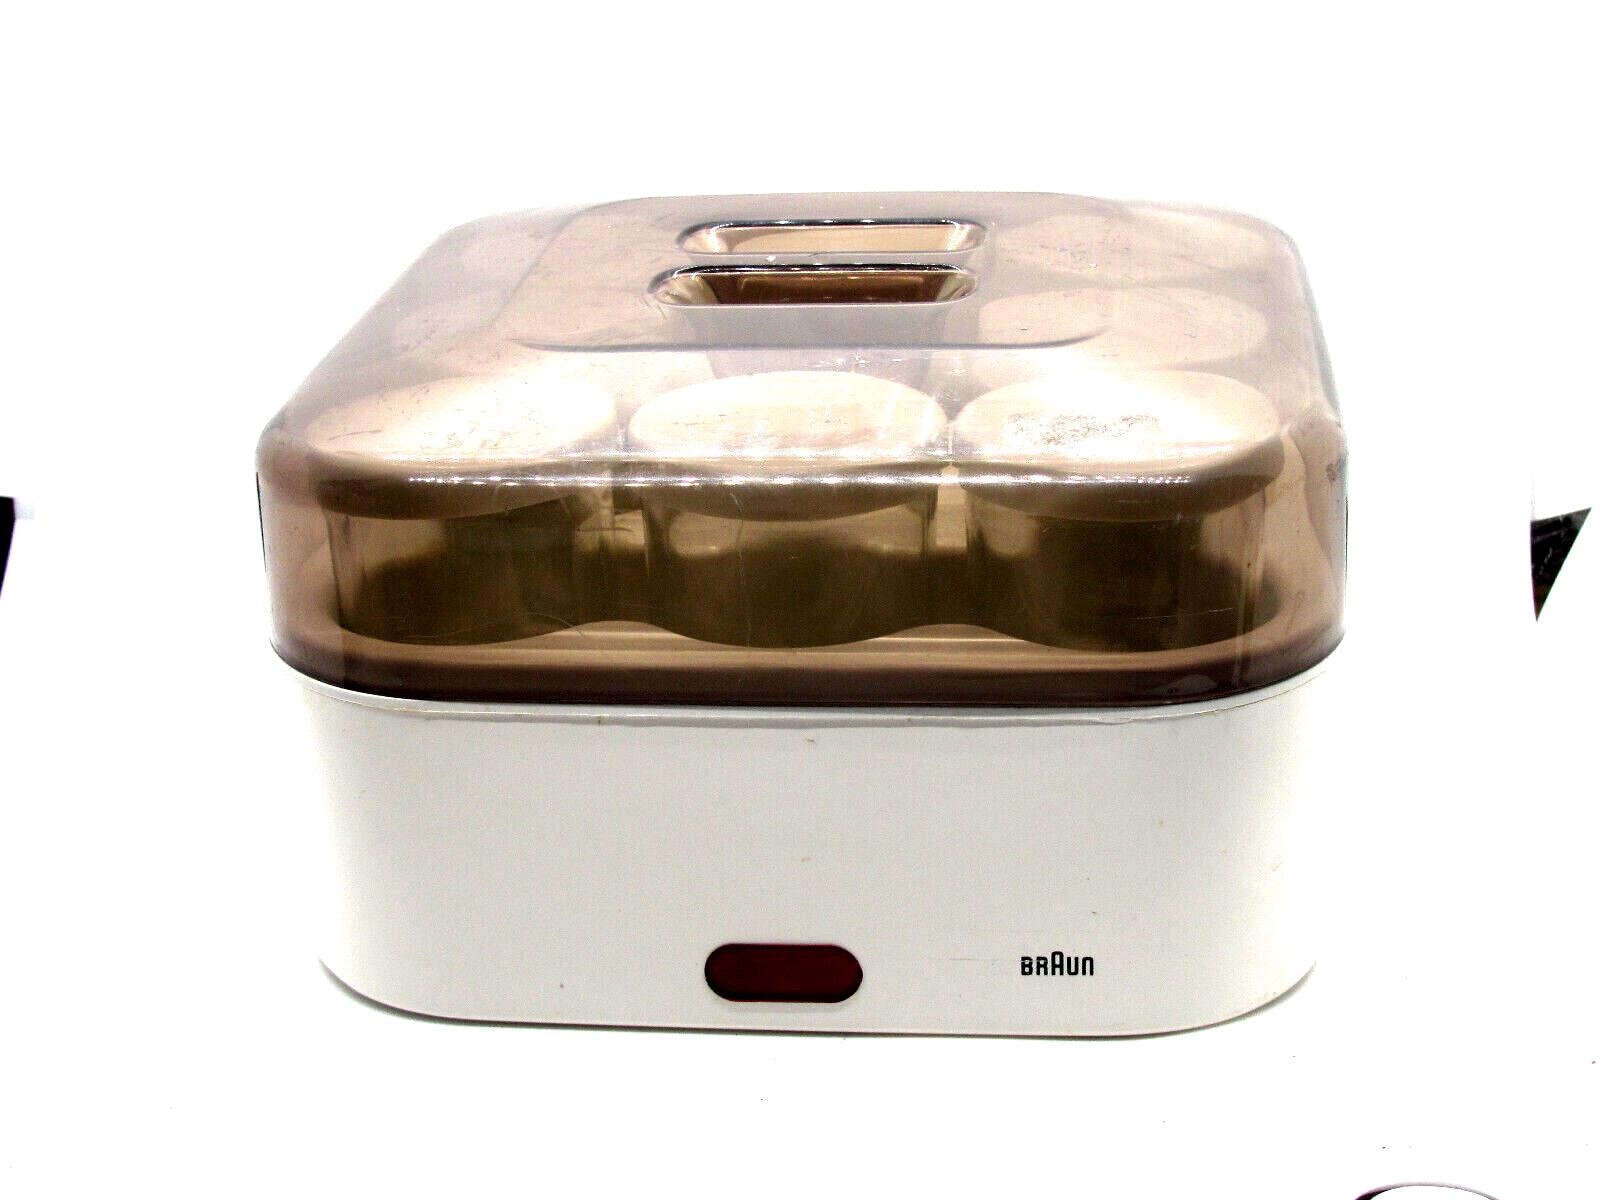
In the simplest terms, skyr is a traditional Icelandic cultured dairy product. It has the consistency of a super-thick, strained yogurt, a creamy texture, and a mildly tangy flavor that’s less sour than many yogurts. For over a thousand years, it’s been a staple of the Icelandic diet, prized for its ability to keep people full and nourished.
Here’s the fascinating part: while we eat it like yogurt, technically, skyr is a type of soft, fresh cheese. The process involves using specific heirloom bacterial cultures and often a touch of rennet (an enzyme used in cheesemaking), which helps form a denser curd. After fermentation, it undergoes a rigorous straining process to remove the watery whey, resulting in that signature thick, spoon-stand-up texture and a serious concentration of protein.
Skyr vs. Greek Yogurt: What’s the Difference?
This is the million-dollar question, isn’t it? They look similar, and both are hailed as protein powerhouses. But a few key differences set them apart. I remember the first time I tasted authentic skyr; I was expecting a tangier Greek yogurt, but I was met with something richer, smoother, and surprisingly mild.
Here’s a quick breakdown:
| Feature | Skyr | Greek Yogurt |
|---|---|---|
| Origin | Iceland (over 1,000 years old) | Greece / The Balkans |
| Texture | Extremely thick, dense, and smooth | Thick and creamy, but often less dense |
| Flavor | Mildly tangy, less sour | Can range from mild to distinctly tangy |
| Protein | Typically higher protein content | High protein, but often slightly less |
| Fat Content | Traditionally made with skim milk (virtually fat-free) | Made from various milks (non-fat to full-fat) |
| Culture | Uses specific Icelandic heirloom starter cultures | Uses various yogurt cultures (L. bulgaricus, S. thermophilus) |
Essentially, while both are “strained” dairy products, what is skyr comes down to its unique heritage, specific cultures, and an even more intense straining process that packs in more protein per spoonful.
Bảng trống.The Health Benefits Packed into Every Spoonful of Skyr
Beyond its incredible taste and texture, skyr is a nutritional champion. Making it at home means you get all these benefits without any of the added sugars or preservatives found in many store-bought versions.
- Protein Powerhouse: Skyr is famous for its high protein content. This is fantastic for keeping you full longer, aiding muscle repair after a workout, and supporting overall body function.
- Rich in Probiotics: Like any good cultured food, homemade skyr is teeming with live and active cultures. These beneficial bacteria are essential for a healthy gut microbiome, which can improve digestion and boost your immune system.
- Naturally Low in Fat: Traditional skyr is made from skim milk, making it a naturally fat-free food. This makes it an excellent choice for anyone looking for a lean source of protein.
- Packed with Calcium: As a concentrated dairy product, skyr is an excellent source of calcium, which is vital for strong bones and teeth.
“Making fermented foods like skyr at home puts you in complete control of the ingredients. You get a fresher, more vibrant product that’s rich in probiotics, free from unwanted additives, and tailored perfectly to your taste. It’s a simple and powerful step toward better gut health.”
— Dr. Anya Sharma, Nutritionist and Fermentation Specialist
Can You Actually Make Skyr at Home? (Spoiler: Yes!)
Absolutely! If you’ve ever made homemade yogurt, you’re already 90% of the way there. The process is very similar, with just a couple of key differences. The most critical part of making any yogurt or skyr is maintaining a consistent, warm temperature during incubation—and that’s where a good yogurt maker becomes your best friend. It takes all the guesswork out of the process, ensuring your cultures thrive and create the perfect curd.
While you can try to make it in an oven with the light on or using other DIY methods, a dedicated yogurt maker provides the stable environment needed for consistent, delicious results every single time. It’s the difference between hoping for the best and knowing you’ll get perfect skyr.
How to Make Skyr at Home: A Step-by-Step Guide
Ready to give it a try? It’s easier than you think. This process will yield the thickest, creamiest skyr you’ve ever tasted.
What You’ll Need
- Milk: 1 quart (about 1 liter) of skim or low-fat milk. You can use whole milk for an even richer result, though it’s not traditional.
- Starter Culture: This is the most important ingredient. You can use a few tablespoons of a plain, store-bought skyr that lists “live active cultures” or purchase a specific Skyr starter culture online.
- Rennet (Optional but Recommended): A few drops of vegetarian or animal rennet diluted in cool water helps create a firmer curd, which is traditional for skyr.
- Equipment: A saucepan, a thermometer, a whisk, your yogurt maker, and a cheesecloth or tight-weave fabric bag for straining.
The Process
- Heat the Milk: Pour the milk into your saucepan and gently heat it to 185°F (85°C). This alters the milk proteins, which results in a thicker final product. Stir occasionally to prevent scorching.
- Cool the Milk: Remove the pot from the heat and let it cool down to the culturing temperature, typically between 105-110°F (40-43°C). This is crucial—if the milk is too hot, it will kill your starter cultures.
- Inoculate the Milk: Scoop out about a cup of the warm milk and whisk it together with your starter culture (and the diluted rennet, if using) in a separate bowl until smooth. Then, pour this mixture back into the main pot and stir gently to combine everything evenly.
- Incubate: Pour the inoculated milk into your yogurt maker’s jars or container. Set the machine and let it incubate for 10-12 hours. Skyr cultures work a bit slower than some yogurt cultures, so be patient! The mixture should be set, like a soft pudding, when it’s done.
- Strain, Strain, Strain: This is the magic step! Line a colander with a few layers of cheesecloth and place it over a large bowl. Gently pour the incubated skyr into the cloth. Let it strain in the refrigerator. For a thick, Greek-yogurt consistency, strain for 2-4 hours. For authentic, super-thick skyr, you’ll want to strain for 6-12 hours, or until it’s reached your desired thickness.
- Chill and Enjoy: Once strained, transfer your beautiful homemade skyr to an airtight container. Give it a good whisk to make it smooth and creamy. It will be very thick! Chill it for a few hours before serving.
Pro-Tips for Perfect Homemade Skyr Every Time
- Don’t Rush the Straining: The longer you strain, the thicker and more authentic your skyr will be. Check it after a few hours and decide how much further you want to go.
- Save the Whey: The yellowish liquid that strains out is called whey. Don’t throw it away! It’s packed with protein and can be used in smoothies, for baking bread, or to cook grains like oatmeal.
- Start with Quality Ingredients: The better your milk and starter culture, the better your skyr will be. Fresh, high-quality ingredients make a noticeable difference.
- Keep Everything Clean: Make sure all your equipment—pots, whisks, jars—is impeccably clean to avoid introducing any unwanted bacteria.
Frequently Asked Questions About Making Skyr
How is making skyr different from making yogurt?
The main differences are the specific heirloom cultures used for skyr, the optional addition of rennet for a firmer set, and a much longer, more thorough straining process to remove more whey, resulting in a thicker, higher-protein product.
Do I absolutely need a skyr-specific starter culture?
For the most authentic flavor, yes. Skyr cultures have a unique bacterial profile. However, in a pinch, you can use a high-quality plain Greek yogurt as a starter, but the result will be a “skyr-style” yogurt rather than true skyr.
Why is my homemade skyr runny?
This is almost always due to one of two things: the incubation temperature was incorrect (either too hot or too cold), or you didn’t strain it for long enough. A reliable yogurt maker helps eliminate the first problem, and patience solves the second!
How long does homemade skyr last in the fridge?
When stored in an airtight container, your fresh skyr should last for about 7 to 10 days. The flavor may become slightly tangier over time.
Can I sweeten my homemade skyr?
Of course! One of the best parts of making it yourself is controlling the sweetness. After it’s strained and chilled, stir in a bit of honey, maple syrup, fresh fruit, or vanilla extract.
Your Icelandic Adventure Awaits
So, what is skyr? It’s more than just a food; it’s a piece of Icelandic history, a nutritional powerhouse, and a deeply satisfying culinary project. It represents a way of eating that is simple, wholesome, and incredibly delicious. By making it at home, you’re not just creating a snack; you’re connecting with a tradition and nourishing your body from the inside out. Grab your yogurt maker, find a good starter, and get ready to discover just how amazing homemade skyr can be.