Welcome to the world of homemade yogurt! If you’re here, you’ve probably dreamed of spooning into a bowl of thick, creamy, tangy yogurt that you made yourself. It’s a game-changer. But there’s a secret that separates glorious, velvety yogurt from a soupy, disappointing mess: temperature control. This is where mastering How To Use A Yogurt Thermometer becomes your superpower. Forget guesswork; we’re diving into the science of perfect yogurt, and your thermometer is the most important tool in your kit.
Whether you’re using a dedicated yogurt maker or the pot-on-the-counter method, getting the temperature right is non-negotiable. It’s the difference between cultivating a thriving colony of beneficial bacteria and… well, accidentally making warm, sad milk. So, grab your thermometer, and let’s get you on the path to yogurt-making nirvana.
What is a Yogurt Maker and Why Do You Need One?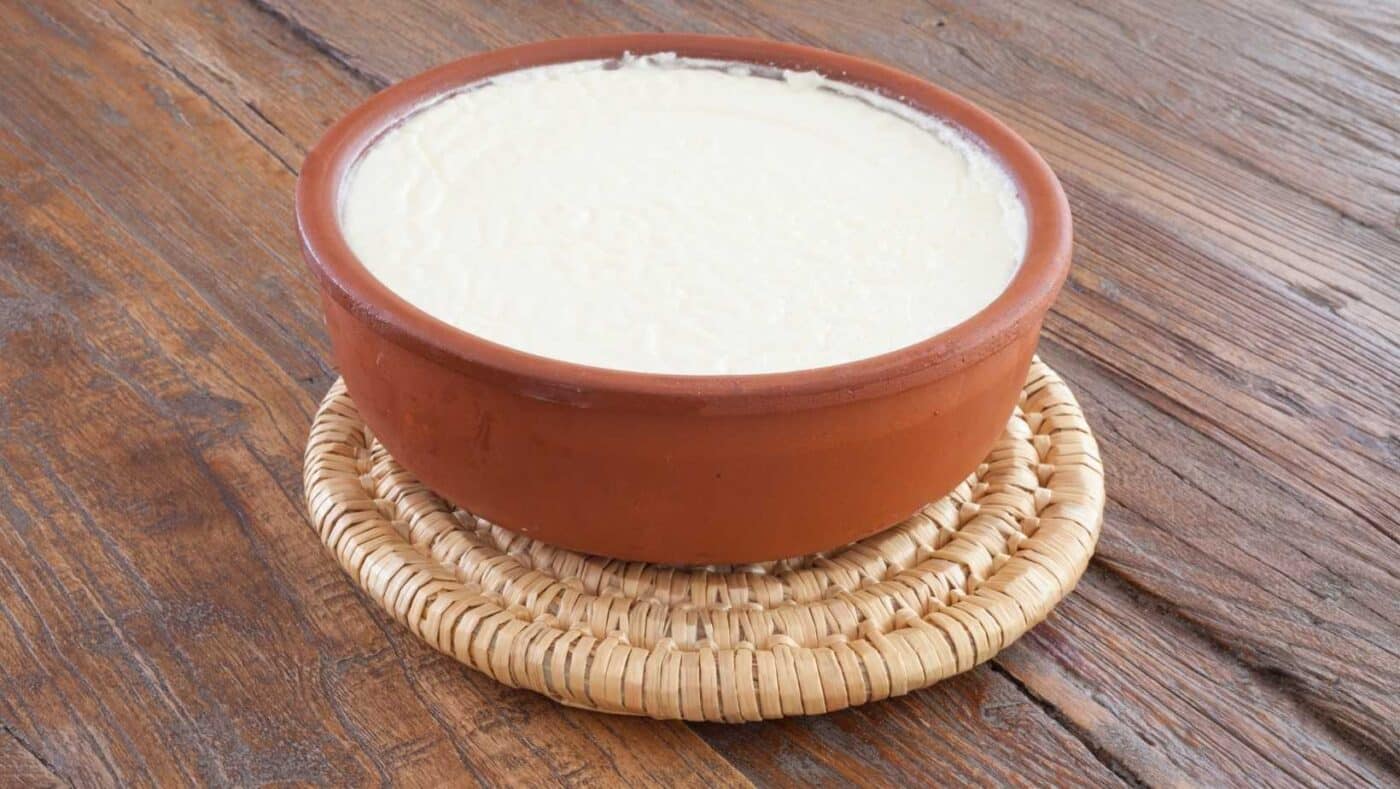
A yogurt maker is essentially a perfect little incubator for your future yogurt. Its main job is to hold a consistent, gentle temperature for several hours, creating the ideal environment for the live cultures (the good bacteria) to do their magic and turn milk into tangy, thick yogurt. While you can make yogurt without one, a maker takes out all the anxiety. No more fussing with ovens with pilot lights or wrapping jars in towels. It provides a stable, “set it and forget it” environment that guarantees consistency from batch to batch.
How Does a Yogurt Maker Work?
Think of it as a cozy, temperature-controlled bed for your yogurt cultures. The mechanism is simple: a gentle heating element maintains the contents at a specific temperature, typically between 110-115°F (43-46°C), for a set period. You prepare the milk, add your starter culture, pour it into the jars or container, place it in the machine, set the timer, and walk away. The machine handles the most crucial part—the incubation—flawlessly. But remember, the machine only works its magic if you do your part first, which all starts with heating and cooling the milk correctly.
|
Our Picks for the Best Yogurt Maker in 2025
As an Amazon Associate, we earn from qualifying purchases.
|
||
| Num | Product | Action |
|---|---|---|
| 1 | DASH My Mug Ice Cream Maker Machine (Aqua): Multi-Purpose Soft Serve Ice Cream Machine with (2) Bowls for Homemade Gelato, Sorbet, Frozen Yogurt, Built-In Ingredient Chute, Easy to Clean and Store |

|
| 2 | Ultimate Probiotic Yogurt Maker with Adjustable Temperature & Time Control - Make Trillions of Live Probiotics & Get Better Gut Health - ULTIMATE LIFETIME WARRANTY - Wellness Gifts for Men & Women |
|
| 3 | Suteck Yogurt Maker with 8 Glass Jars, Time & Temp Adjustable Control Yogurt Machine, Homemade Greek & Probiotic Yogurt, Automatic Shut-Off, BPA-Free, 48 oz Total, |
|
| 4 | Ultimate Probiotic Yogurt Maker with Adjustable Temperature & Time Control - Make Trillions of Live Probiotics & Get Better Gut Health - ULTIMATE LIFETIME WARRANTY - Wellness Gifts for Men & Women |
|
| 5 | Euro Cuisine YM360 Yogurt Maker with Adjustable Time & Temperature Control - 2-Quart Glass Jar, FREE Thermometer & Cotton Strainer Bag, 2025 Edition, Black, Make Yummy Organic Probiotic Yogurt at Home |
|
| 6 | Suteck Yogurt Maker - Stainless Steel Yogurt Makers with Adjustable Time & Temp Control,Automatic Shut-Off & Constant Temper for Homemade Greek, Probiotic Yogurt, BPA-Free 8 Glass Jars (48 oz) |
|
| 7 | Yogurt Maker, Automatic Digital Yoghurt Maker Machine with 5 Glass Jars 42 Ozs, with Constant Temperature Control for Home Organic Yogurt, Cheese, Fruit Wine (with 5 Cups) |
|
| 8 | Ultimate Yogurt Jars - Make More Delicious Yogurt! 8 Count Small Glass Yogurt Cups With Lids - 100% BPA Free, Airtight & Dishwasher Safe! Perfect Containers for Yoghurt, Oatmeal, Pudding, or Jello |
|
| 9 | Yogurt Maker, Automatic Digital Yoghurt Maker Machine with 5 Glass Jars 42 Ozs, with Constant Temperature Control for Home Organic Yogurt, Cheese, Fruit Wine (No Cups) |
|
| 10 | Bear Yogurt Maker, Greek Yogurt Maker Machine with Strainer and Timer Control, Stainless Steel Inner Pot, Automatic Digital with 2 Glass Jars 1 Quart for Home Organic Yogurt, Cheese, Fruit Wine |
|
Key Features to Look for in a Yogurt Maker
When you’re shopping for a yogurt maker, a few features can make your life a lot easier. Keep an eye out for these:
- Automatic Shut-off: This is a lifesaver. Once the incubation time is up, the machine turns off, preventing your yogurt from over-culturing and becoming too tart.
- Temperature Control: Some advanced models allow you to set the exact incubation temperature, giving you more control over the final texture and tang of your yogurt.
- Individual Jars vs. Large Container: Do you prefer grab-and-go single servings or one big tub to scoop from? Both work great; it’s a matter of personal preference.
- Glass vs. Plastic Containers: Glass is non-reactive, easy to clean, and doesn’t hold onto flavors. BPA-free plastic is lighter and less breakable.
- Timer: A clear, easy-to-read digital timer is essential for tracking the fermentation process accurately.
Step-by-Step: How to Use a Yogurt Thermometer
This is where the magic really begins. The thermometer is your guide for the two most critical stages before incubation. An instant-read digital thermometer is your best friend here, as it’s fast and accurate.
“Temperature is the most critical variable in yogurt making. It dictates the texture, tang, and even the probiotic potency of the final product. A reliable thermometer isn’t a luxury; it’s a necessity for consistent results.” – Dr. Elena Vance, Nutritionist and Fermentation Specialist
Here’s the process, broken down into simple steps.
Phase 1: Heating the Milk
The first step is to heat your milk. This isn’t about pasteurizing it; it’s about altering the milk proteins (specifically, whey) so they set up a thicker, creamier yogurt instead of a thin, runny one.
- Pour and Heat: Pour your desired amount of milk (whole milk works best for beginners) into a heavy-bottomed pot.
- Clip Your Thermometer: Clip your yogurt thermometer to the side of the pot, making sure the tip is submerged in the milk but not touching the bottom of the pot, which can give you a false, high reading.
- Heat Gently: Heat the milk over medium heat, stirring occasionally to prevent a skin from forming and to ensure even heating.
- Watch the Temperature: Your target is 180°F (82°C). Don’t rush this part. Once it hits the target temperature, hold it there for a minute or two if you can, then remove it from the heat. Do not let it boil! Boiling can scorch the milk and negatively affect the texture.
Phase 2: Cooling the Milk
Now, you need to cool the milk down to a temperature that’s warm enough to activate the starter culture but not so hot that it kills the delicate bacteria.
- Cool it Down: The quickest way to do this is by placing the pot in a sink filled with ice water (an ice bath). Stir the milk gently to help it cool faster and more evenly.
- Keep Monitoring: This is the most important part of learning how to use a yogurt thermometer. Keep the thermometer in the milk and watch the temperature drop.
- The Magic Number: You’re aiming for a temperature between 110-115°F (43-46°C). This is the sweet spot. Too hot (above 120°F/49°C) and you’ll kill your cultures. Too cool (below 100°F/38°C) and they won’t be active enough to ferment the milk properly.
- Add Your Starter: Once the milk is in that perfect temperature range, it’s time to add your starter. Take out a cup of the warm milk, whisk in your starter culture (whether it’s a few tablespoons of a previous yogurt batch or a powdered starter) until it’s smooth, and then pour that mixture back into the main pot. Stir gently to combine.
- Incubate: Now your milk is ready! Pour it into your yogurt maker’s containers, set the timer according to your recipe (usually 7-9 hours), and let the machine take over.
Pro Tips for Perfect Homemade Yogurt
- Choose Your Milk Wisely: Whole milk will give you the thickest, creamiest yogurt. You can use 2% or skim, but the result will be thinner. For ultra-thick Greek-style yogurt, you can even add a bit of heavy cream or milk powder.
- Starter Culture Matters: The type of starter you use will influence the flavor and tang. Using a few spoonfuls from a store-bought plain yogurt with “live active cultures” is a great way to start.
- Don’t Jiggle! While the yogurt is incubating in your yogurt maker, resist the urge to move, shake, or peek at it. Disturbing the yogurt during this phase can ruin the delicate curd structure, resulting in a runny final product.
- Time Equals Tang: The longer you incubate, the tangier your yogurt will be. Start with 8 hours. If you want it tarter next time, try 9 or 10. If you prefer it milder, try 7.
- The Final Chill: After incubation, the yogurt will still be a bit loose. Don’t panic! It needs to chill in the refrigerator for at least 6 hours, or preferably overnight. This step is crucial for it to firm up and for the flavor to mellow.
Benefits of Making Your Own Yogurt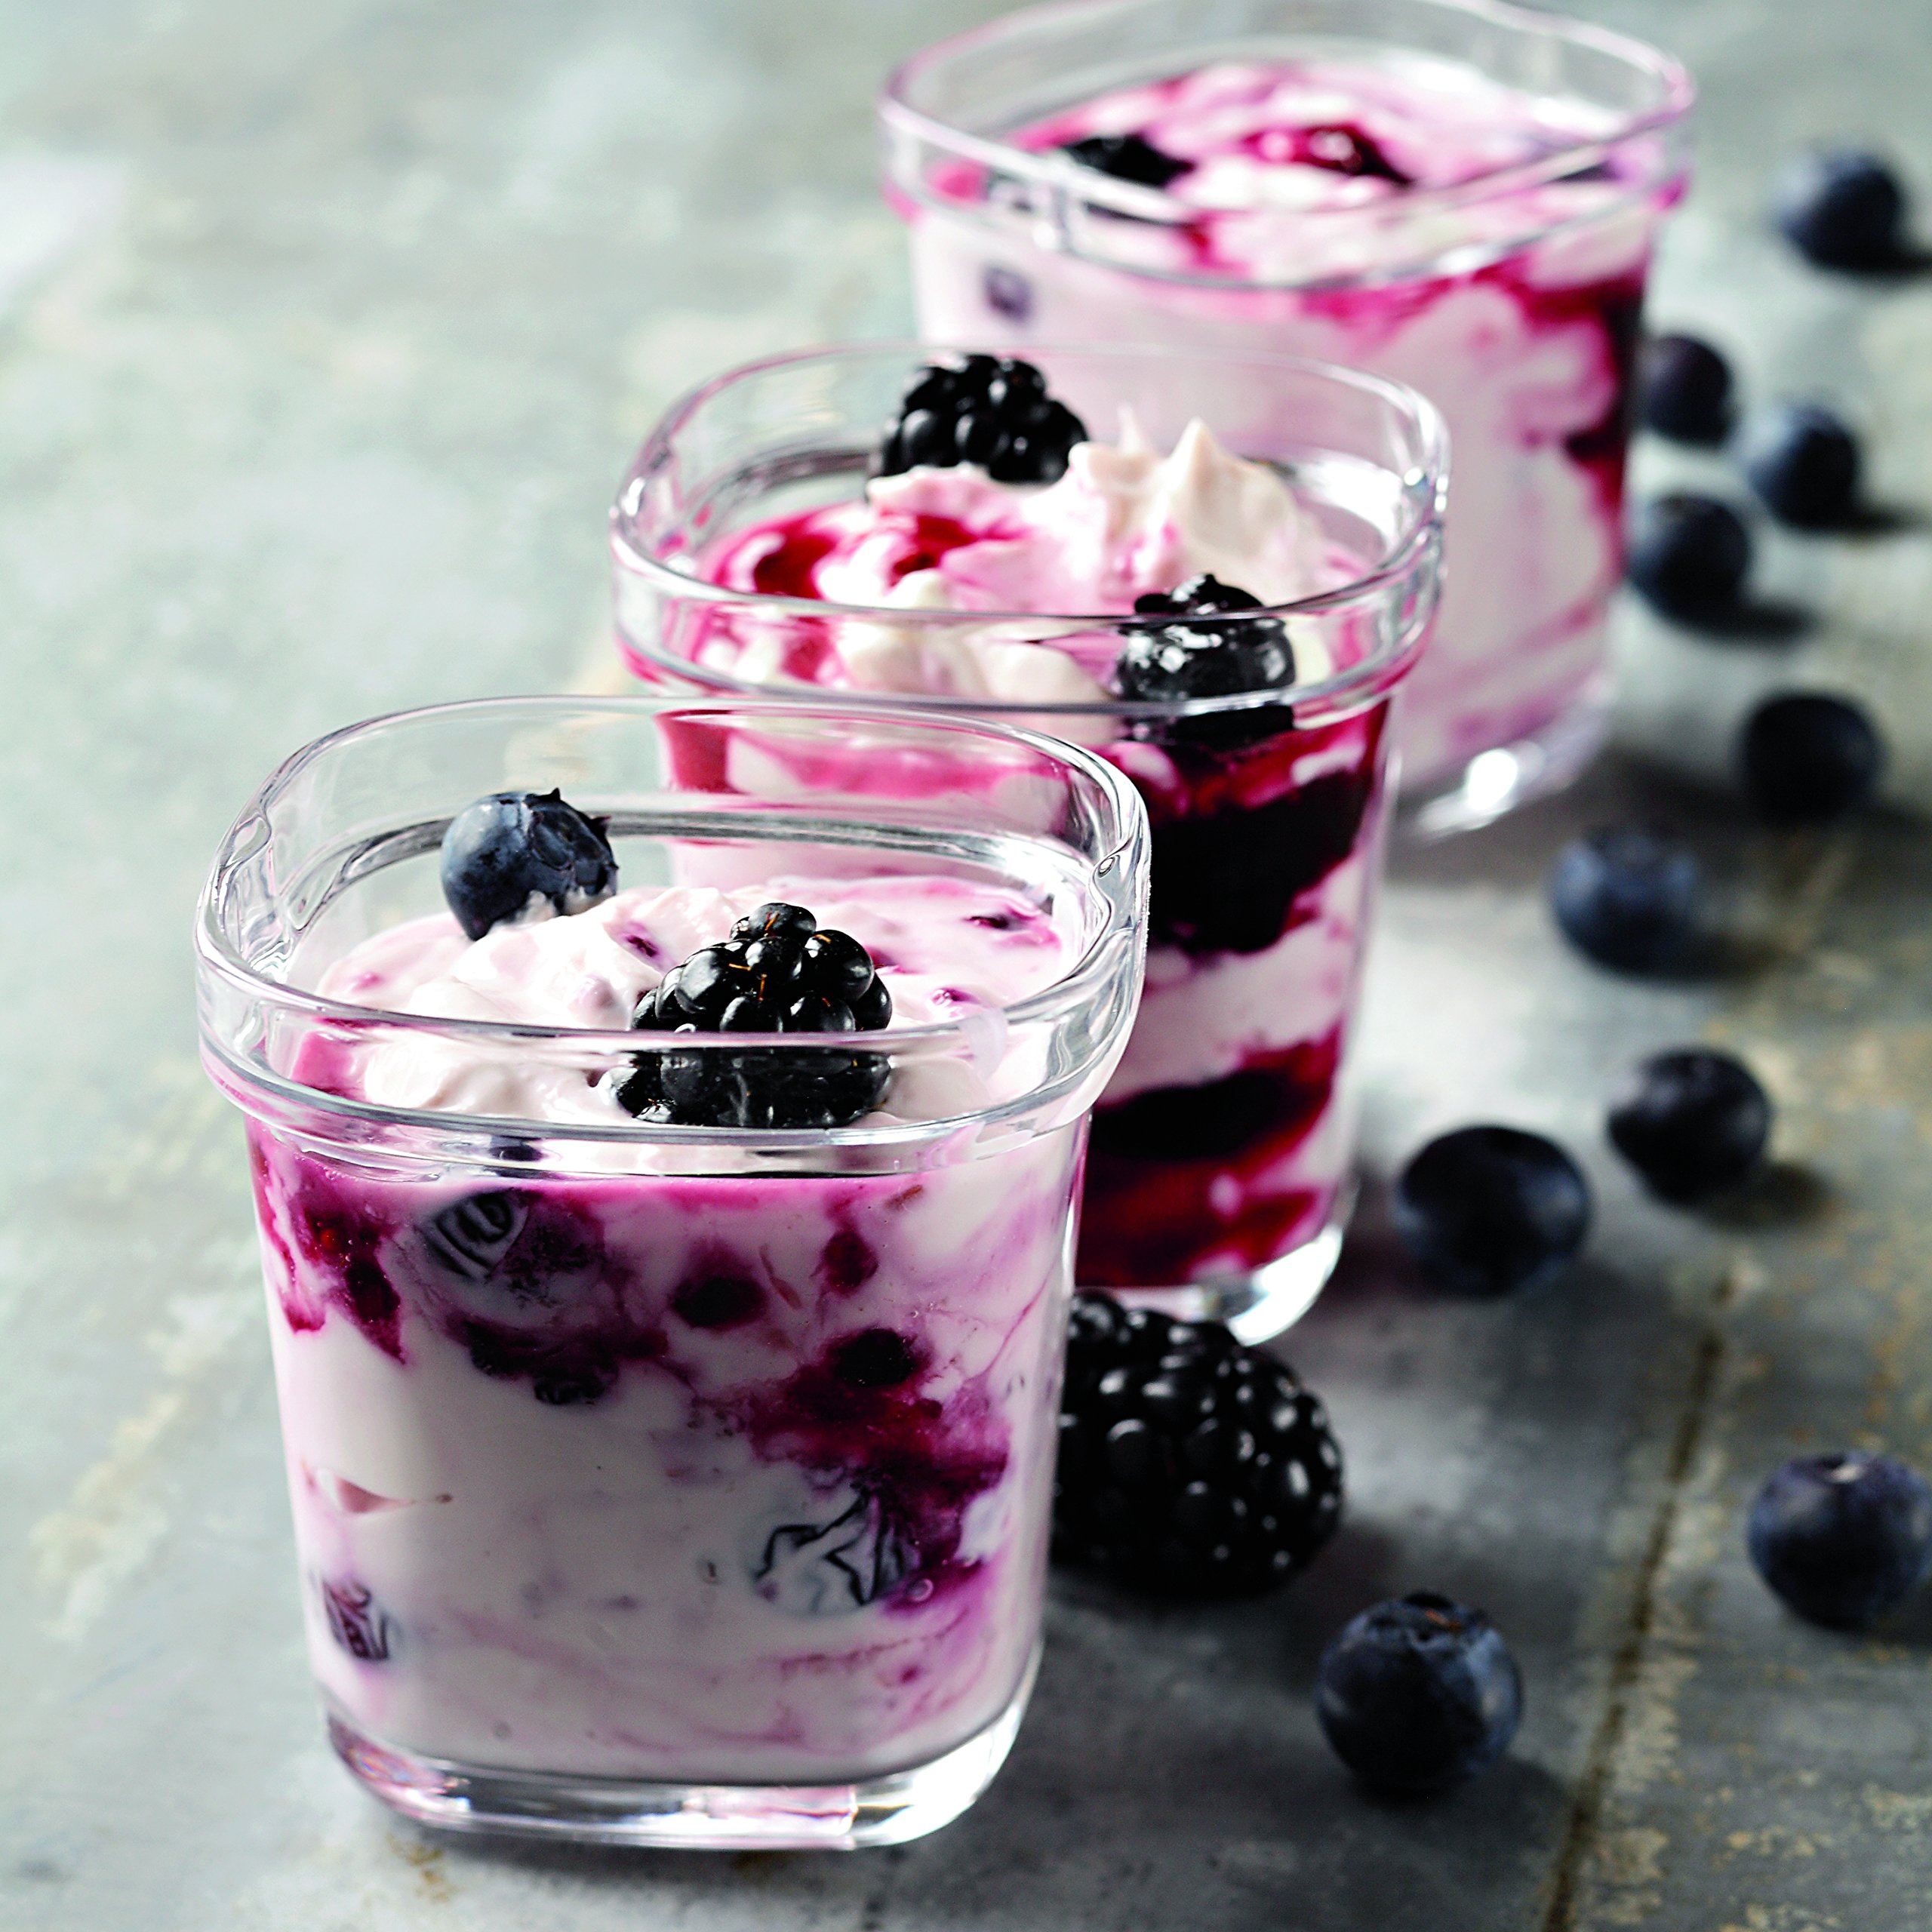
Why bother with all this when you can just buy it? Oh, let me count the ways.
- Healthier: You control everything. That means no added sugars, thickeners, or preservatives. You also get a higher concentration of beneficial probiotics.
- More Affordable: A gallon of milk costs a fraction of the price of the equivalent amount of pre-made yogurt, especially if you’re a fan of pricey Greek yogurt.
- Tastes Better: There is simply no comparison. The freshness and flavor of homemade yogurt are far superior to anything you can buy in a store.
- Endless Customization: Once you have your plain yogurt base, you can flavor it any way you like—with fresh fruit, honey, maple syrup, or vanilla. You’re the chef!
How to Clean and Maintain Your Yogurt Maker
Keeping your equipment clean is vital for successful yogurt making. You don’t want any unwanted bacteria competing with your starter culture.
- Containers and Lids: Wash the jars, lids, and any removable parts in hot, soapy water after each use. Most are also top-rack dishwasher safe, but check your manual.
- The Main Unit: Never submerge the main body of the yogurt maker in water. Simply wipe it down with a damp cloth.
- Your Thermometer: This is crucial. Always wash the probe of your yogurt thermometer thoroughly with hot, soapy water after each use to prevent cross-contamination.
Frequently Asked Questions (FAQ)
Q: What type of thermometer is best for making yogurt?
A: An instant-read digital thermometer is highly recommended. It’s fast, precise, and easy to read. A classic candy thermometer with a clip also works well, but it may be slower to register temperature changes.
Q: Can I make yogurt without a thermometer?
A: You can try, but it’s a huge gamble. Some people use the “pinky test” to gauge temperature, but it’s notoriously inaccurate. For consistent, safe, and delicious yogurt, using a thermometer is the only reliable way to ensure you’re not killing your cultures or failing to activate them.
Q: What happens if my milk is too hot or too cold when I add the starter?
A: If the milk is too hot (above 120°F/49°C), you will kill the live cultures, and your milk will not turn into yogurt. If it’s too cold (below 100°F/38°C), the cultures will be sluggish and may not ferment the milk properly, leading to a very thin, runny result.
Q: How do I know if my yogurt thermometer is accurate?
A: You can easily calibrate it with the ice water test. Fill a glass with ice and top it with cold water. Stir and let it sit for a minute. Submerge your thermometer probe in the water (not touching the ice). It should read 32°F (0°C). If it’s off, you’ll know to adjust your target temperatures accordingly.
Q: My first batch of yogurt was runny. What did I do wrong?
A: The most common culprit for runny yogurt is incorrect temperature. Either the milk wasn’t heated high enough (to 180°F/82°C) to denature the proteins, or it was too hot or too cold when the starter was added. Mastering how to use a yogurt thermometer will likely solve this problem on your next attempt.
Your Yogurt-Making Journey Begins Now
Stepping into the world of homemade yogurt is an incredibly rewarding culinary adventure. It might seem technical at first, but once you understand the simple “why” behind the temperatures, the process becomes second nature. Your yogurt thermometer isn’t just a gadget; it’s your key to unlocking consistency and perfection. It empowers you to take control, to move beyond hope and into confident execution. So go ahead, trust your thermometer, and get ready to enjoy the best yogurt you’ve ever had.