So, you’ve done it! You’ve successfully navigated the wonderful world of cultures and incubation, and now you’re gazing at a beautiful batch of creamy, tangy, homemade yogurt. The satisfying beep of your yogurt maker has faded, and a culinary masterpiece awaits. But hold on a second. Before you dive in with a spoon, there’s one crucial step that separates good yogurt from great yogurt that lasts. Knowing How To Store Homemade Yogurt correctly is the secret to preserving that perfect texture, delicious flavor, and all those gut-friendly probiotics you worked so hard to cultivate. This isn’t just about sticking it in the fridge; it’s an art that ensures every spoonful is as good as the first. Let’s walk through everything you need to know to keep your creation pristine.
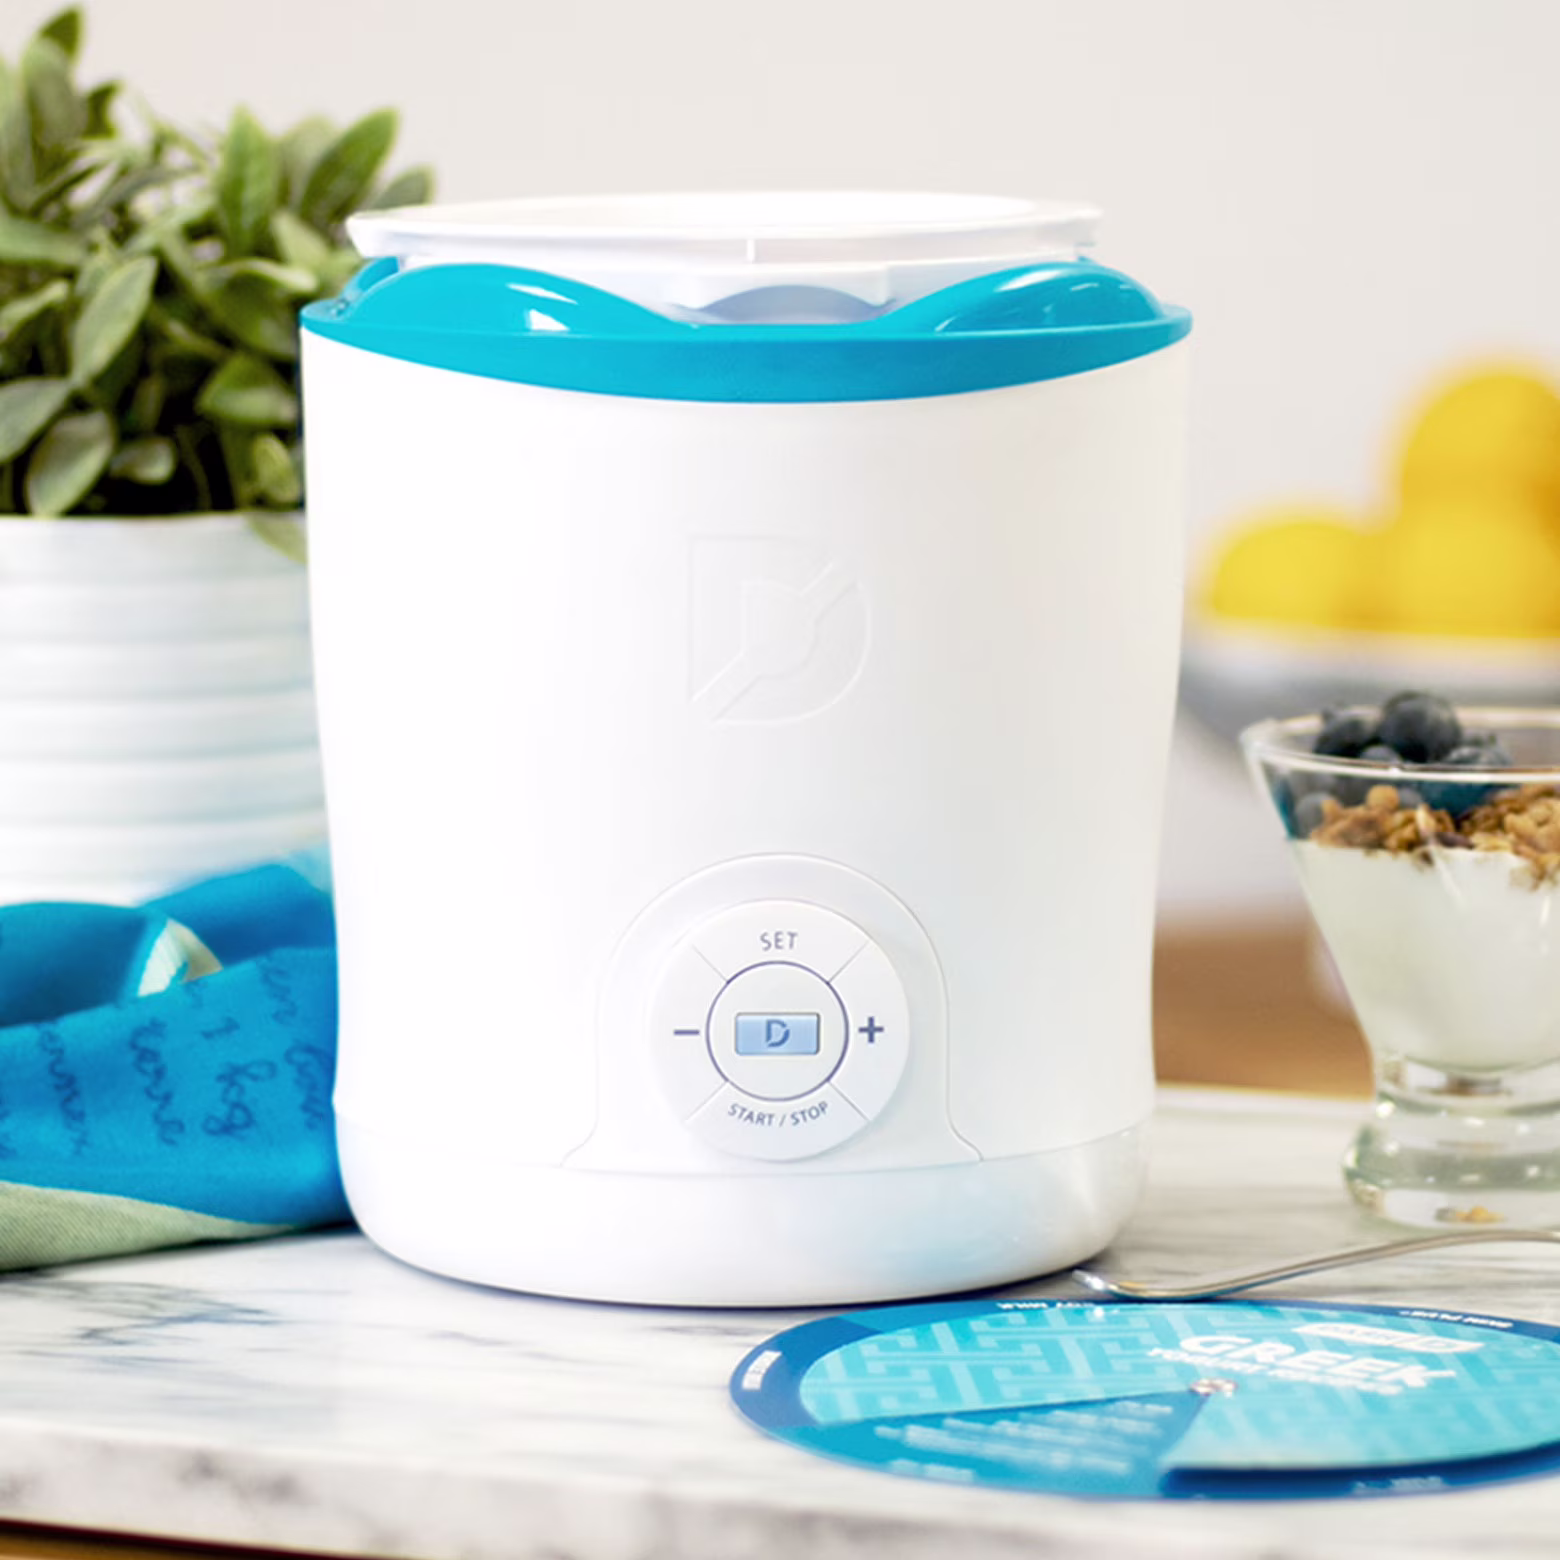
What is a Yogurt Maker and Why You’ll Love It
If you’re new to this, you might be wondering what all the fuss is about. Simply put, a yogurt maker is a kitchen appliance designed to create the perfect environment for making yogurt. It takes all the guesswork out of the process. I remember my first few attempts without one—juggling ovens with pilot lights, wrapping jars in towels, and constantly checking temperatures. It was a hassle! A yogurt maker automates the most critical part: maintaining a consistent, low temperature for a prolonged period, which allows the live cultures (the good bacteria) to work their magic and turn milk into thick, delicious yogurt. It’s your ticket to foolproof yogurt, every single time.
How Does a Yogurt Maker Work?
Think of a yogurt maker as a cozy, temperature-controlled incubator for your future yogurt. Its mechanism is beautifully simple. After you’ve heated your milk, cooled it down, and whisked in your starter culture, you pour the mixture into the provided containers. You then place them inside the machine, put the lid on, and set the timer. The device uses a gentle heating element to maintain a steady temperature, typically between 100°F and 115°F (38°C to 46°C). This is the “sweet spot” where the bacteria in your starter thrive, fermenting the lactose in the milk and creating the lactic acid that gives yogurt its signature tang and thick consistency. It’s a hands-off process that delivers incredibly consistent results.
Bảng trống.Key Features to Consider When Choosing a Yogurt Maker
When you’re ready to jump in, you’ll find a few different types of yogurt makers out there. Choosing the right one comes down to your needs and lifestyle. Here’s a quick checklist of what to look for:
- Capacity and Container Type: Do you want one large container or multiple single-serving jars? Single-serving jars are fantastic for grab-and-go breakfasts and portion control. Larger tubs are great if you’re making yogurt for a family or for use in recipes like marinades and dips.
- Temperature Control: Basic models have one preset temperature, which works perfectly fine. More advanced models offer adjustable temperature settings, giving you the power to experiment with different types of cultures that might thrive at slightly different temperatures.
- Automatic Shut-off: This is a game-changer. An automatic shut-off feature turns the machine off once the timer is done, preventing your yogurt from over-incubating and becoming too sour. It offers peace of mind, especially if you like to make yogurt overnight.
- Material: Most containers are either glass or BPA-free plastic. Glass is non-reactive, easy to clean, and many people prefer it for health reasons. Plastic is lighter and less prone to breaking. It’s purely a matter of personal preference.
- Greek Yogurt Strainer: Some models come with a special strainer to help you make thick, protein-packed Greek yogurt. If you’re a fan of that style, look for a machine that includes this handy accessory.
The Ultimate Guide: How to Store Homemade Yogurt Step-by-Step
Alright, your yogurt maker has just finished its cycle. The yogurt is warm and has a delicate, almost jelly-like set. What you do in the next few hours is critical. Follow these steps meticulously for the best results.
- Resist the Urge to Stir: As soon as the incubation is complete, the yogurt will be warm and fragile. Do not stir, shake, or disturb it! Doing so now will break the delicate protein structure, resulting in a thin, runny final product.
- The Initial Chill: Carefully remove the container or individual jars from the yogurt maker. Place the lid on, but don’t seal it airtight just yet if the yogurt is still very warm (to prevent condensation from dripping onto the surface). Place the yogurt directly into the coldest part of your refrigerator.
- Let It Set and Chill Completely: This step is non-negotiable. The yogurt needs to chill undisturbed for at least 6 to 8 hours, but overnight is even better. This chilling process, often called the “setting” phase, is what allows the yogurt to firm up and develop its final texture and flavor. It halts the fermentation process, so it doesn’t get any more tart.
- Skim the Whey (or Don’t!): After chilling, you’ll likely see a thin layer of clear or yellowish liquid on top. This is whey. You can either pour it off for a slightly thicker yogurt or simply stir it back in. That whey is packed with protein and probiotics, so I always recommend stirring it back into the mix!
- Store in Airtight Containers: Now is the time to transfer it if you made it in one large batch. The best containers for long-term storage are glass jars with airtight lids. Glass is non-porous and won’t absorb any flavors or odors from your fridge. Ensure your container is scrupulously clean to avoid introducing any bad bacteria.
- Label and Date: This seems like a small thing, but it’s a habit that pays off. Use a piece of masking tape or a dry-erase marker to write the date you made the yogurt. This helps you keep track of its freshness.
Expert Insight from Dr. Elena Vance, Food Scientist: “The post-incubation chill is just as important as the incubation itself. Rapidly cooling the yogurt stops the starter cultures from producing excess lactic acid, which prevents an overly sour taste. It also allows the casein protein matrix to firm up, creating that desirable thick and smooth texture we all love in homemade yogurt.”
Tips for Perfect Yogurt (Before You Store It)
The quality of your stored yogurt begins with the quality of your fresh yogurt. A few pointers during the making process can make all the difference.
- Choose Your Starter Wisely: The type of starter culture you use will impact the final flavor and thickness. You can use a bit of your previous batch, a store-bought plain yogurt with live active cultures, or a powdered starter culture. Powdered starters often yield the most consistent results.
- Don’t Skimp on Incubation Time: Most yogurts need between 7 to 9 hours to incubate. Less time can lead to thin yogurt, while more time will result in a tangier flavor. Your yogurt maker’s manual will have specific recommendations.
- Milk Matters: The type of milk you use affects the final texture. Whole milk will produce a creamier, thicker yogurt, while low-fat or skim milk will result in a thinner consistency. For an extra-thick yogurt, you can even add a tablespoon or two of non-fat dry milk powder to your milk before heating.
Benefits of Making Your Own Yogurt at Home
Why go through all this effort? Once you start, you’ll wonder why you ever bought it from the store.
- Health and Nutrition: You control everything that goes in. No added sugars, artificial sweeteners, thickeners, or preservatives. Plus, homemade yogurt is often teeming with more diverse and potent probiotics than commercial varieties.
- Incredible Savings: Making yogurt at home costs a fraction of buying it. A gallon of milk can produce a gallon of yogurt for just a few dollars, compared to the premium price of high-quality store-bought yogurt.
- Unbeatable Flavor and Texture: The freshness is undeniable. The taste is pure, clean, and you can customize the tanginess and thickness to your exact liking.
How to Clean and Maintain Your Yogurt Maker
Keeping your equipment clean is paramount for making safe and delicious yogurt. Luckily, it’s incredibly easy.
- Always unplug the machine before cleaning.
- The base unit that contains the heating element should never be submerged in water. Simply wipe it down with a damp cloth if needed.
- The lids, containers, and any inserts are usually dishwasher safe (top rack recommended). Check your specific model’s instructions to be sure.
- Ensure everything is completely dry before storing it away to prevent any mildew or unpleasant odors. A clean machine is the first step to a healthy batch of yogurt.
Frequently Asked Questions
Why is there a layer of liquid on my stored homemade yogurt?
That liquid is whey, and it’s completely normal! Whey separation can happen due to temperature fluctuations or slight disturbances. It’s full of protein and nutrients. You can simply stir it back in before serving or pour it off if you prefer a thicker, Greek-style consistency.
How long does homemade yogurt last in the refrigerator?
When you follow the proper steps for how to store homemade yogurt, it will stay fresh and delicious for about 1 to 2 weeks. Its longevity depends on the freshness of your milk and the cleanliness of your equipment. If it develops a strange odor, mold, or an overly sour taste, it’s best to discard it.
Can I add fruit or sweeteners before storing the yogurt?
It’s best to store your yogurt plain. Adding fruit or sugar can shorten its shelf life because the sugar can feed other yeasts and bacteria, and the fruit can release water, making the yogurt runny. Add your favorite toppings and mix-ins right before you eat it for the best taste and texture.
Can I freeze my homemade yogurt?
Yes, you can freeze homemade yogurt, but be aware that the texture will change upon thawing. It will become thinner and more grainy because the freezing process can damage the protein structures. Frozen yogurt is best used in smoothies or for baking rather than eating on its own.
My yogurt is too thin. Can I fix it after it’s been stored?
If your yogurt is a bit thin, you can thicken it by straining it through a cheesecloth or a coffee filter placed in a sieve over a bowl. Let it strain in the fridge for a few hours. The liquid that drains out is whey, and you’ll be left with a much thicker, Greek-style yogurt.
Your Journey to Perfect Yogurt Awaits
Making yogurt at home is an incredibly rewarding journey, from the simple act of creation to the delicious final product. With a reliable yogurt maker, you take control of the process, and by mastering how to store homemade yogurt, you ensure that your efforts are rewarded with every single spoonful. It’s about more than just food; it’s about health, savings, and the simple joy of creating something wholesome in your own kitchen. So go ahead, chill that beautiful batch, and get ready to enjoy the freshest, most delicious yogurt you’ve ever had.