Ever opened a tub of cream cheese and winced at the ingredient list? Or maybe you’re just looking for a healthier, tangier, and ridiculously easy-to-make spread for your morning bagel. Well, get ready to have your mind blown. We’re about to dive into the simple, magical world of How To Make Yogurt Cheese. Forget fancy equipment or complicated steps; if you have yogurt, you’re 90% of the way there. This isn’t just a recipe; it’s a kitchen revelation that will transform your favorite dairy staple into a creamy, luxurious spread that’s as versatile as it is delicious. Here at Yogurt Maker Guide, we live and breathe all things yogurt, and trust me, this is one of our all-time favorite kitchen hacks.
What Exactly Is Yogurt Cheese?
Let’s clear this up right away. Yogurt cheese, often known by its Middle Eastern name, Labneh, is simply yogurt that has been strained to remove most of its whey. Whey is the watery liquid part of milk that separates from the solids, or curds. By straining it out, you’re left with a thick, concentrated, and incredibly creamy product that has the consistency of soft cream cheese but with the signature tangy flavor of yogurt. It’s the best of both worlds!
Why You’ll Absolutely Love Making Your Own Yogurt Cheese
Making your own food is always rewarding, but learning how to make yogurt cheese comes with a special set of perks that will get you hooked.
- Incredibly Simple: Seriously, this is one of the easiest “cheesemaking” processes on the planet. It’s mostly a hands-off waiting game.
- Budget-Friendly: A small, pricey tub of labneh or gourmet cream cheese spread can be made for the cost of a container of plain yogurt. You’re saving money while getting a superior product.
- Healthier Than The Alternative: Yogurt cheese is packed with probiotics, protein, and calcium, while typically having fewer calories and less fat than traditional cream cheese. It’s a gut-friendly choice you can feel good about.
- Completely Customizable: The final product is a blank canvas. You can leave it plain and tangy or mix in herbs, spices, garlic, or even a drizzle of honey to create your own signature spreads and dips.
The Only Tools and Ingredients You’ll Need
You don’t need a professional kitchen for this. I’d bet you have most of these items already.
- Yogurt: The star of the show! Full-fat, plain yogurt works best for the creamiest result. Greek yogurt is also a fantastic choice as it’s already partially strained, which speeds up the process. We highly recommend starting with a batch from our guide to homemade yogurt for the freshest flavor.
- Salt: Just a pinch. This helps draw out the whey and adds a bit of flavor. Fine sea salt is perfect.
- A Strainer: A fine-mesh sieve or a colander will do the trick.
- Cheesecloth: This is the most important tool. You’ll need a few layers to ensure none of the yogurt solids escape. If you don’t have cheesecloth, a clean, lint-free tea towel, a nut milk bag, or even a couple of heavy-duty paper coffee filters can work in a pinch.
- A Bowl: It needs to be deep enough for the strainer to sit on top without touching the bottom, allowing space for the whey to collect.
- A Spoon or Spatula: For mixing and scooping.
How to Make Yogurt Cheese: A Step-by-Step Guide
Ready to get started? This process is so straightforward, you’ll be wondering why you haven’t been doing it for years. The first time I made this, I was shocked at how a simple container of yogurt could transform into something so decadent.
Step 1: The Setup
- Place your fine-mesh strainer over a deep bowl. Ensure there’s at least a couple of inches of clearance between the bottom of the strainer and the bottom of the bowl.
- Line the strainer with at least two layers of cheesecloth (or your chosen alternative). If you’re using a large piece, let the excess hang over the sides.
- In a separate bowl, mix your yogurt with a pinch of salt. For a standard 32-ounce (about 1kg) container of yogurt, a half teaspoon of salt is a good starting point. Stir gently until it’s just combined.
Step 2: The Straining Process
- Carefully pour or spoon the salted yogurt into the center of the cheesecloth-lined strainer.
- Gather the corners of the cheesecloth and gently twist them together to form a bundle. You can tie it off with kitchen twine or simply fold the excess cloth over the top of the yogurt.
- Cover the whole setup (bowl and strainer) with plastic wrap or a plate and place it in the refrigerator.
Step 3: The Waiting Game (Patience is a Virtue!)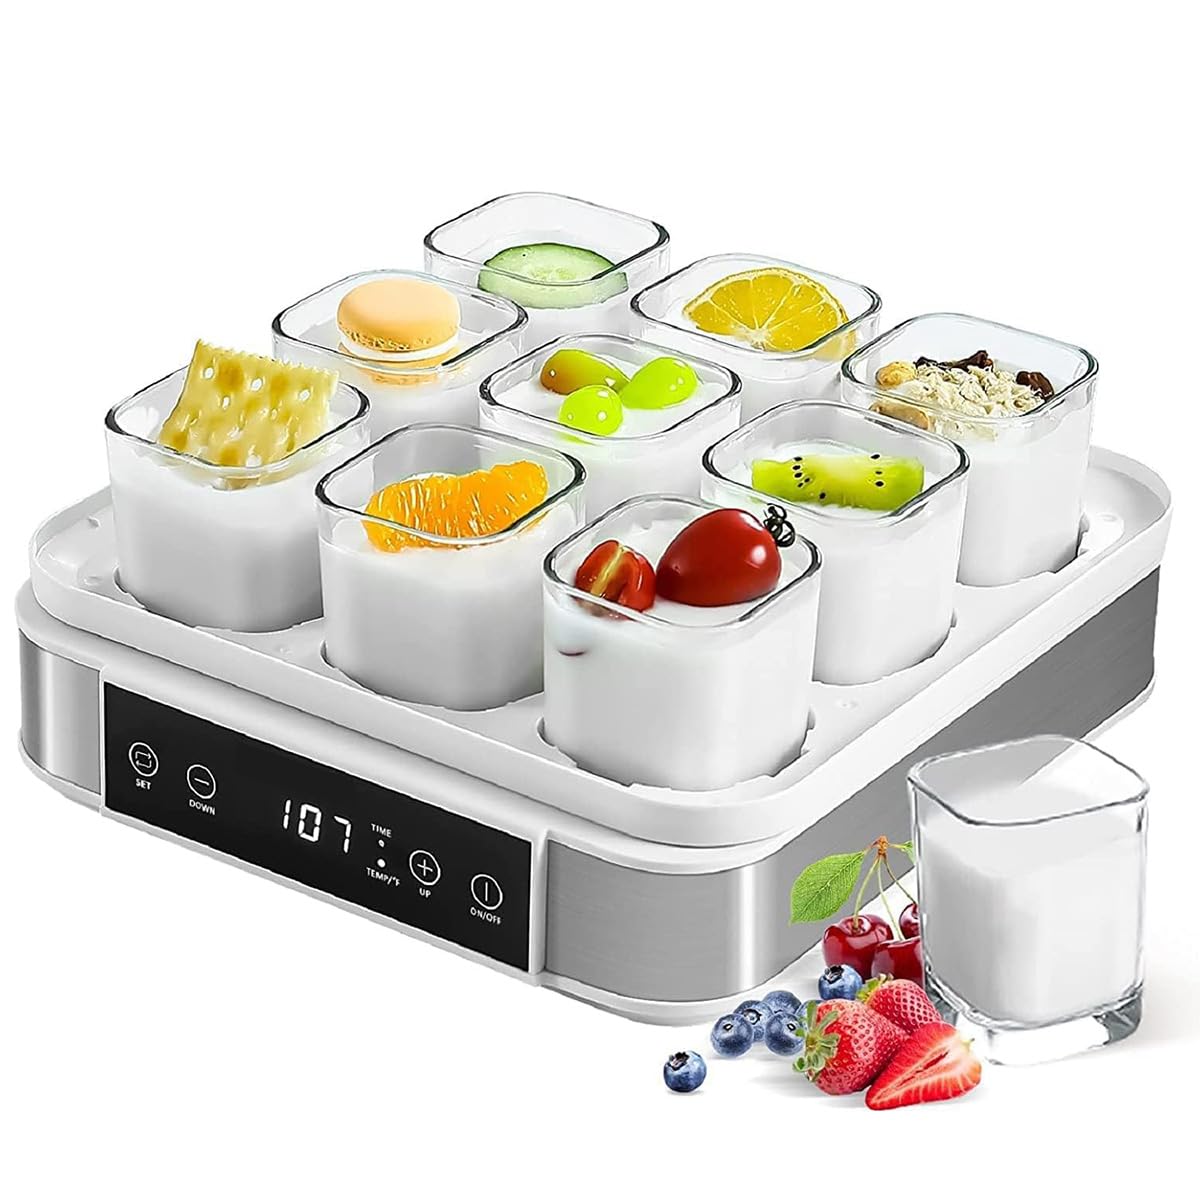
This is where the magic happens. The longer you let it strain, the thicker your yogurt cheese will become. The key to learning how to make yogurt cheese to your liking is understanding this timeline:
- 8-12 hours: Produces a thick, spoonable consistency similar to Greek yogurt or a soft dip. Perfect for dolloping on soups or fruit.
- 18-24 hours: This is the sweet spot for a soft, spreadable cheese that’s very similar to cream cheese. Ideal for bagels and sandwiches.
- 36-48 hours: Creates a very firm, dense cheese that you can roll into balls (labneh balls) and marinate in olive oil and herbs.
Step 4: The Grand Reveal & Storage
- After your desired straining time has passed, take the bowl out of the fridge. You’ll see a significant amount of cloudy liquid (whey) in the bottom of the bowl. Don’t throw it out! Whey is packed with protein and can be used in smoothies, soups, or for baking.
- Unwrap your cheesecloth bundle. Inside, you’ll find your beautifully thick and creamy yogurt cheese.
- Scrape the cheese out of the cloth and into an airtight container. It’s ready to use immediately! It will keep in the refrigerator for up to a week.
“Yogurt cheese is a fantastic way to boost your protein and probiotic intake. By concentrating the yogurt, you’re getting more of the good stuff in every bite. It’s a simple, natural food that supports both gut health and a balanced diet.”
– Dr. Amelia Thorne, Registered Dietitian
Pro Tips for Perfect Yogurt Cheese Every Time
Once you’ve mastered the basic technique for how to make yogurt cheese, you can start experimenting. Here are a few tips I’ve picked up along the way.
- Start with Quality Yogurt: The better your starting yogurt, the better your final cheese will taste. Avoid yogurts with stabilizers, gelatin, or sweeteners. Full-fat, plain, and simple is the way to go. If you use a yogurt maker like the Euro Cuisine YM80, you have total control over the quality.
- Don’t Squeeze! Resist the temptation to squeeze the cheesecloth to speed things up. This can force the yogurt solids through the cloth, resulting in a gritty texture. Let gravity do the work.
- Flavor It Up: Once strained, the world is your oyster. Stir in finely chopped chives, dill, garlic powder, lemon zest, or cracked black pepper for a savory spread. For a sweet version, a swirl of honey, maple syrup, or fruit compote is divine.
- Consistency is Key: Check on your cheese after about 12 hours. If it’s as thick as you want, you’re done. If you want it thicker, just put it back in the fridge and let it continue to drain.
Creative Ways to Use Your Homemade Yogurt Cheese
You’ve made it! Now, how do you use this creamy delight?
- As a Spread: Slather it on toast, bagels, or crackers. It’s a game-changer.
- As a Dip: Mix with herbs and serve with fresh vegetables, pita bread, or chips.
- In Cooking: Use it in place of sour cream or cream cheese in recipes for cheesecakes, frostings, or creamy pasta sauces.
- As a Topping: A dollop on chili, baked potatoes, or a bowl of fresh berries adds a touch of creamy, tangy richness.
- Labneh Balls: For the firmest version, roll the cheese into small balls, place them in a jar, and cover them with good-quality olive oil, herbs like thyme or rosemary, and chili flakes. They make an incredible appetizer.
Frequently Asked Questions (FAQ)
Q: Can I use non-fat or low-fat yogurt to make yogurt cheese?
A: Yes, you absolutely can! Just be aware that the final texture will be less rich and creamy, and the yield will be smaller since there’s less fat and protein to begin with. Full-fat yogurt provides the most luxurious result.
Q: My yogurt cheese seems too tangy. How can I fix it?
A: The tanginess comes directly from your starting yogurt. If you find it too strong, you can balance it by stirring in a little honey or maple syrup for a sweet spread, or some rich olive oil and savory herbs for a dip. Using a milder yogurt to begin with also helps.
Q: What is the liquid left over after straining, and what can I do with it?
A: That liquid is acid whey. It’s full of protein, probiotics, and minerals. Don’t discard it! You can add it to smoothies for a protein boost, use it in place of water when baking bread for a softer crumb, or add it to soups and stews.
Q: Do I really need cheesecloth?
A: Cheesecloth is ideal because of its fine weave, but you can definitely succeed without it. A brand new, clean kitchen towel (that you don’t mind potentially staining), a nut milk bag, or several layers of paper towels or coffee filters placed inside a strainer will also work.
Q: How do I know when my yogurt cheese is done straining?
A: It’s entirely up to your personal preference! There’s no right or wrong answer. After 8 hours, check the consistency. If you can scoop it easily with a spoon and it holds its shape, it’s perfect for a dip. If you want a spreadable cheese, wait closer to 24 hours. Just peek at it every few hours until it looks right to you.
Your New Favorite Kitchen Staple
Learning how to make yogurt cheese is more than just learning a new recipe—it’s about unlocking a new level of creativity and health in your kitchen. With just one simple ingredient and a little bit of patience, you can create a versatile, delicious, and wholesome staple that will elevate everything from your morning toast to your party platters. So go grab a container of yogurt and give it a try. We promise you’ll be thrilled with the creamy, tangy results.