Ever spooned into a bowl of store-bought yogurt and thought, “I could do better”? Well, you absolutely can. Learning How To Make Regular Yogurt at home is a game-changer, transforming a simple kitchen staple into a creamy, tangy, and incredibly fresh creation that’s all your own. It might sound like a complicated science experiment, but I promise you, it’s surprisingly simple, especially when you have the right sidekick. I’m talking about a dedicated yogurt maker—the unsung hero of the homemade dairy world. Forget inconsistent results from your oven or cooler; this little gadget is designed for one thing and one thing only: perfect yogurt, every single time. Ready to dive in? Let’s get culturing.
What is a Yogurt Maker and Why Do You Need One?
Let’s be honest. My first few attempts at making yogurt without a machine were… let’s call them “learning experiences.” One batch was as thin as milk, another was oddly lumpy. The problem wasn’t the recipe; it was consistency. A yogurt maker is essentially a small appliance that provides a perfectly stable, low-temperature environment for an extended period. It’s a cozy, controlled incubator for the good bacteria (the cultures) to do their magical work.
While you can use an oven with the light on or an insulated cooler, these methods are prone to temperature fluctuations. A draft from an open door or a change in room temperature can throw the whole process off. A yogurt maker eliminates all that guesswork, ensuring the cultures thrive and turn your milk into thick, creamy yogurt. It’s the difference between hoping for the best and knowing you’ll get it.
How Does a Yogurt Maker Work?
It’s simpler than you think. A yogurt maker works by gently heating a base to a specific, consistent temperature—usually between 100°F and 115°F (38°C to 46°C)—and holding it there for several hours. This is the optimal temperature range for the live cultures in your yogurt starter to multiply. As these bacteria consume the lactose (milk sugar), they produce lactic acid. This acid is what causes the milk proteins to coagulate, or “set,” giving yogurt its signature thick texture and tangy flavor. Think of it as a dedicated, automated babysitter for your yogurt cultures.
|
Our Picks for the Best Yogurt Maker in 2025
As an Amazon Associate, we earn from qualifying purchases.
|
||
| Num | Product | Action |
|---|---|---|
| 1 | Ultimate Probiotic Yogurt Maker with Adjustable Temperature & Time Control - Make Trillions of Live Probiotics & Get Better Gut Health - ULTIMATE LIFETIME WARRANTY - Wellness Gifts for Men & Women |

|
| 2 | Euro Cuisine YM360 Yogurt Maker with Adjustable Time & Temperature Control - 2-Quart Glass Jar, FREE Thermometer & Cotton Strainer Bag, 2025 Edition, Black, Make Yummy Organic Probiotic Yogurt at Home |
|
| 3 | Suteck Yogurt Maker with 8 Glass Jars, Time & Temp Adjustable Control Yogurt Machine, Homemade Greek & Probiotic Yogurt, Automatic Shut-Off, BPA-Free, 48 oz Total, |
|
| 4 | Ultimate Probiotic Yogurt Maker with Adjustable Temperature & Time Control - Make Trillions of Live Probiotics & Get Better Gut Health - ULTIMATE LIFETIME WARRANTY - Wellness Gifts for Men & Women |
|
| 5 | Yogurt Maker, Automatic Digital Yoghurt Maker Machine with 5 Glass Jars 42 Ozs, with Constant Temperature Control for Home Organic Yogurt, Cheese, Fruit Wine (with 5 Cups) |
|
| 6 | DASH My Mug Ice Cream Maker Machine (Aqua): Multi-Purpose Soft Serve Ice Cream Machine with (2) Bowls for Homemade Gelato, Sorbet, Frozen Yogurt, Built-In Ingredient Chute, Easy to Clean and Store |
|
| 7 | Yogurt Maker, Automatic Digital Yoghurt Maker Machine with 5 Glass Jars 42 Ozs, with Constant Temperature Control for Home Organic Yogurt, Cheese, Fruit Wine (No Cups) |
|
| 8 | Ultimate Yogurt Jars - Make More Delicious Yogurt! 8 Count Small Glass Yogurt Cups With Lids - 100% BPA Free, Airtight & Dishwasher Safe! Perfect Containers for Yoghurt, Oatmeal, Pudding, or Jello |
|
| 9 | Suteck Yogurt Maker - Stainless Steel Yogurt Makers with Adjustable Time & Temp Control,Automatic Shut-Off & Constant Temper for Homemade Greek, Probiotic Yogurt, BPA-Free 8 Glass Jars (48 oz) |
|
| 10 | Bear Yogurt Maker, Greek Yogurt Maker Machine with Strainer and Timer Control, Stainless Steel Inner Pot, Automatic Digital with 2 Glass Jars 1 Quart for Home Organic Yogurt, Cheese, Fruit Wine |
|
Key Features to Consider When Choosing a Yogurt Maker
Not all yogurt makers are created equal. When you’re ready to take the plunge, here are a few things to keep in mind. We have a full breakdown in our guide to the [best yogurt makers of the year], but here’s a quick rundown:
- Capacity: Are you making yogurt for one or for a whole family? Machines come in various sizes, from single-serving jars to large, one-batch containers.
- Jar Type: Some models use several small glass or plastic jars, which are great for portion control and grab-and-go snacks. Others have one large tub, which is ideal for making a big batch to use in recipes like our [creamy Greek yogurt dip].
- Automatic Shut-off & Timer: This is a lifesaver. A digital timer that automatically turns the machine off when the incubation is done means you can set it and forget it—even overnight.
- Temperature Control: While most basic models have a preset temperature, more advanced ones allow you to adjust it. This is fantastic if you want to experiment with different types of cultures, like those for kefir or specific heirloom yogurts.
Your Step-by-Step Guide on How to Make Regular Yogurt
Alright, let’s get to the main event. This is our foolproof method for making classic, plain yogurt. Once you master this, the flavor possibilities are endless.
What You’ll Need
Ingredients:
- 4 cups (about 1 liter) of Milk: Whole milk will give you the creamiest, thickest result. You can use 2% or skim, but the final product will be thinner. UHT (Ultra-High Temperature) milk is a great shortcut as it doesn’t require heating first.
- 2 tablespoons of Yogurt Starter: This contains the live cultures. You can use plain, store-bought yogurt (make sure it lists “live and active cultures” on the label and has no added flavors or sweeteners) or a [freeze-dried yogurt starter culture] for the most reliable results.
Equipment:
- A medium saucepan
- A whisk
- An instant-read thermometer
- Your trusty yogurt maker
The Process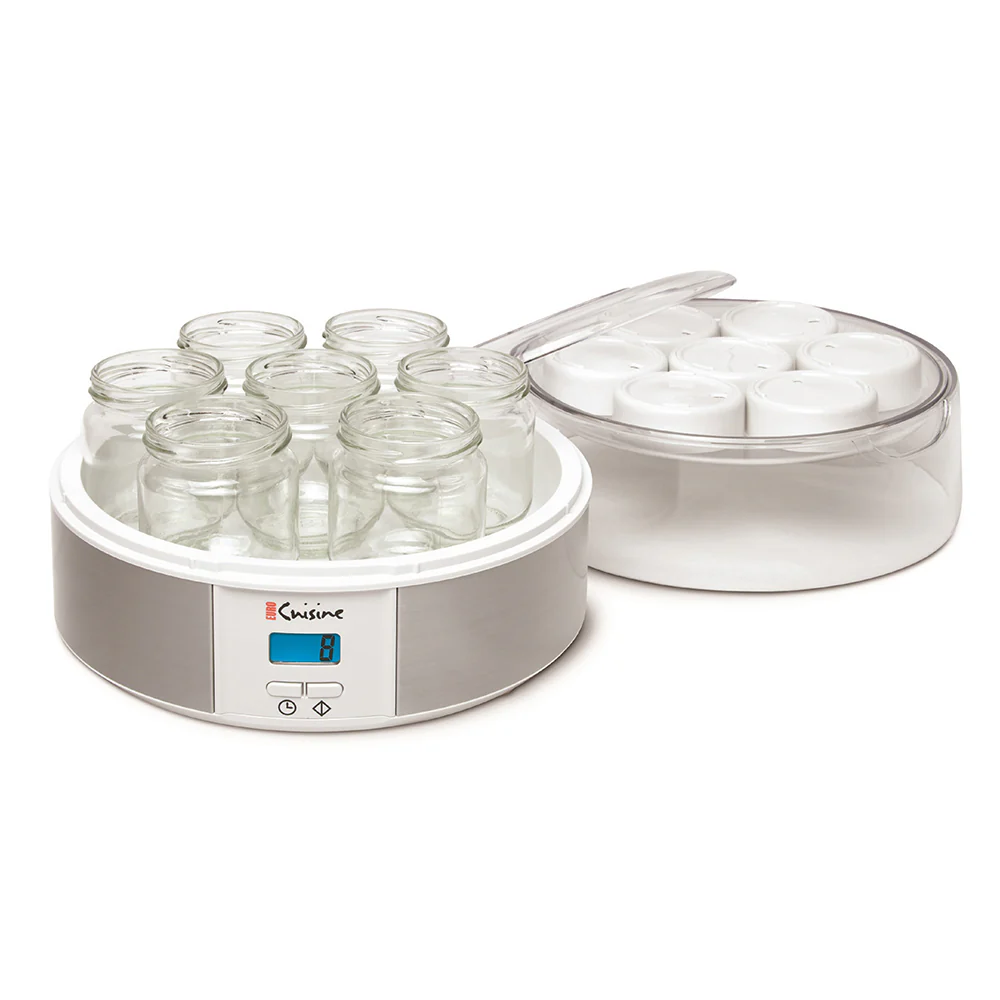
- Heat the Milk (The “Scalding” Step): Pour the milk into your saucepan. Heat it gently over medium heat, whisking occasionally to prevent a skin from forming, until it reaches 180°F (82°C). This step is crucial because it denatures the milk proteins, which helps create a thicker, more stable yogurt and kills any unwanted bacteria. If you’re using UHT milk, you can skip this step entirely!
- Cool the Milk Down: Remove the saucepan from the heat and let the milk cool to 110-115°F (43-46°C). This is very important. If the milk is too hot, it will kill your delicate starter cultures. If it’s too cool, they won’t activate properly. You can speed up the cooling by placing the saucepan in an ice bath.
- Temper and Add the Starter: Scoop about half a cup of the warm milk into a small bowl. Add your 2 tablespoons of yogurt starter (either the store-bought yogurt or rehydrated freeze-dried culture) and whisk until it’s completely smooth. This “tempering” step prevents the starter from clumping when you add it to the main pot.
- Combine and Incubate: Pour the tempered starter mixture back into the main pot of cooled milk and whisk gently until it’s fully combined. Now, pour the milk mixture into your yogurt maker’s container or jars. Place them in the yogurt maker, put the lid on, and set the timer.
- Let the Magic Happen (Incubation): The standard incubation time for regular yogurt is 8-12 hours.
- 8 hours will give you a milder, sweeter yogurt.
- 12 hours will result in a tangier, more acidic flavor.
I find my sweet spot is usually around 9 hours. Don’t be tempted to jiggle or stir it during this time! Just let the machine do its work.
- Chill and Set: Once the timer goes off, the yogurt will be warm and still a bit delicate. Carefully remove the container or jars, put their lids on, and place them in the refrigerator to chill for at least 4-6 hours, or preferably overnight. Chilling is a critical step; it stops the fermentation process and allows the yogurt to firm up completely.
And that’s it! You’ve just learned how to make regular yogurt. The next morning, you’ll open your fridge to find perfectly set, creamy, homemade yogurt.
“Making yogurt at home isn’t just about taste; it’s about taking control of your food. You decide the ingredients, the sugar content, and the type of milk. It’s a simple way to introduce beneficial probiotics into your diet without the additives found in many commercial brands.” – Dr. Amelia Reed, Nutritionist and Fermentation Expert
Pro-Tips for Perfect Homemade Yogurt
- For Thicker Yogurt: For a super thick, Greek-style yogurt, line a sieve with a few layers of cheesecloth or a clean coffee filter, place it over a bowl, and pour your chilled yogurt into it. Let it strain in the fridge for a few hours. The longer it strains, the thicker it gets. The liquid that drains off is whey—don’t throw it out! You can use it in smoothies or baking.
- Choosing Your Starter: When using store-bought yogurt as a starter, always use a fresh container. The potency of the cultures can diminish over time. For the most consistent results batch after batch, we recommend a dedicated [powdered starter culture].
- Don’t Forget to Save Some: Save the last two tablespoons of your homemade batch to use as the starter for your next one! You can do this for 4-5 cycles before you’ll want to start fresh to maintain the culture’s strength.
Benefits of Making Yogurt at Home
Why go to all this trouble? The rewards are huge.
- Healthier: You have 100% control. No added sugars, thickeners, or preservatives. You can even make it with organic or lactose-free milk.
- Cheaper: A gallon of milk and a bit of starter costs a fraction of buying the equivalent amount of quality yogurt from the store.
- Tastier: The freshness is unbeatable. The flavor is clean, and you can customize the tanginess to your exact preference.
- Environmentally Friendly: Less plastic packaging waste from all those individual yogurt cups.
How to Clean and Maintain Your Yogurt Maker
Keeping your machine in top shape is easy. After each use, wash the inner container or jars with warm, soapy water, just like you would any other dish. Most are dishwasher-safe, but check your manual. Wipe down the interior and exterior of the machine base with a damp cloth. Never submerge the main electrical unit in water. Proper cleaning ensures no unwanted bacteria will compete with your cultures in the next batch.
Frequently Asked Questions (FAQ)
Why is my homemade yogurt runny?
This is the most common issue! It’s usually due to one of three things: the milk wasn’t cooled enough before adding the starter (killing the cultures), the incubation time was too short, or your starter culture was old or weak.
Can I use non-dairy milk to make yogurt?
Yes, but it’s a bit different. Plant-based milks like soy, almond, or coconut lack the lactose and protein structure of dairy milk. You will often need to add a thickener (like agar-agar or tapioca starch) and use a specific non-dairy starter culture.
How long does homemade yogurt last in the fridge?
Properly chilled and stored in an airtight container, your homemade yogurt will stay fresh and delicious for up to two weeks. The flavor may get a little tangier over time.
What is the best milk to use for homemade yogurt?
For the creamiest results, full-fat (whole) milk is the undisputed champion. Ultra-pasteurized (UHT) milk is also excellent because it simplifies the process, allowing you to skip the initial heating step.
Do I really need a thermometer to make yogurt?
For consistent, successful results, yes. A food thermometer is the only way to be sure your milk has reached the correct temperatures for both scalding and cooling. It takes the guesswork out of the most critical steps in learning how to make regular yogurt.
Your Yogurt-Making Journey Begins Now
Stepping into the world of homemade yogurt is a rewarding culinary adventure. It’s a simple pleasure that connects you more deeply with your food, saves you money, and provides a healthier, more delicious alternative to what you can buy at the store. With a reliable yogurt maker and this guide, you have everything you need to succeed. So go ahead, grab some milk, and start your journey. You’ll be amazed at what you can create.