Welcome to the wonderful world of homemade yogurt! There’s something deeply satisfying about transforming a simple carton of milk into creamy, tangy, probiotic-rich goodness right in your own kitchen. And the hero of this story? Your trusty yogurt maker. This little appliance is your ticket to consistent, delicious results every single time. But to keep it performing like a champ, you need to know How To Care For Your Yogurt Maker properly. Think of it as a partnership; you give it a little TLC, and it gives you endless batches of perfect yogurt.
Let’s be honest, when you first unbox that shiny new machine, the last thing on your mind is cleaning it. You’re dreaming of Greek yogurt parfaits and savory tzatziki. But trust me, a little bit of maintenance goes a long way. It not only extends the life of your appliance but also ensures that every single batch is as healthy and delicious as the first. This guide is your one-stop shop for everything you need to know, from the initial setup to long-term care.
First Things First: What Exactly Is a Yogurt Maker?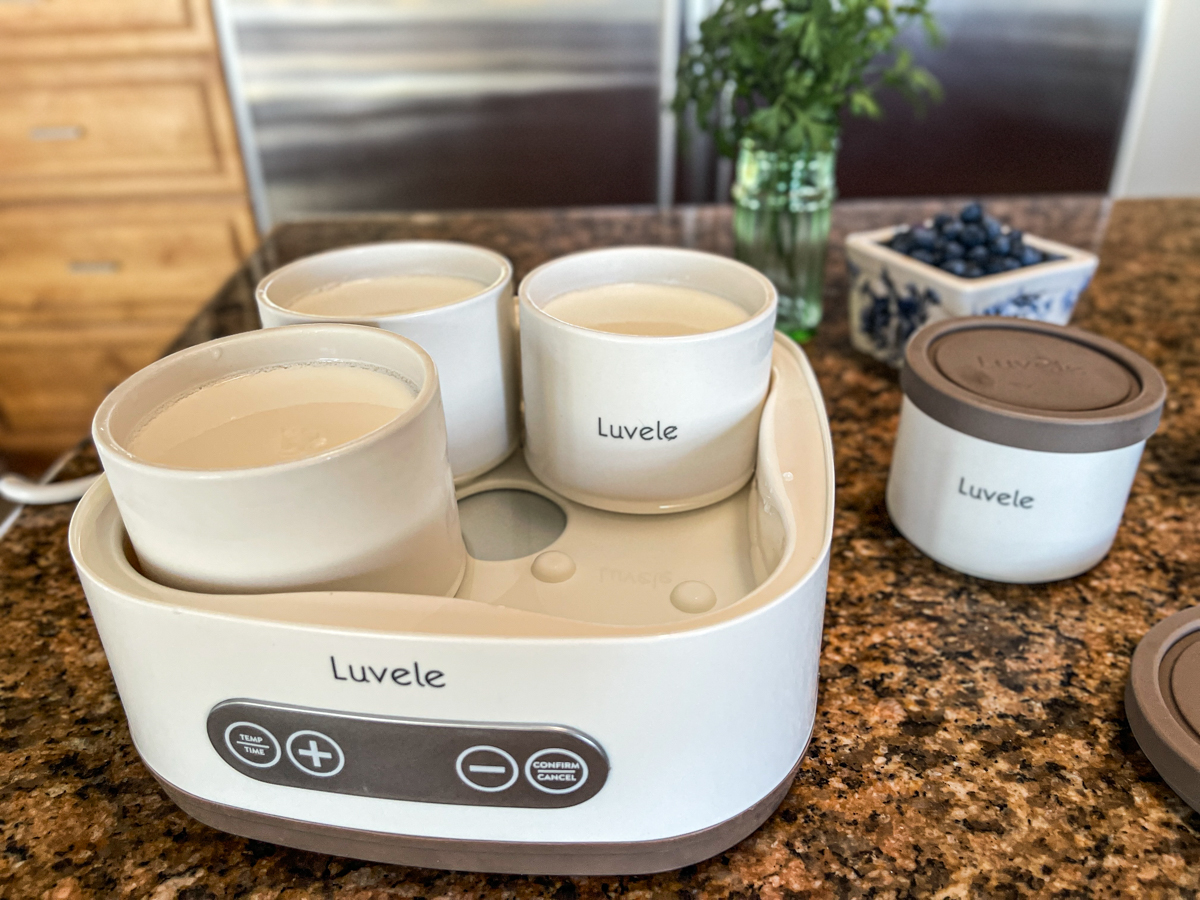
So, what’s the big deal about this gadget? Isn’t yogurt just… fermented milk? Well, yes, but achieving that perfect fermentation is a bit of a science. A yogurt maker is essentially a small, purpose-built incubator.
How Does a Yogurt Maker Work?
A yogurt maker works by creating and maintaining the perfect, consistent temperature for the live bacterial cultures (your yogurt starter) to thrive. These friendly bacteria consume the lactose in the milk and produce lactic acid, which in turn causes the milk to thicken and develop that signature tangy flavor we all love. It takes the guesswork out of the process, preventing the temperature from getting too hot (which kills the cultures) or too cold (which sends them to sleep). It’s like providing a cozy, temperature-controlled blanket for your yogurt to do its thing.
Bảng trống.Key Features to Look For in a Yogurt Maker
If you’re still on the fence about which model to buy, or just curious about what makes yours tick, here are the key features that can make a world of difference:
- Temperature Control: Some advanced models allow you to set a precise temperature, giving you control over making different types of cultured foods, like kefir.
- Automatic Timer & Shut-Off: This is a game-changer. You can set it and forget it, knowing the machine will turn off when the incubation period is over, preventing over-fermentation.
- Jar Type and Size: Most makers come with either a set of single-serving glass jars or one large tub. Glass is great because it’s non-reactive and easy to clean, while a large tub is convenient for making big batches.
- BPA-Free Materials: Always ensure any plastic components that come into contact with your food are certified BPA-free for your peace of mind.
A Step-by-Step Guide to Using Your Yogurt Maker
Before we dive into cleaning, let’s quickly run through the main event: making the yogurt! It’s ridiculously easy.
- Heat the Milk: Gently heat your milk (whole, 2%, or even non-dairy options like soy or coconut) to around 180°F (82°C). This step changes the milk proteins, resulting in a thicker yogurt. Then, let it cool down to a lukewarm 110°F (43°C). This is crucial – too hot and you’ll kill your starter!
- Introduce the Starter Culture: Whisk in your starter. This can be a few tablespoons of a previous batch of homemade yogurt or a store-bought plain yogurt with live active cultures, or a freeze-dried starter culture.
- Fill and Incubate: Pour the milk mixture into your yogurt maker’s jars or container. Place them in the machine, put the lid on, and set the timer. Most yogurts take between 6 to 12 hours to incubate.
- Chill Out: Once incubation is complete, the yogurt will still be warm and a bit loose. Pop the jars (with their lids on) into the refrigerator for at least 4-6 hours, or preferably overnight. This chilling process is what sets the yogurt and gives it that thick, creamy texture.
Pro Tips for Yogurt Perfection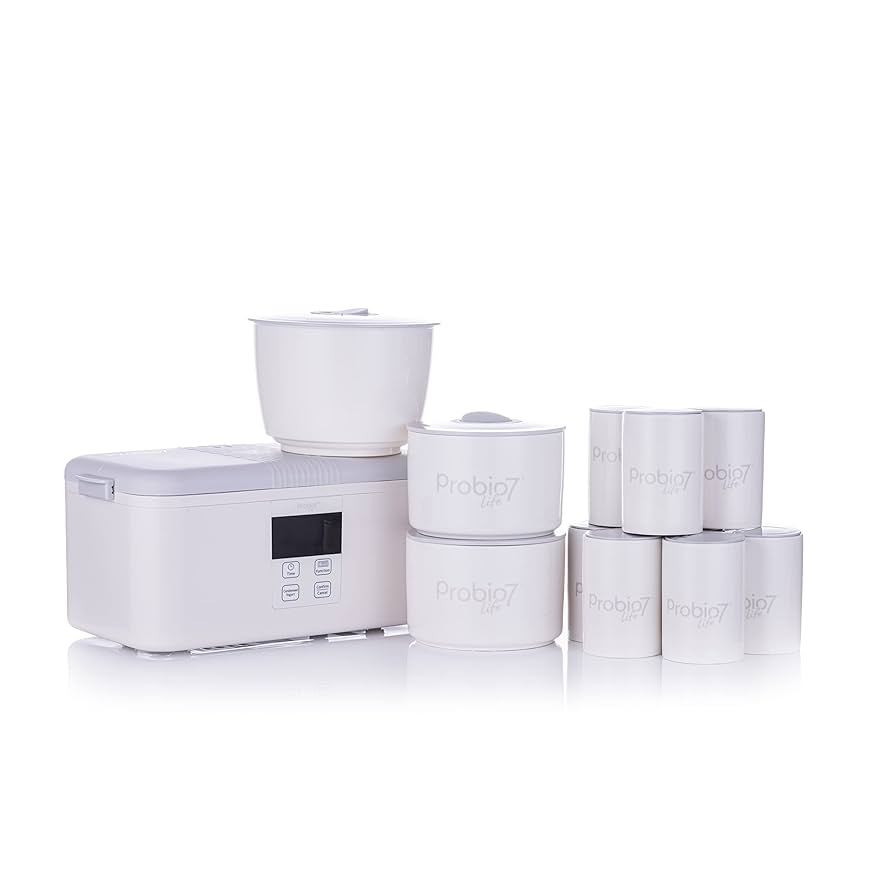
I remember my first few batches were a bit of a learning curve. To help you skip the trial and error, here are a few secrets I’ve picked up along the way:
- The Starter Matters: Always use a fresh, active starter. If your yogurt turns out runny, an old or weak starter is often the culprit.
- Don’t Jiggle! While your yogurt is incubating, resist the temptation to move or bump the machine. The cultures are doing delicate work and need to be left undisturbed.
- Longer Incubation = Tangier Yogurt: Love that tart flavor? Let your yogurt incubate for a bit longer, maybe 10-12 hours. Prefer it milder? Stick to the 6-8 hour range. Experiment to find your sweet spot.
The Amazing Benefits of Homemade Yogurt
Why bother making it yourself? Oh, let me count the ways.
- Healthier: You control everything that goes in. That means no artificial sweeteners, preservatives, or thickeners. Plus, homemade yogurt is often packed with more live probiotics than store-bought versions.
- Cheaper: A gallon of milk and a bit of starter is far more economical than buying individual cups of yogurt, especially if you have a yogurt-loving family.
- Tastier: The freshness is unbeatable. You can customize the flavor and texture exactly to your liking.
- Eco-Friendly: Reusing glass jars means way less plastic waste. It’s a small change that makes a big difference.
“Proper care of your yogurt maker isn’t just about appliance longevity; it’s about food safety and culture vitality. A clean environment ensures that the beneficial probiotic strains you’re cultivating are the only things growing in your yogurt, leading to a healthier and more effective final product.”
— Dr. Alisha Ramos, Registered Dietitian and Fermentation Specialist
The Main Event: How to Care for Your Yogurt Maker
Alright, let’s get down to business. Proper how to care for your yogurt maker routines will keep your machine humming and your yogurt tasting pure and delicious for years. We’ll break it down into three simple stages.
### Before Your First Use
Just like any new kitchen appliance, you’ll want to give it a good clean before its maiden voyage. Remove all the packaging, then wash the inner container, jars, and all lids in warm, soapy water. Rinse them thoroughly and let them air dry completely or wipe them with a clean cloth. Give the main unit’s interior and exterior a wipe-down with a damp cloth, but never submerge the main electrical unit in water.
### After Every Single Batch
Consistency is key! A quick clean after each use prevents milk residue from building up and developing off-flavors or unwanted bacteria.
- Unplug and Cool Down: Always unplug the machine and let it cool completely before you start cleaning.
- Wash the Jars and Lids: This is the most important part. Wash the jars/container and lids thoroughly with hot, soapy water. Many models have dishwasher-safe jars, but always check your manufacturer’s manual first. A bottle brush can be your best friend for getting into the corners of individual jars.
- Wipe the Interior: Use a soft, damp cloth to wipe down the inside of the main unit where the jars sit. If there was any spillage, make sure you clean it up completely. A little bit of white vinegar on the cloth can help neutralize any lingering dairy smells.
- Clean the Exterior: Give the outside of the machine a quick wipe with a damp cloth to remove any fingerprints or splashes.
### Deep Cleaning and Long-Term Maintenance
Every month or so, or if you notice any persistent odors, it’s a good idea to do a slightly deeper clean.
- Deodorize: If the unit starts to smell a bit sour, place a small, open container of baking soda inside and leave the lid on overnight (while the machine is off and unplugged, of course). The baking soda will absorb any lingering odors.
- Check the Cords: Periodically inspect the power cord for any signs of wear or damage.
- Store It Smart: When you’re not using it, store your yogurt maker in a clean, dry place. You can place the clean, dry jars back inside to keep everything together and dust-free.
Proper how to care for your yogurt maker isn’t complicated, but it is essential for both performance and food safety.
Frequently Asked Questions (FAQ)
Here are some common questions we get from fellow yogurt enthusiasts.
Why is my homemade yogurt runny?
This is the most common issue! It’s rarely a problem with the machine itself. The likely culprits are: the milk wasn’t cooled enough before adding the starter (killing it), the starter culture was old or weak, or the machine was disturbed during incubation. Check your process before blaming the machine.
Can I wash the yogurt maker jars in the dishwasher?
In many cases, yes, especially if they are glass. However, some plastic lids or containers may warp. Your best bet is to always consult the instruction manual that came with your specific model. When in doubt, hand wash.
How do I get the yogurt smell out of the plastic parts?
For stubborn dairy smells in plastic lids or containers, a soak in a solution of one part white vinegar to four parts water for a few hours can work wonders. Afterward, wash as usual with soap and water.
Can I leave my yogurt maker on overnight?
Absolutely! This is one of its main benefits. Most recipes require 8-12 hours of incubation, so setting it up before you go to bed is a perfect strategy. Models with an automatic shut-off are especially great for this.
Is it safe to use a yogurt maker?
Yes, they are very safe. They operate at low, gentle temperatures. The most important safety tip for how to care for your yogurt maker is to never immerse the main base unit, which contains the electrical components, in water.
Your Journey to Perfect Yogurt Starts Here
Your yogurt maker is more than just an appliance; it’s a gateway to a healthier, more delicious, and more sustainable way of life. It empowers you to create pure, wholesome food for yourself and your family. And as you can see, learning how to care for your yogurt maker is incredibly simple.
By following these easy steps, you’re not just maintaining a piece of kitchen equipment—you’re protecting an investment in your health and wellness. You’re ensuring that every spoonful of yogurt you create is fresh, safe, and exactly the way you like it. Now, go forth and ferment! Your next perfect batch awaits.