Picture this: a jar of thick, creamy, homemade yogurt, perfectly swirled with your favorite fresh fruit. It’s the dream, right? Making your own yogurt at home is a game-changer, giving you total control over ingredients, sweetness, and flavor. But as you get started on this delicious journey, a crucial question inevitably pops up: Can You Add Fruit Before Fermenting to infuse that flavor from the very beginning? It seems like a logical shortcut to fruity perfection.
I remember my early days of yogurt making, thinking the exact same thing. I envisioned a beautiful batch of strawberry yogurt, pink and vibrant right out of the yogurt maker. Spoiler alert: it didn’t quite work out that way. The truth is, while it’s a tempting idea, adding fruit before the fermentation process is one of the most common mistakes beginners make. But don’t worry! Understanding why this doesn’t work is the key to unlocking truly amazing, fruit-flavored homemade yogurt. Let’s dive into the science and the secrets to getting it right every time.
Why You Shouldn’t Add Fruit Before Fermenting
To put it simply, adding fruit at the beginning of the process is a recipe for disappointment. The answer to “can you add fruit before fermenting?” is, in almost all cases, a firm no. Here’s the science behind it, broken down into simple terms.
The Sugar Showdown
Yogurt is created by beneficial bacteria (your starter culture) eating the natural sugar in milk, which is called lactose. This is their primary food source. When they consume lactose, they produce lactic acid, which is what causes the milk to thicken and develop that signature tangy flavor.
Now, imagine you add fruit. Fruit is packed with its own sugars, mainly fructose and sucrose. When you introduce these sugars into the mix, you’re essentially giving the bacteria a buffet of options. Instead of focusing on the lactose, some bacteria might get distracted by these easier-to-digest simple sugars. This can disrupt the fermentation process, leading to a yogurt that is:
- Runny or thin: Not enough lactic acid was produced to set the milk proteins properly.
- Overly sweet but not tangy: The flavor profile will be off because the core fermentation was incomplete.
- Inconsistent: The results can be unpredictable from batch to batch.
The Acidity Problem
Another major hurdle is the natural acidity of fruit, especially berries, citrus, and pineapple. Your yogurt starter culture is a delicate living organism that thrives in a very specific pH environment. The initial pH of milk is perfect for them to get started.
When you add acidic fruit, you drastically lower the pH of the milk before the bacteria have had a chance to establish themselves. This acidic environment can shock or even kill a significant portion of the beneficial bacteria in your starter culture. Without a strong, healthy culture, you won’t get proper fermentation.
“The success of yogurt fermentation hinges on providing the optimal environment for the live cultures to thrive. Introducing high levels of sugar or acid from fruit prematurely can inhibit bacterial activity, compromising both the texture and the probiotic benefits of the final product.” – Dr. Elena Vance, Nutritionist and Fermentation Specialist
The Water Content Woes
Fresh fruit contains a lot of water. As it sits in the warm environment of your yogurt maker during incubation, it will release that moisture. This extra water will dilute your milk base, making it nearly impossible to achieve a thick, creamy consistency. Instead of rich yogurt, you’re more likely to end up with what I affectionately call “yogurt soup”—a thin, watery, and often separated concoction.
I learned this the hard way with a batch of hopeful raspberry yogurt. It came out of the incubator looking separated and sad. A total texture failure! That experience taught me a valuable lesson: patience is key, and the fruit comes later.
|
Our Picks for the Best Yogurt Maker in 2025
As an Amazon Associate, we earn from qualifying purchases.
|
||
| Num | Product | Action |
|---|---|---|
| 1 | DASH My Mug Ice Cream Maker Machine (Aqua): Multi-Purpose Soft Serve Ice Cream Machine with (2) Bowls for Homemade Gelato, Sorbet, Frozen Yogurt, Built-In Ingredient Chute, Easy to Clean and Store |

|
| 2 | Ultimate Probiotic Yogurt Maker with Adjustable Temperature & Time Control - Make Trillions of Live Probiotics & Get Better Gut Health - ULTIMATE LIFETIME WARRANTY - Wellness Gifts for Men & Women |
|
| 3 | Yogurt Maker, Automatic Digital Yoghurt Maker Machine with 5 Glass Jars 42 Ozs, with Constant Temperature Control for Home Organic Yogurt, Cheese, Fruit Wine (No Cups) |
|
| 4 | Suteck Yogurt Maker with 8 Glass Jars, Time & Temp Adjustable Control Yogurt Machine, Homemade Greek & Probiotic Yogurt, Automatic Shut-Off, BPA-Free, 48 oz Total, |
|
| 5 | Euro Cuisine YM360 Yogurt Maker with Adjustable Time & Temperature Control - 2-Quart Glass Jar, FREE Thermometer & Cotton Strainer Bag, 2025 Edition, Black, Make Yummy Organic Probiotic Yogurt at Home |
|
| 6 | Ultimate Yogurt Jars - Make More Delicious Yogurt! 8 Count Small Glass Yogurt Cups With Lids - 100% BPA Free, Airtight & Dishwasher Safe! Perfect Containers for Yoghurt, Oatmeal, Pudding, or Jello |
|
| 7 | Bear Yogurt Maker, Greek Yogurt Maker Machine with Strainer and Timer Control, Stainless Steel Inner Pot, Automatic Digital with 2 Glass Jars 1 Quart for Home Organic Yogurt, Cheese, Fruit Wine |
|
| 8 | Yogurt Maker, Automatic Digital Yoghurt Maker Machine with 5 Glass Jars 42 Ozs, with Constant Temperature Control for Home Organic Yogurt, Cheese, Fruit Wine (with 5 Cups) |
|
| 9 | Suteck Yogurt Maker - Stainless Steel Yogurt Makers with Adjustable Time & Temp Control,Automatic Shut-Off & Constant Temper for Homemade Greek, Probiotic Yogurt, BPA-Free 8 Glass Jars (48 oz) |
|
| 10 | Ultimate Probiotic Yogurt Maker with Adjustable Temperature & Time Control - Make Trillions of Live Probiotics & Get Better Gut Health - ULTIMATE LIFETIME WARRANTY - Wellness Gifts for Men & Women |
|
The Right Way: When and How to Add Fruit
So, if you can’t add it at the beginning, what’s the secret to perfect fruit yogurt? The magic happens after the fermentation and chilling process is complete. This method ensures your yogurt is perfectly thick and tangy, and your fruit flavor is fresh and vibrant.
Here is the foolproof, step-by-step guide to adding fruit to your homemade yogurt:
- Make Your Plain Yogurt First: Follow your favorite recipe to make a batch of plain yogurt. Whether you use a yogurt maker or another method, allow it to fully ferment and incubate until it’s set.
- Chill Completely: This is a non-negotiable step. After incubation, the yogurt needs to be chilled in the refrigerator for at least 6-8 hours. This stops the fermentation process and allows the yogurt to firm up and develop its final texture and flavor. Don’t rush this!
- Prepare Your Fruit: While your yogurt is chilling, prepare your fruit. Simply dicing up raw fruit and stirring it in can still add excess water. For the best results, create a fruit compote or puree.
- How to Make a Fruit Compote: Gently heat your chosen fruit (fresh or frozen berries, peaches, mangoes work great) in a small saucepan with a tiny splash of water and an optional touch of sweetener (like honey or maple syrup). Cook until the fruit breaks down and the mixture thickens. Let it cool completely. This process cooks off excess water and concentrates the flavor.
- The Art of the Swirl: Once your yogurt and your fruit preparation are both completely chilled, it’s time to combine them. You can either gently fold the fruit compote into the entire batch or, for a beautiful presentation, spoon yogurt into jars and create layers or swirls of the fruit puree.
By following this method, you get the best of both worlds: a perfectly cultured, thick yogurt and a burst of pure, unadulterated fruit flavor, without compromising the integrity of your creation.
How a Yogurt Maker Helps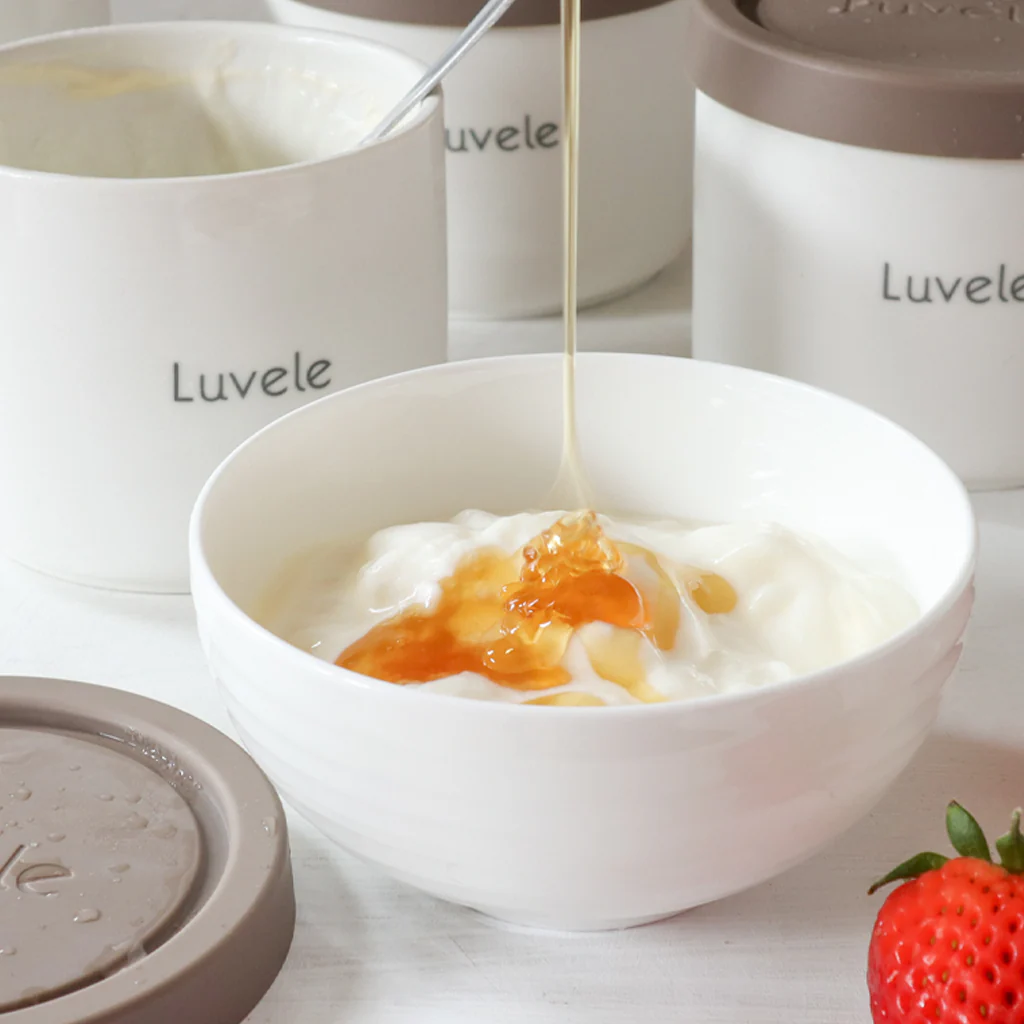
You might be wondering if a fancy yogurt maker changes these rules. The answer is no. A yogurt maker is a fantastic tool designed to do one thing perfectly: maintain a consistent and ideal temperature for fermentation. It takes the guesswork out of incubation, which is often the trickiest part of the process.
- Temperature Stability: It keeps the milk and culture in that “Goldilocks zone” (usually around 110°F or 43°C), where the bacteria are most active.
- Convenience: Many models have timers and automatic shut-off features, so you can set it and forget it.
- Consistency: It helps you produce reliably thick and delicious yogurt batch after batch.
However, a yogurt maker doesn’t alter the fundamental microbiology of fermentation. The science of sugar, acid, and water content remains the same. The machine provides the perfect environment for the bacteria to do their job, but it can’t protect them from the disruptive effects of adding fruit too early.
Frequently Asked Questions (FAQ)
Here are some common questions we get about making fruit-flavored yogurt at home.
1. Can I use frozen fruit to make yogurt?
Yes, frozen fruit is excellent for making the fruit compote or puree that you’ll add after fermentation. In fact, it breaks down even more easily when heated. Just be sure to cook it down to remove excess water and let it cool completely before adding it to your chilled yogurt.
2. What about adding jam or jelly before fermenting?
This is also not recommended. Jams and jellies are very high in sugar, which will interfere with the fermentation process just like fresh fruit. They also contain preservatives and pectins that aren’t necessary for your yogurt. It’s much better to swirl in your favorite jam after the yogurt is made and chilled.
3. Why did my yogurt curdle or separate after I added fruit?
This usually happens for one of two reasons. Either you added highly acidic fruit (like pineapple or citrus) to the finished yogurt, causing the milk proteins to curdle, or you added a warm fruit compote to cold yogurt. The temperature difference can shock the yogurt and affect its texture. Always ensure both components are chilled.
4. Can you add dried fruit before fermenting?
This is a bit of a gray area, but it’s still best to avoid it. Dried fruit is very high in concentrated sugar. It will also rehydrate during incubation by pulling moisture from the milk, which can negatively affect the final texture. A better option is to rehydrate dried fruit separately and fold it into the finished yogurt.
5. What are the best fruits to add to homemade yogurt?
Berries (strawberries, blueberries, raspberries), peaches, mangoes, apricots, and cherries are all fantastic choices. They cook down into beautiful, flavorful compotes. If you want to add fresh, uncooked fruit, it’s best to do so right before serving to avoid it releasing water into your yogurt.
Your Journey to Perfect Yogurt Starts Here
The dream of that perfect, homemade fruit yogurt is absolutely within your reach. The key is understanding the process and respecting the science behind it. While the answer to “can you add fruit before fermenting” is a no, the solution is simple and leads to a far superior result.
By making your plain yogurt first in a reliable yogurt maker and then adding your beautifully prepared fruit creation after chilling, you gain complete control. You decide the sweetness, the fruit, and the texture. You create a healthy, probiotic-rich snack that is free from the unnecessary additives and sugars found in many store-bought options. So go ahead, embrace the process, and get ready to enjoy the creamiest, most flavorful yogurt you’ve ever tasted.