There’s something truly magical about scooping into a bowl of thick, creamy, homemade yogurt. It’s a world away from the often overly-sweetened stuff you find at the store. But if you’ve ever tried making it yourself, you know it can feel a bit like a high-stakes science experiment. You follow the recipe, you wait patiently, and… you end up with runny milk. So, What Is The Ideal Temperature For Making Yogurt and why does it feel so tricky to get right? Trust me, I’ve been there. My first attempt was a soupy, tangy disaster. The secret, I learned, isn’t about expensive ingredients or a complicated process. It all comes down to temperature. Get that right, and you’ve unlocked the door to yogurt perfection.
Why Temperature Is the MVP of Yogurt Making
Before we jump into the specific numbers, let’s have a quick chat about what’s actually happening in that jar. Making yogurt is all about fermentation. You’re essentially inviting billions of tiny, friendly bacteria (your starter culture) to a party where the main course is lactose, the sugar in milk.
Think of these bacteria as tiny chefs. For them to do their best work—thickening the milk and creating that signature tangy flavor—they need a “just right” environment. Not too hot, not too cold. Temperature is the thermostat that controls their entire kitchen.
“The transformation of milk into yogurt is a delicate biological process governed by specific strains of bacteria. These microorganisms are highly sensitive to their thermal environment. The correct temperature ensures optimal metabolic activity, leading to the desired texture and probiotic profile.” – Dr. Elena Vance, Microbiologist and Fermentation Specialist
If the temperature is too high, you risk killing off your precious starter culture before it even gets started. Too low, and the bacteria become sluggish and slow, potentially allowing unwanted microbes to crash the party, resulting in off-flavors or a batch that never sets.
The Two Critical Temperature Zones for Perfect Yogurt
Making yogurt involves two key temperature stages. Nailing both is crucial for a thick, creamy, and delicious result. You’ll want a reliable digital kitchen thermometer for this—no guesswork allowed!
Stage 1: Heating the Milk (The Prep Work)
The first step is to heat your milk. The sweet spot here is between 180°F and 185°F (82°C to 85°C). You don’t want to boil it, but you want it to get nice and hot.
So, why bother? This step does two very important things:
- Kills the Competition: Milk contains its own set of native bacteria. Heating it eliminates these, creating a clean slate so your chosen yogurt culture can thrive without any competition.
- Improves the Texture: This is the real secret to thick yogurt! Heating the milk to this temperature changes the structure of the milk proteins (whey and casein). It helps them unravel and form a more stable, tightly-knit gel network during incubation. This means a thicker, creamier yogurt that is less likely to separate.
Stage 2: Cooling and Incubation (The Magic Hour)
After heating, you must let the milk cool down. And this is where many first-timers go wrong. You cannot add your starter culture to hot milk.
The milk needs to cool to the ideal temperature for making yogurt, which is between 110°F and 115°F (43°C to 46°C). This is the perfect cozy, warm environment for the thermophilic (heat-loving) bacteria in your starter culture, like Lactobacillus bulgaricus and Streptococcus thermophilus, to wake up and get to work.
Once you’ve gently stirred in your starter, it’s time for incubation. This is the long, uninterrupted period where the bacteria do their thing. The goal is to maintain that 110-115°F range for several hours. This is precisely where a yogurt maker becomes your best friend.
How a Yogurt Maker Takes Out the Guesswork
You can try to maintain this temperature using an oven with the light on, a cooler with warm water, or an Instant Pot on the yogurt setting. But let me tell you from experience, it’s a hassle. You’re constantly checking, worrying, and dealing with fluctuations.
|
Our Picks for the Best Yogurt Maker in 2026
As an Amazon Associate, we earn from qualifying purchases.
|
||
| Num | Product | Action |
|---|---|---|
| 1 | Ultimate Probiotic Yogurt Maker with Adjustable Temperature & Time Control - Make Trillions of Live Probiotics & Get Better Gut Health - ULTIMATE LIFETIME WARRANTY - Wellness Gifts for Men & Women |

|
| 2 | Bear Yogurt Maker, Greek Yogurt Maker Machine with Strainer and Timer Control, Stainless Steel Inner Pot, Automatic Digital with 2 Glass Jars 1 Quart for Home Organic Yogurt, Cheese, Fruit Wine |
|
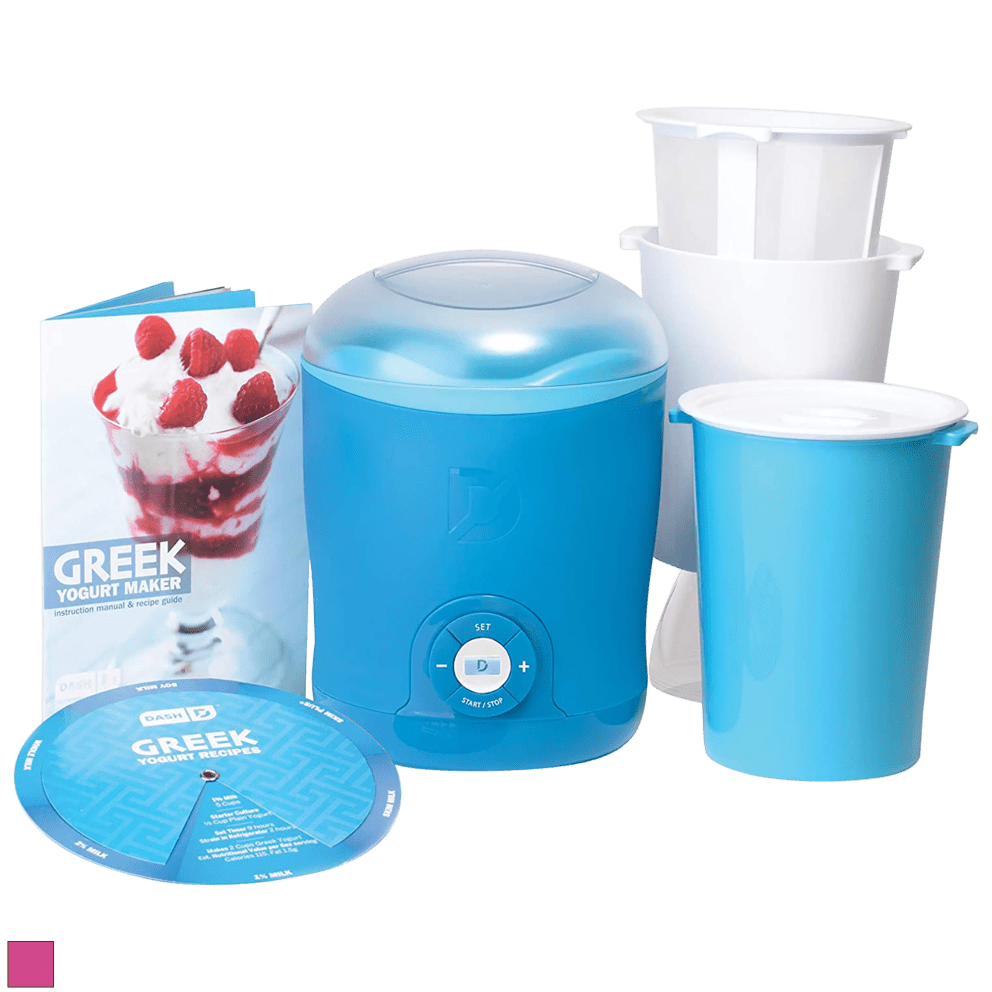
| 3 | DASH My Mug Ice Cream Maker Machine (Aqua): Multi-Purpose Soft Serve Ice Cream Machine with (2) Bowls for Homemade Gelato, Sorbet, Frozen Yogurt, Built-In Ingredient Chute, Easy to Clean and Store |
|
| 4 | Ultimate Yogurt Jars - Make More Delicious Yogurt! 8 Count Small Glass Yogurt Cups With Lids - 100% BPA Free, Airtight & Dishwasher Safe! Perfect Containers for Yoghurt, Oatmeal, Pudding, or Jello |
|
| 5 | Suteck Yogurt Maker - Stainless Steel Yogurt Makers with Adjustable Time & Temp Control,Automatic Shut-Off & Constant Temper for Homemade Greek, Probiotic Yogurt, BPA-Free 8 Glass Jars (48 oz) |
|
| 6 | Yogurt Maker, Automatic Digital Yoghurt Maker Machine with 5 Glass Jars 42 Ozs, with Constant Temperature Control for Home Organic Yogurt, Cheese, Fruit Wine (No Cups) |
|
| 7 | Euro Cuisine YM360 Yogurt Maker with Adjustable Time & Temperature Control - 2-Quart Glass Jar, FREE Thermometer & Cotton Strainer Bag, 2025 Edition, Black, Make Yummy Organic Probiotic Yogurt at Home |
|
| 8 | Yogurt Maker, Automatic Digital Yoghurt Maker Machine with 5 Glass Jars 42 Ozs, with Constant Temperature Control for Home Organic Yogurt, Cheese, Fruit Wine (with 5 Cups) |
|
| 9 | Ultimate Probiotic Yogurt Maker with Adjustable Temperature & Time Control - Make Trillions of Live Probiotics & Get Better Gut Health - ULTIMATE LIFETIME WARRANTY - Wellness Gifts for Men & Women |
|
| 10 | Suteck Yogurt Maker with 8 Glass Jars, Time & Temp Adjustable Control Yogurt Machine, Homemade Greek & Probiotic Yogurt, Automatic Shut-Off, BPA-Free, 48 oz Total, |
|
A dedicated yogurt maker is a game-changer because its entire job is to create and hold the perfect, stable incubation environment.
How Does a Yogurt Maker Work?
It’s surprisingly simple. A yogurt maker is essentially a small, low-wattage appliance with a heating element designed to hold a consistent, gentle temperature for an extended period. You mix your prepared milk and starter, pour it into the jars or container, place it inside the machine, set the timer, and walk away. It’s the ultimate “set it and forget it” tool for perfect yogurt every time. It eliminates the biggest variable and the most common point of failure: inconsistent temperature.
Step-by-Step Guide to the Ideal Yogurt Temperature
Ready to put it all into practice? Here’s the play-by-play for using a yogurt maker to achieve the perfect temperature.
- Heat Your Milk: Pour your desired amount of milk (whole milk works best for creaminess!) into a saucepan. Heat it gently over medium heat, stirring occasionally, until it reaches 180-185°F (82-85°C). A thermometer is your best friend here.
- Cool It Down: Remove the milk from the heat. Now, let it cool. You can let it sit at room temperature or speed things up with an ice bath. You’re waiting for it to reach 110-115°F (43-46°C). This is a critical step—don’t rush it!
- Inoculate the Milk: Take about a cup of the warm milk and whisk it in a separate bowl with your starter culture (this could be a few tablespoons of a previous batch of plain yogurt or a powdered starter). This helps the starter dissolve completely and avoid clumps. Then, pour this mixture back into the main pot of milk and stir gently to combine.
- Incubate: Pour the milk mixture into your yogurt maker’s containers. Place them in the machine, put the lid on, and set the timer. Most yogurts take between 8 to 12 hours. The longer it incubates, the tangier it will become.
- Chill Out: Once the timer goes off, the yogurt will be set but still warm and a bit delicate. Carefully remove the containers, put their lids on, and place them in the refrigerator for at least 6 hours, or preferably overnight. Chilling is essential—it stops the fermentation process and allows the yogurt to firm up to its final, glorious texture.
Pro Tips for Yogurt-Making Success
- Choose a Good Starter: Make sure your starter culture is fresh and active. If you’re using store-bought yogurt as a starter, pick a plain, unflavored variety that lists “live and active cultures” on the label.
- Don’t Disturb: While the yogurt is incubating, resist the urge to peek, stir, or jiggle the machine. The cultures are building a delicate protein network, and disturbing it can lead to a thinner final product.
- Patience is a Virtue: The final chilling step is not optional! It’s what transforms your warm, soft-set yogurt into the cool, thick, and creamy treat you’re craving.
- Cleanliness is Key: Always use clean pots, whisks, and containers. You don’t want any unwanted bacteria competing with your yogurt culture. For more tips, check out our guide on how to properly clean and maintain your yogurt maker.
Frequently Asked Questions (FAQ)
What happens if my incubation temperature is too low?
If the temperature drops below 100°F (38°C), the fermentation will slow down dramatically. This can result in yogurt that is very slow to set, or doesn’t set at all, and may have a sour or “off” taste because less desirable, slower-acting bacteria had time to multiply.
And what if the incubation temperature is too high?
If you go much above 120°F (49°C), you risk killing the starter cultures. This will result in milk that simply doesn’t turn into yogurt. If it’s just a little too hot, you might get a lumpy or grainy texture as the proteins curdle too quickly.
Can I make yogurt without a thermometer?
While some old-school methods exist (like waiting until you can comfortably hold your finger in the milk for 10 seconds), they are highly inaccurate. A thermometer is a small investment that guarantees you hit what is the ideal temperature for making yogurt and removes the biggest source of failure.
Why is my homemade yogurt runnier than store-bought?
This can be due to a few factors. The most common are incubation temperature being too low, not heating the milk high enough initially, or using milk with lower fat content (like 2% or skim). Store-bought yogurts also often contain added thickeners like pectin or gelatin.
How long should I incubate my yogurt?
This depends on your taste! An 8-hour incubation will give you a milder yogurt. A 10-12 hour period will result in a much tangier, more “Greek-style” flavor profile. A yogurt maker with a timer makes it easy to experiment and find your perfect time.
Your Journey to Perfect Yogurt Starts Now
Mastering the art of homemade yogurt really boils down to one thing: temperature control. It’s the secret language of the cultures that do all the hard work for you. By understanding the two critical zones—heating to 180°F and incubating at 110°F—you’re already 90% of the way there.
A yogurt maker simply automates the most difficult part, ensuring a stable, perfect environment every single time. It takes the stress and guesswork out of the equation, leaving you with nothing but the joy of creating delicious, healthy yogurt right in your own kitchen. So go ahead, grab a thermometer, and get ready to discover just how amazing homemade can be when you know what is the ideal temperature for making yogurt.