There’s nothing quite like the creamy, tangy perfection of homemade yogurt. That moment you pull the lid off and see a perfectly set, pristine white surface is, let’s be honest, a little bit magical. It’s a culinary high-five to yourself. But after you’ve spooned that delicious creation into a jar, you’re left with the less glamorous side of the adventure: the cleanup. Knowing exactly How To Clean A Stainless Steel Yogurt Maker is the secret to ensuring every single batch is as fresh and delicious as the first. It’s not just about tidiness; it’s about flavor, safety, and the longevity of your trusty kitchen gadget.
I remember my first few attempts at making yogurt. I was so focused on the incubation times and the starter culture that I kind of glossed over the cleaning part. A quick rinse and wipe, right? Wrong. I soon noticed a faint, lingering sour smell and my next batch just tasted a little… off. That’s when I realized that a pristine machine is the unsung hero of the perfect yogurt. So, let’s roll up our sleeves and dive into making your yogurt maker sparkle, ensuring it’s always ready for its next delicious mission.
What’s the Big Deal About Yogurt Makers Anyway?
If you’re new to this world, you might be wondering why you can’t just use a pot on the stove. A yogurt maker is essentially a mini-incubator. Its one crucial job is to hold your milk and starter culture at a consistent, gentle temperature for several hours, creating the perfect environment for those good bacteria (the probiotics) to work their magic and turn milk into thick, creamy yogurt.
How Does a Yogurt Maker Work?
It’s simpler than you think! The machine uses a low-wattage heating element to maintain a “just right” temperature, typically between 100°F and 115°F (38°C to 46°C). This consistent warmth encourages the live cultures in your starter to multiply, consume the lactose in the milk, and produce lactic acid. It’s this lactic acid that causes the milk proteins to coagulate and thicken, creating the texture and tangy flavor we love. The beauty is in its consistency—no hot spots, no cold drafts, just a perfect, stable environment for fermentation.
Bảng trống.Key Features to Look for in a Yogurt Maker
When you’re shopping around, a few features can make your yogurt-making life a whole lot easier, especially when it comes to cleanup.
- Material: A high-quality, food-grade stainless steel inner pot is the gold standard. It’s durable, non-reactive (so it won’t impart any weird flavors), and generally easier to clean than plastic.
- Capacity: Are you making yogurt for one or for the whole family? Capacities range from single-serving jars to large two-quart pots.
- Automatic Shut-off: This is a lifesaver. You can set it and forget it, knowing the machine will turn off when the time is up, preventing over-culturing.
- Dishwasher-Safe Parts: Always check the manual, but having a stainless steel pot and lid that can go straight into the dishwasher is a huge time-saver for busy people.
- Temperature Control: Advanced models allow you to set a specific temperature, giving you more control over the final texture and tanginess of your yogurt.
Your Step-by-Step Guide: How to Clean a Stainless Steel Yogurt Maker
Alright, let’s get to the main event. Cleaning your stainless steel pot isn’t hard, but doing it correctly will prevent stubborn residue buildup and protect the finish.
What You’ll Need:
- Warm, soapy water (a gentle dish soap is perfect)
- A soft sponge or cloth (no steel wool or abrasive scrubbers!)
- Baking soda (for tougher jobs)
- White vinegar (for mineral deposits and odors)
- A soft, dry towel
1. The Immediate Post-Yogurt Clean (The Daily)
This is the quick clean you should do right after you’ve transferred your yogurt to storage containers. Don’t let the residue sit!
- Empty and Rinse: As soon as the pot is empty, rinse it with warm water. This will wash away most of the loose yogurt film before it has a chance to dry and stick.
- Gentle Wash: Add a few drops of dish soap and fill the pot with warm water. Let it sit for a few minutes to loosen anything that’s a bit more stubborn.
- Wipe, Don’t Scrub: Use your soft sponge or cloth to wipe the interior. Move in the direction of the steel’s grain if you can see it. This gentle motion is usually all you need.
- Rinse and Dry: Rinse thoroughly with clean water to remove all soap suds. Dry it immediately with a soft towel to prevent water spots, which can be common on stainless steel.
Pro Tip: Wiping the pot dry right away is the secret to keeping that “like-new” shine and preventing the buildup of mineral deposits from your tap water.
2. The Deep Clean (For Stubborn Residue and Odors)
Sometimes, a thin, stubborn film of milk solids or a lingering sour smell can develop. This is when you bring out the big guns: baking soda and vinegar. This is the most effective method for how to clean a stainless steel yogurt maker pot that needs a little extra love.
- Create a Paste: Sprinkle a generous amount of baking soda into the bottom of the damp pot. Add just a splash of water to create a thick paste.
- Let it Sit: Using your fingers or a soft cloth, spread the paste all over the inside of the pot, concentrating on any problem areas. Let it sit for at least 15-20 minutes. The baking soda acts as a gentle abrasive and a powerful deodorizer.
- Gentle Scrub: After it has sat, use a damp, soft sponge to gently scrub the pot. You’ll feel the paste lifting the residue off without scratching the surface.
- The Vinegar Rinse (For Odors & Stains): If you still have a stubborn sour smell or some discoloration, pour about half a cup of white vinegar into the pot. Swirl it around. You might see some fizzing as it reacts with any remaining baking soda—that’s just science working! Let the vinegar sit for another 5-10 minutes.
- Final Wash and Dry: Pour out the vinegar, give the pot one final wash with warm, soapy water, rinse completely, and dry thoroughly with your soft towel. It should look and smell brand new.
Tips for Making the Perfect Yogurt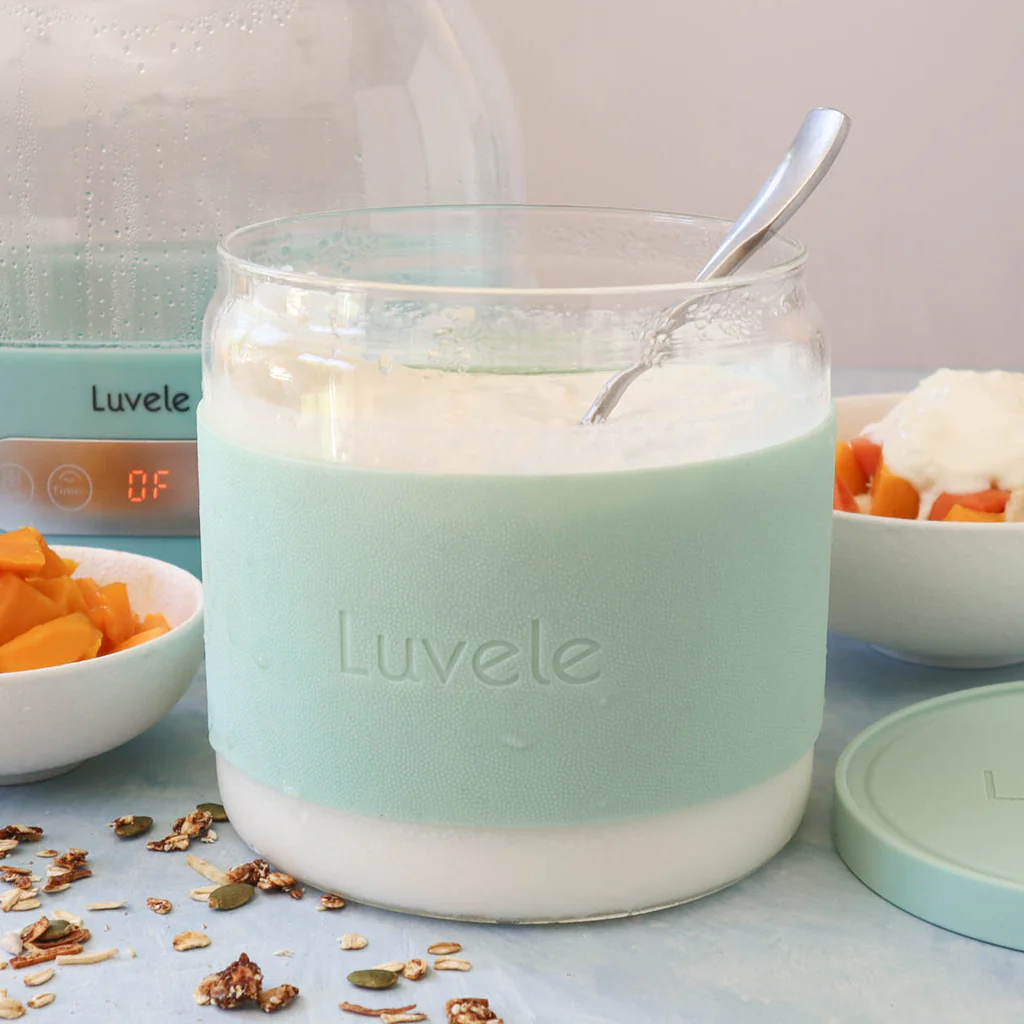
A clean machine is step one. Here are a few more tips to elevate your homemade yogurt game.
- Choose Your Milk: Whole milk will give you the creamiest, thickest yogurt. 2% will be a bit lighter, and skim milk will produce a much thinner result. You can also experiment with ultra-pasteurized milk, which often yields a smoother texture.
- Pick the Right Starter: You can use a few tablespoons of a previous batch of homemade yogurt or a store-bought plain yogurt with live, active cultures. For the most consistent results, consider a powdered yogurt starter culture which is precisely balanced.
- Mind the Temperature: Before adding your starter, make sure your heated milk has cooled to around 110°F (43°C). If it’s too hot, it will kill the delicate bacteria.
- Incubation Time is Key: A shorter incubation (5-6 hours) will yield a milder yogurt. A longer time (8-12 hours) will result in a tangier, thicker product. Experiment to find your sweet spot!
As food scientist Dr. Aris Thorne puts it:
“Sanitation is paramount in any fermentation process. Leftover residue in a yogurt maker can harbor competing bacteria, which can negatively impact the flavor, texture, and even the safety of your next batch. A thoroughly cleaned vessel is a non-negotiable first step to a successful culture.”
The Amazing Benefits of Homemade Yogurt
Why go to all this trouble? The payoff is huge.
- Healthier: You control everything that goes in. No added sugars, thickeners, or artificial ingredients. It’s also packed with more live and active probiotics than many store-bought versions.
- Cheaper: A gallon of milk costs a fraction of the price of buying the equivalent amount of pre-made yogurt, especially if you love Greek yogurt. The savings add up fast.
- Tastier: The flavor is unbeatable. It’s fresh, clean, and you can customize the tanginess and thickness exactly to your liking.
- Less Waste: You’re reusing your own glass jars and containers, which means far less plastic waste than buying individual cups.
Frequently Asked Questions (FAQ)
Q: Can I put my stainless steel yogurt maker pot in the dishwasher?
A: Many are, but always check your manufacturer’s manual first. While the pot itself is stainless steel, high heat and harsh dishwasher detergents can sometimes affect seals or specific finishes. When in doubt, handwashing is the safest bet.
Q: How do I get rid of a stubborn sour milk smell in my yogurt maker?
A: The baking soda and white vinegar method described above is your best friend. After cleaning, you can also leave an open container of baking soda inside the unplugged machine with the lid on for a few hours to absorb any lingering odors.
Q: What’s the best way to clean burnt-on or scalded milk from the bottom of the pot?
A: If you accidentally scorched the milk, don’t panic and don’t grab a metal scraper! Fill the pot with an inch of water and a splash of vinegar, then gently heat it on the stove (if your pot is stovetop safe) or let it sit with hot water. This will help loosen the burnt-on bits, which you can then scrub off with the baking soda paste method.
Q: How often should I deep clean my yogurt maker?
A: A quick, daily clean after each use is essential. I recommend doing a deep clean with baking soda and/or vinegar at least once a month, or any time you notice a persistent film or odor.
Q: Can I use anything other than baking soda and vinegar for cleaning?
A: For a natural approach, these two are the best. Avoid harsh chemicals like bleach, which can damage the stainless steel and are not food-safe. Also, steer clear of abrasive powders or scrubbers like steel wool, as they will permanently scratch the surface of your pot.
Your Journey to Perfect Yogurt Awaits
Owning a yogurt maker opens up a world of fresh, healthy, and delicious possibilities. And now that you know exactly how to clean a stainless steel yogurt maker properly, there’s nothing holding you back. It’s a simple routine that takes just a few minutes, but it’s the most important step in guaranteeing that every spoonful of your homemade yogurt is as perfect as it can be. So go ahead, embrace the process, keep that machine sparkling, and enjoy the incredible rewards.