Welcome to the wonderful world of homemade yogurt! If you’ve ever dreamt of crafting thick, creamy, and tangy yogurt right in your own kitchen, you’re in the right place. It’s a journey that’s incredibly rewarding, but it comes with one big question that trips everyone up at first: exactly How Long To Ferment Yogurt for that perfect result? Get it wrong, and you end up with a runny, milk-like liquid. Get it right, and you’re rewarded with probiotic-rich perfection. That’s where a yogurt maker becomes your best friend, taking the guesswork out of the entire process and giving you consistent, delicious results every single time.
This guide is your roadmap. We’re going to dive deep into the art of fermentation, demystify the timing, and show you why a dedicated yogurt maker is the secret weapon for any serious home yogurt enthusiast.
What is a Yogurt Maker and Why Do You Need One?
A yogurt maker is a simple yet brilliant appliance designed to do one thing perfectly: maintain a consistent, low temperature for an extended period. This stable environment is the ideal breeding ground for the live cultures (the good bacteria) that transform milk into yogurt. Without one, you’re left trying to find a warm, draft-free spot in your house, which can lead to unpredictable and often disappointing results.
Think of it this way: making yogurt without a maker is like trying to bake a cake by just guessing the oven temperature. You might get lucky, but more often than not, it won’t turn out right. A yogurt maker is your oven with a precise thermostat, guaranteeing a successful “bake” every time. It’s the difference between hoping for the best and knowing you’ll get the best.
How Does a Yogurt Maker Work?
The magic of a yogurt maker lies in its simplicity. It’s essentially a small, insulated incubator. You mix your milk and starter culture, pour it into the containers, place them inside the machine, set the timer, and walk away. The machine then gently heats the contents to the optimal temperature for fermentation—usually between 100°F and 115°F (38°C to 46°C)—and holds it there for hours. This unwavering heat allows the bacteria to feast on lactose (milk sugar), producing lactic acid, which in turn thickens the milk and gives yogurt its signature tangy flavor.
Bảng trống.Key Features to Look for in a Yogurt Maker
Not all yogurt makers are created equal. When you’re ready to pick one, here are a few key features that can make a huge difference in your yogurt-making adventures:
- Adjustable Temperature Control: This is a game-changer. Different yogurt cultures (like Bulgarian vs. Greek) thrive at slightly different temperatures. Having control lets you experiment and perfect your recipe.
- Automatic Timer with Shut-Off: A must-have for busy people. You can set it before you go to bed or work and know it will shut off at the perfect moment, preventing over-fermentation.
- Container Type and Size: Do you prefer one large batch or individual single-serving jars? Glass jars are great because they don’t retain flavors or stain, while a large tub is perfect for straining into Greek yogurt.
- Ease of Cleaning: Look for models with dishwasher-safe containers. Trust me, you’ll thank yourself later.
Your Step-by-Step Guide: How Long to Ferment Yogurt
This is the heart of the matter. The ideal fermentation time depends entirely on your personal taste. The longer you ferment, the tangier and thicker your yogurt will become. Here is a general guide to get you started on your journey.
- Prepare Your Milk: Start by heating your milk (whole milk works best for creaminess) to about 180°F (82°C). This step is crucial because it denatures the milk proteins, which results in a much thicker yogurt. Then, let it cool back down to around 110°F (43°C). This is the perfect temperature to introduce your starter culture without killing it.
- Introduce the Starter Culture: Whisk in your starter. This can be a few tablespoons of a previous batch of homemade yogurt or a store-bought plain yogurt with live active cultures, or a powdered starter culture. Ensure it’s mixed in thoroughly to avoid lumps.
- Set Up Your Yogurt Maker: Pour the milk mixture into your yogurt maker’s containers, place them inside the machine, and put the lid on.
- Choose Your Fermentation Time: This is where you customize. Plug in your yogurt maker and set the timer based on your desired tanginess.
- For Mild, Sweet Yogurt (Less Tangy): Start with 6 to 8 hours. This is a great starting point for beginners. The yogurt will be set, creamy, and have a very gentle flavor profile, similar to many commercial brands.
- For Classic, Moderately Tangy Yogurt: Aim for 8 to 12 hours. This is the sweet spot for many people. The yogurt will be noticeably tangier and firmer than the shorter ferment. This is my personal favorite timing.
- For Very Tangy, Tart Yogurt (Greek-Style Flavor): Go for 12 to 18 hours, or even up to 24 hours for some cultures. The longer fermentation develops a very robust, sharp flavor. If you plan on straining it to make thick Greek yogurt, a longer ferment is ideal as the flavor holds up well.
A Pro Tip from Experience: The first time you use a new starter culture, check the yogurt an hour or two before you think it will be done. Gently tilt a jar—if the yogurt pulls away from the side in one solid mass instead of looking like liquid milk, it’s set.
- Chill Out: Once the timer goes off, the most important step is to refrigerate the yogurt immediately for at least 6 hours, preferably overnight. Do not stir it or disturb it before chilling! This chilling process stops the fermentation and allows the yogurt to fully set and thicken. Skipping this step is often the reason for runny yogurt.
Pro Tips for Perfect Homemade Yogurt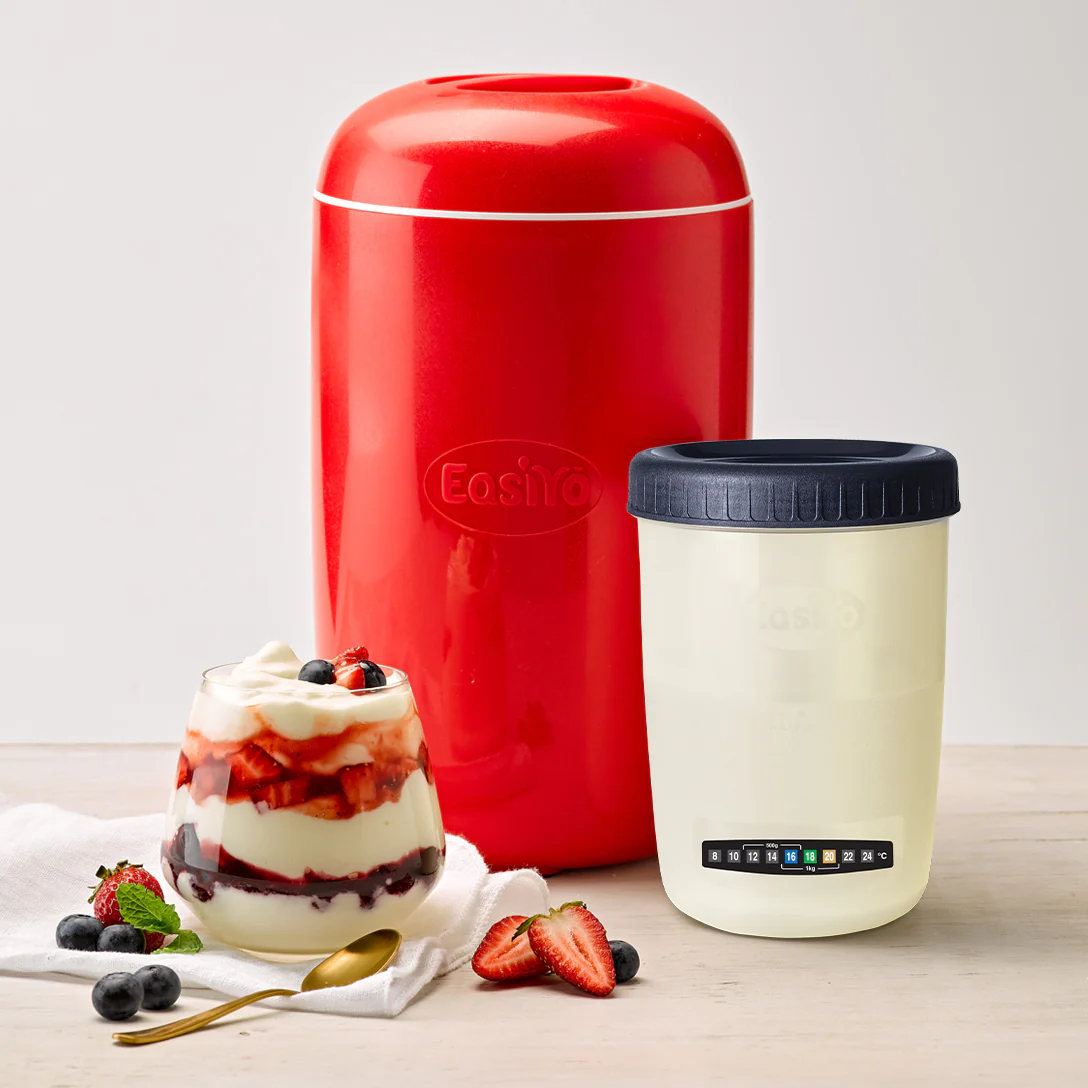
After many batches—some great, some… well, let’s call them “learning experiences”—I’ve picked up a few tricks.
Choose Your Milk Wisely
Whole milk will always produce the creamiest, thickest yogurt due to its fat content. You can use 2% or skim, but the result will be thinner. For a non-dairy option, soy and coconut milk work well but often require a thickener like agar-agar.
Your Starter Culture is Everything
The health and type of your starter culture directly impact the flavor and texture. Always use a fresh starter. If you’re using yogurt from a previous batch, don’t use a batch that’s more than a week old, as the bacteria become less active over time.
Leave It Alone!
It’s tempting to peek, but please resist the urge to jostle, stir, or open the yogurt maker during incubation. Any significant temperature fluctuation or movement can disrupt the setting process and lead to separated or runny yogurt.
The Delicious Benefits of Making Your Own Yogurt
Why go to all this trouble? The rewards are more than worth it.
- Healthier: You control everything that goes in. No added sugars, preservatives, or artificial thickeners. Plus, homemade yogurt is often teeming with more beneficial probiotics than store-bought versions.
- Cheaper: A gallon of milk and a bit of starter is far more economical than buying individual cups of yogurt, especially if you’re a big yogurt-eating family.
- Tastier: The flavor of fresh, homemade yogurt is unparalleled. You can customize the tang and texture to be exactly how you like it.
“Making yogurt at home empowers you to control the fermentation process, which can maximize the diversity and potency of probiotics. This direct control over how long to ferment yogurt means you can tailor it not just for taste, but for optimal gut health benefits.” – Dr. Alisha Ramos, Registered Dietitian and Fermentation Specialist
How to Clean and Care for Your Yogurt Maker
Keeping your machine in top shape is simple. After each use, wash the containers and lids with warm, soapy water or place them in the dishwasher if they are marked as safe. Wipe down the interior and exterior of the main unit with a damp cloth. Never submerge the main electrical unit in water. Proper cleaning prevents the buildup of old bacteria that could contaminate future batches.
Frequently Asked Questions (FAQ)
Why is my homemade yogurt runny?
This is the most common issue! It’s usually due to one of three things: the fermentation time was too short, the incubation temperature was too low, or you didn’t chill it long enough (or at all) before stirring. Try a longer fermentation time on your next batch.
Can you ferment yogurt for too long?
Yes. If you ferment for too long (e.g., over 24-36 hours), the yogurt can become extremely sour and the whey may separate dramatically, resulting in a grainy or lumpy texture that resembles cottage cheese.
How do I know when the yogurt is done fermenting?
The “tilt test” is your best friend. Gently tilt one of the jars. If it looks like set pudding or Jell-O and pulls away from the side of the jar cleanly, it’s ready to be chilled. If it’s still liquidy, it needs more time.
Can I make Greek yogurt in a regular yogurt maker?
Absolutely! You make the plain yogurt in your machine following the steps above (a longer ferment of 10-12 hours is great for this). After it’s been fully chilled, you simply strain it through a cheesecloth or a fine-mesh strainer for a few hours in the refrigerator to remove the excess whey. The longer you strain, the thicker it gets!
What’s the best starter culture for a beginner?
The easiest starter is simply 2-3 tablespoons of your favorite store-bought plain yogurt. Just make sure the label explicitly says “live and active cultures.” This is a foolproof way to get started before you dive into specialty powdered cultures.
Your Yogurt Journey Awaits
Mastering how long to ferment yogurt is less of a rigid science and more of a delicious art form. It’s about discovering what you love. A yogurt maker is the perfect tool to help you on that journey, providing the consistency you need to experiment with confidence. It removes the variables, so you can focus on the fun part: creating fresh, healthy, and incredibly tasty yogurt that you can be proud of. So go ahead, start your first batch, and get ready to taste the difference.