Ever find yourself standing in the dairy aisle, staring at a wall of yogurt tubs, feeling a bit overwhelmed? On one side, you have the familiar, creamy Greek yogurt. On the other, the intriguing, protein-packed Icelandic skyr. They look similar, they’re both thick, and they both promise a healthy, satisfying snack. So, you might be asking, What Is The Difference Between Greek And Icelandic Yogurt? As someone who’s spent countless hours perfecting homemade yogurt, I can tell you the secrets are in the details—the history, the process, and especially the texture. And the best part? You can master both of these delicious yogurts right in your own kitchen, especially with a trusty yogurt maker by your side.
Let’s dive in and demystify these two dairy superstars. We’ll break down everything from how they’re made to how they taste, and I’ll show you how your journey into homemade yogurt can start today.
So, What Exactly Is Greek Yogurt?
Greek yogurt is the friend everyone knows and loves. It’s that super creamy, tangy yogurt that took the world by storm. But what makes it “Greek”? It’s all about the straining process.
At its core, Greek yogurt starts out just like regular yogurt. Milk is heated, cooled, and then inoculated with live bacterial cultures. After incubating for several hours (this is where a yogurt maker is a game-changer for consistency), you’re left with plain yogurt. To transform it into Greek yogurt, this plain yogurt is strained to remove most of the liquid whey and lactose. The result? A much thicker, creamier product with a higher protein concentration and a distinctly tangy flavor.
Traditionally, it’s made from cow’s milk, but you can find sheep’s milk versions as well. It typically gets strained two or three times, which is key to its signature texture.
And What About Icelandic Yogurt (Skyr)?
Now let’s talk about the powerhouse from the land of fire and ice: Icelandic yogurt, or skyr (pronounced “skeer”). While it’s marketed as yogurt, skyr is technically a soft, fresh cheese. Mind-blowing, right? It has a history stretching back over a thousand years to the Vikings.
The process for making skyr is even more intense than for Greek yogurt. It starts with skim milk, which is a key differentiator right off the bat. After the milk is heated and inoculated with cultures (including heirloom Icelandic cultures), it’s incubated. Then comes the straining—and skyr is strained extensively. It can take up to four times as much milk to make one cup of skyr as it does for one cup of regular yogurt.
This intense straining process removes almost all the whey, resulting in a product that is incredibly thick, dense, and packed with an astonishing amount of protein. It’s so thick, you could probably turn a spoon upside down and it wouldn’t budge. Its flavor is also milder and less tangy than Greek yogurt.
What is the Difference Between Greek and Icelandic Yogurt?
Okay, let’s get down to the nitty-gritty. While both are strained yogurts, the key differences lie in four main areas: the milk, the straining, the texture, and the nutritional profile.
The Straining Game: It’s All in the Whey
This is the biggest point of difference. Think of it like this:
- Greek Yogurt: Strained 2-3 times. A good amount of whey is removed.
- Icelandic Yogurt (Skyr): Strained up to 4 times. An enormous amount of whey is removed.
This extra straining is what makes skyr significantly thicker and denser than its Greek counterpart.
Texture and Taste: A Tale of Two Tubs
Because of the different milk and straining processes, the final products feel and taste distinct.
- Greek Yogurt: Very creamy, rich, and has a noticeable tangy, sour flavor that yogurt lovers crave. The consistency is smooth and luxurious.
- Icelandic Yogurt (Skyr): Impossibly thick and dense, more like a cheesecake or a soft cheese spread. The flavor is much milder, less tangy, and often described as cleaner and smoother.
“The first time I made homemade skyr, I was shocked by its density. It’s a completely different eating experience—less of a creamy yogurt and more of a substantial, protein-rich dessert.”
Nutritional Knockout: Protein, Fat, and More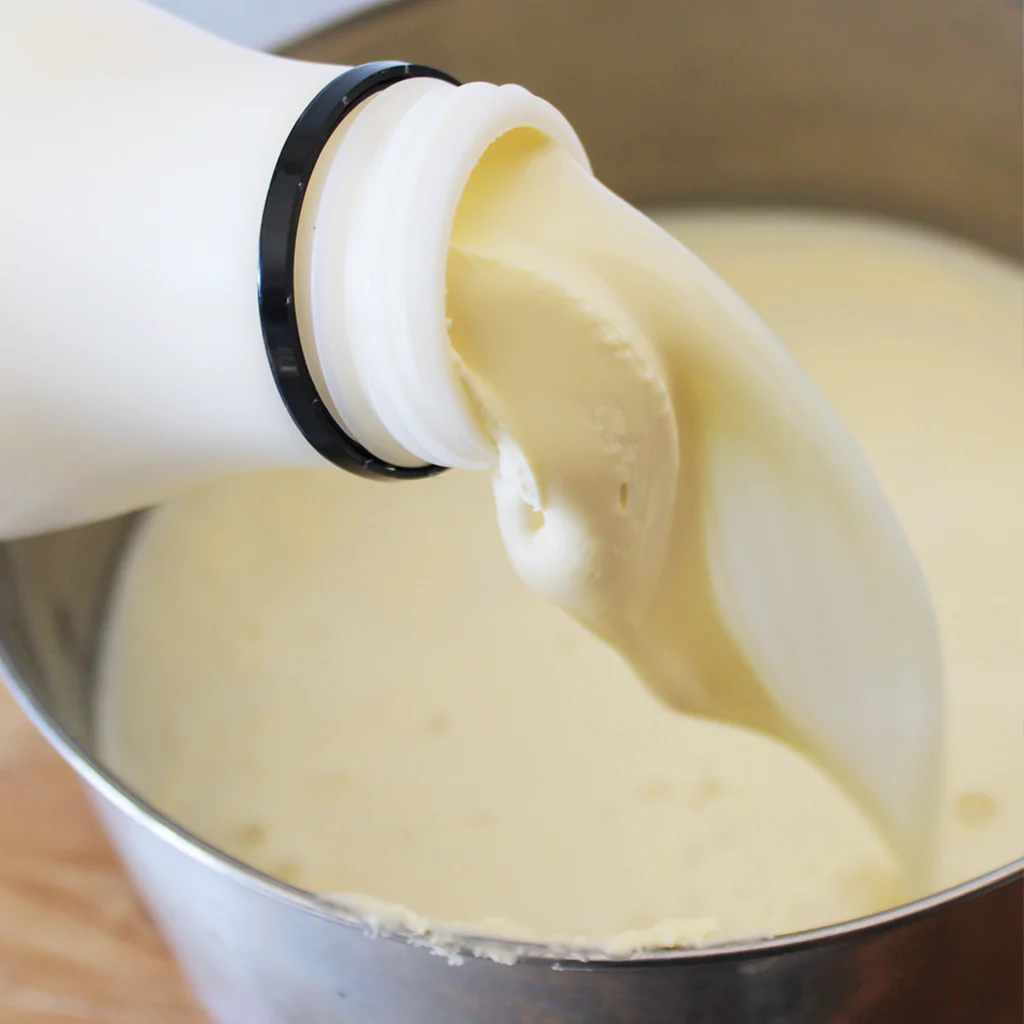
Here’s where things get interesting for the health-conscious.
- Protein: Both are protein powerhouses, but Icelandic yogurt generally wins this round. Because it’s so concentrated, skyr can pack in a few more grams of protein per serving than Greek yogurt.
- Fat: Traditionally, skyr is made from skim milk, making it naturally fat-free. Greek yogurt is often made from whole milk, giving it a higher fat content (though you can find low-fat and non-fat versions).
- Sugar: Both are naturally low in sugar, but the extensive straining of skyr removes more lactose, often making its final sugar count slightly lower.
Here’s a simple breakdown:
| Feature | Greek Yogurt | Icelandic Yogurt (Skyr) |
|---|---|---|
| Milk Type | Typically whole or 2% milk | Traditionally skim milk |
| Straining | Strained 2-3 times | Strained up to 4 times |
| Texture | Creamy, smooth | Very thick, dense, cheese-like |
| Taste | Tangy, slightly sour | Mild, less acidic |
| Protein | Very High | Exceptionally High |
| Fat | Varies (often higher) | Naturally fat-free |
Making Them at Home: Your Yogurt Maker is Key
Now for the fun part! You don’t have to choose between them at the store—you can make them both at home. This is where a yogurt maker becomes your best friend.
Why a Yogurt Maker is Your Secret Weapon
So, how does a yogurt maker work? It’s simple, really. A yogurt maker is an appliance that holds your milk and starter culture at a consistent, perfect temperature for fermentation. This controlled environment takes all the guesswork out of the incubation process, which is the most critical step.
- Consistency: It eliminates temperature fluctuations that can ruin a batch.
- Convenience: Just set it and forget it. No need to MacGyver a solution with ovens or blankets.
- Versatility: You can make any kind of yogurt, from regular to Greek to Icelandic.
Step-by-Step: From Milk to Magic
Whether you’re making Greek or Icelandic yogurt, the initial steps are nearly identical. The real difference comes after the incubation is done.
- Heat the Milk: Gently heat your milk to about 180°F (82°C). For Greek, you can use whole milk; for traditional skyr, use skim milk. This step kills any competing bacteria and changes the milk proteins for a thicker result.
- Cool it Down: Let the milk cool to around 110°F (43°C). This is crucial—if it’s too hot, you’ll kill the starter cultures.
- Inoculate: Whisk in your starter culture. This can be a spoonful of store-bought plain yogurt (make sure it has live, active cultures!) or a powdered starter.
- Incubate: Pour the mixture into your yogurt maker’s jars or container, set the timer (usually 8-12 hours), and let the machine work its magic.
- Chill: Once incubation is done, the yogurt will be set but not yet thick. Pop it in the fridge for a few hours to cool completely and firm up.
- The Strain: This is where you decide your yogurt’s destiny!
- For Greek Yogurt: Line a strainer with a few layers of cheesecloth or a nut milk bag. Pour the chilled yogurt in, place the strainer over a bowl, and let it drain in the fridge for 2-4 hours, or until it reaches your desired thickness.
- For Icelandic Yogurt (Skyr): Do the same, but let it strain for much longer—anywhere from 6 to 12 hours, or even overnight. You want to remove as much whey as possible.
As a registered dietitian, Dr. Alana Chen, RDN, notes, “Making high-protein yogurts like Greek and skyr at home gives you complete control over the ingredients. You can avoid the added sugars and preservatives found in many commercial brands, tailoring a nutrient-dense food perfectly to your health goals.”
How to Clean and Maintain Your Yogurt Maker
Keeping your yogurt maker in top shape is easy. Most models have dishwasher-safe jars and lids. For the main unit, simply wipe it down with a damp cloth after each use. Never submerge the main electrical unit in water. Proper cleaning ensures that no unwanted bacteria interfere with your next perfect batch.
Frequently Asked Questions (FAQ)
Can I use the same starter culture for Greek and Icelandic yogurt?
Yes, absolutely! A standard yogurt starter with strains like Lactobacillus bulgaricus and Streptococcus thermophilus will work for both. The difference in the final product comes from the type of milk used and, most importantly, the straining time.
What can I do with all the leftover whey?
Don’t throw it out! Liquid whey is packed with protein and probiotics. You can use it in smoothies, to cook oatmeal or rice, in baking instead of water or milk, or even to water your plants.
Is skyr technically cheese?
From a technical, historical standpoint, yes. It’s classified as a fresh, sour-milk cheese. However, because its production and consumption are so similar to yogurt, it’s marketed and sold as a yogurt-like product.
Why is my homemade Greek yogurt not as thick as store-bought?
The most common reason is not straining it long enough. Don’t be afraid to let it drain for an extra hour or two. Using whole milk instead of low-fat will also result in a creamier, thicker final product.
How long does homemade yogurt last in the fridge?
Properly stored in an airtight container, your homemade Greek or Icelandic yogurt should last for about 1 to 2 weeks.
Your Homemade Yogurt Adventure Awaits
So, the next time you’re wondering what is the difference between Greek and Icelandic yogurt, you’ll know it’s a story of milk, tradition, and a whole lot of straining. Greek yogurt is the creamy, tangy classic, while Icelandic skyr is its incredibly thick, protein-dense, and milder-tasting cousin.
The best part is that you don’t have to choose a favorite. With a reliable yogurt maker and a bit of patience, you can bring both of these healthy, delicious creations to life in your own kitchen. You get to control the ingredients, the thickness, and the flavor, creating a perfect product every single time. Ready to get started?