There’s nothing quite like the pride of making your own yogurt. You control the ingredients, the flavor, and the process. But then comes that moment of truth: you pull your creation from the fridge, dip a spoon in, and… it’s runny. We’ve all been there. If you’re wondering How To Make Yogurt Thicker, you’ve come to the right place. Forget disappointing, watery results. We’re about to turn you into a homemade yogurt pro, crafting batches so thick and creamy you’ll wonder why you ever bought it from the store.
This guide is your secret weapon. We’ll dive into the science behind yogurt thickness and give you a handful of simple, game-changing techniques. Whether you’re a seasoned yogurt maker or just starting, these tips will help you achieve that perfect, luscious texture every single time.
First, Why Is My Homemade Yogurt Runny?
Understanding the why is the first step to fixing the problem. Runny yogurt isn’t a sign of failure; it’s just a chemistry experiment that needs a little tweaking. The thickness of your yogurt, or its “viscosity,” depends on how well the milk proteins (casein) have formed a gel-like mesh to trap the water (whey).
Several factors can lead to a weak protein mesh, resulting in thin yogurt:
- Low Milk Solids: The protein and fat content in your milk is the primary building block. Low-fat or skim milk naturally has fewer solids, making it harder to achieve a thick set.
- Incorrect Incubation Temperature: Yogurt cultures are living organisms that work best within a specific temperature range, typically between 110-115°F (43-46°C). Too cool, and they won’t work effectively. Too hot, and they can be damaged.
- Short Incubation Time: Fermentation takes time. If you don’t give the cultures enough time to consume the lactose and produce lactic acid, the milk won’t set properly.
- Type of Starter Culture: Some starter cultures are simply designed to produce a thinner, more drinkable yogurt.
- Disturbing the Yogurt: Shaking, stirring, or jostling the yogurt while it’s incubating can break the fragile protein network as it forms.
Now that you know the culprits, let’s get to the solutions. Here are the most effective methods for how to make yogurt thicker.
Pre-Fermentation: Setting Yourself Up for Success
The best way to guarantee thick yogurt is to prepare your milk base properly before you even add the starter culture.
1. Choose the Right Milk
This is the foundation of your yogurt. For the richest, creamiest result, always start with full-fat (whole) milk. The higher fat and protein content provides more “building material” for a sturdy yogurt structure. While you can make yogurt with low-fat milk, you will almost certainly need to use one of the other thickening methods below.
Pro-Tip: Avoid using Ultra-High Temperature (UHT) or ultra-pasteurized milk. The intense heating process denatures the milk proteins in a way that can prevent them from setting into a firm curd.
2. Heat and Hold the Milk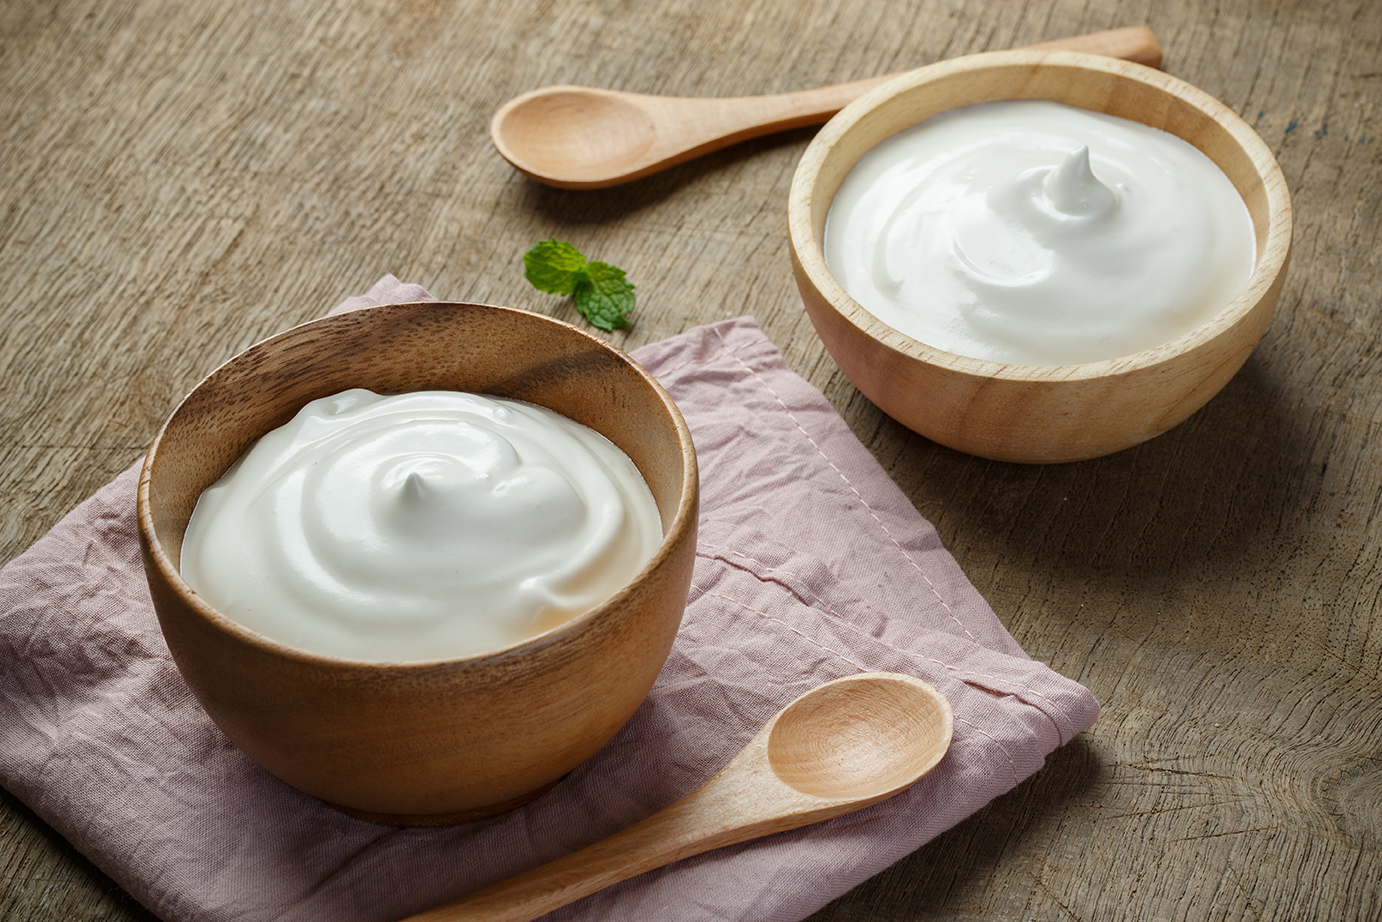
This might be the single most important step that home yogurt makers skip. You need to heat your milk to at least 180°F (82°C) and hold it there for 10-20 minutes before cooling it down to add your culture.
Why? This process does two crucial things:
- It kills any competing wild bacteria in the milk.
- More importantly, it denatures the whey proteins, allowing them to join the casein protein network. This creates a much stronger, more stable gel that can trap more moisture, leading to significantly thicker yogurt.
3. Add More Milk Solids
This is a surefire trick for how to make yogurt thicker. By increasing the concentration of protein and solids in your milk base, you’re giving the cultures more to work with.
Here are a few great options:
- Non-Fat Dry Milk Powder: This is my personal favorite. It’s inexpensive and dissolves easily. Simply whisk in 1/4 to 1/2 cup of milk powder per quart (about 1 liter) of milk before you start heating it.
- Gelatin: For a very firm, almost Jell-O-like texture, gelatin is a powerful tool. Bloom one teaspoon of unflavored gelatin in a couple of tablespoons of cold milk, then whisk it into the larger batch of milk as it heats.
- Pectin: A plant-based thickener that works well, especially for non-dairy yogurts. Use a special type called “low-methoxyl” or “LM” pectin for the best results with dairy.
- Cornstarch or Arrowroot Powder: These can also be used, but they can sometimes impart a slightly starchy flavor or texture. Create a slurry with a small amount of cold milk before whisking it into the main pot to avoid lumps.
“Increasing the solid content, particularly protein, before fermentation is the most effective way to influence the final texture of homemade yogurt. It’s pure food science—more building blocks create a stronger structure.” – Dr. Elena Vance, Food Scientist
The Incubation Phase: Where the Magic Happens
Once your milk is prepared, cooled to the right temperature (around 110°F / 43°C), and inoculated with your starter, the incubation phase begins. This is where a dedicated yogurt maker becomes your best friend.
Why a Yogurt Maker is a Game-Changer
How does a yogurt maker work? It’s simple, really. A yogurt maker is an appliance designed to do one thing perfectly: maintain a consistent, ideal temperature for an extended period. It takes all the guesswork out of incubation. No more fussing with ovens with pilot lights, coolers with hot water, or insulated blankets. You set it and forget it. This level of control is crucial for consistent results and is a key factor in achieving thick yogurt batch after batch.
Bảng trống.A reliable yogurt maker ensures your cultures are happy and active, allowing them to do their job of turning liquid milk into thick, tangy yogurt.
Incubation Time and Temperature
For a thicker set, lean towards a longer incubation time. While you might get a set in 6 hours, pushing it to 8, 10, or even 12 hours will result in a tangier and often thicker yogurt. The longer the bacteria work, the more acid they produce, which helps firm up the curd. Experiment to find the sweet spot for your preferred balance of tang and thickness.
Post-Fermentation: The Ultimate Thickening Trick
So, you’ve done everything right, but your yogurt is still not quite as thick as you’d like. Don’t worry, there’s one more foolproof method in your arsenal.
Strain Your Yogurt
This is the secret to creating authentic Greek-style yogurt. Straining simply means removing some of the liquid whey, which concentrates the remaining yogurt, making it incredibly thick and rich.
- Chill First: Always chill your yogurt completely in the refrigerator for at least 6 hours before straining. This helps it set fully and prevents you from losing too much of the solids.
- Set Up Your Strainer: Line a colander or mesh sieve with a few layers of cheesecloth, a clean coffee filter, or a dedicated nut milk bag. Place the strainer over a deep bowl to catch the whey.
- Pour and Wait: Gently pour the chilled yogurt into the lined strainer.
- Refrigerate: Cover the whole setup with plastic wrap and place it back in the fridge.
- Check Periodically:
- For a slightly thicker, traditional yogurt, strain for 1-2 hours.
- For classic Greek yogurt, strain for 4-6 hours.
- For an ultra-thick, labneh-style yogurt cheese, you can strain it overnight.
The longer you strain, the thicker it gets. And don’t throw out that liquid gold you’ve collected in the bowl! That’s acid whey, and it’s packed with protein and probiotics. You can use it in smoothies, for soaking grains, or as a substitute for buttermilk in baking. Check out our guide on [link to creative uses for whey].
Frequently Asked Questions (FAQ)
Can I re-incubate runny yogurt to make it thicker?
Generally, no. Once the yogurt has been chilled, the cultures become dormant. Trying to re-heat and re-incubate it can lead to separation and an undesirable texture. It’s better to use the straining method instead.
Does adding more starter culture make yogurt thicker?
Not necessarily. In fact, adding too much starter can make the cultures compete for food (lactose) too quickly, resulting in a weak set and a sour, grainy texture. Stick to the amount recommended on your starter culture package, usually about two tablespoons of existing yogurt per quart of milk.
Why is my Greek yogurt still not thick after straining?
If your initial yogurt was extremely thin, you might need to strain it for a much longer period. It could also mean that the initial set was very weak. Next time, try combining methods: use whole milk, add milk powder, and strain it for the ultimate thick yogurt.
How long does homemade yogurt last?
Properly made and stored in an airtight container in the refrigerator, your thick and delicious homemade yogurt will last for up to two weeks.
What is the best way to clean my yogurt maker?
Most yogurt makers have containers and lids that are dishwasher-safe. For the main unit, simply wipe it down with a damp cloth. Always check the manufacturer’s instructions, which you can find in our [link to our guide on choosing a yogurt maker].
Your Journey to Perfect Yogurt Starts Now
You are now officially equipped with the knowledge of how to make yogurt thicker. The journey from thin, disappointing batches to consistently creamy, spoon-thick yogurt is all about controlling a few key variables. Start with good quality milk, give it the proper heat treatment, consider adding a booster like milk powder, and don’t be afraid to strain it to your desired consistency.
Embracing these techniques will not only improve your yogurt’s texture but will deepen your appreciation for the simple, magical process of fermentation. So go ahead, grab that milk, and get ready to create the best yogurt you’ve ever tasted.