Ever felt that pang of disappointment? You’ve done everything right—heated the milk, added the starter, and patiently waited for your yogurt maker to work its magic. But when you open the lid, you find a thin, slightly runny concoction instead of the thick, creamy yogurt of your dreams. If this sounds familiar, I’m here to tell you there’s a game-changing technique you need to know about. So, What Is The Cold Shock Method? It’s the simple, yet brilliant, secret used by seasoned yogurt makers to achieve a firmer, richer texture, and today, we’re going to break it down completely.
Why Bother With a Yogurt Maker in the First Place?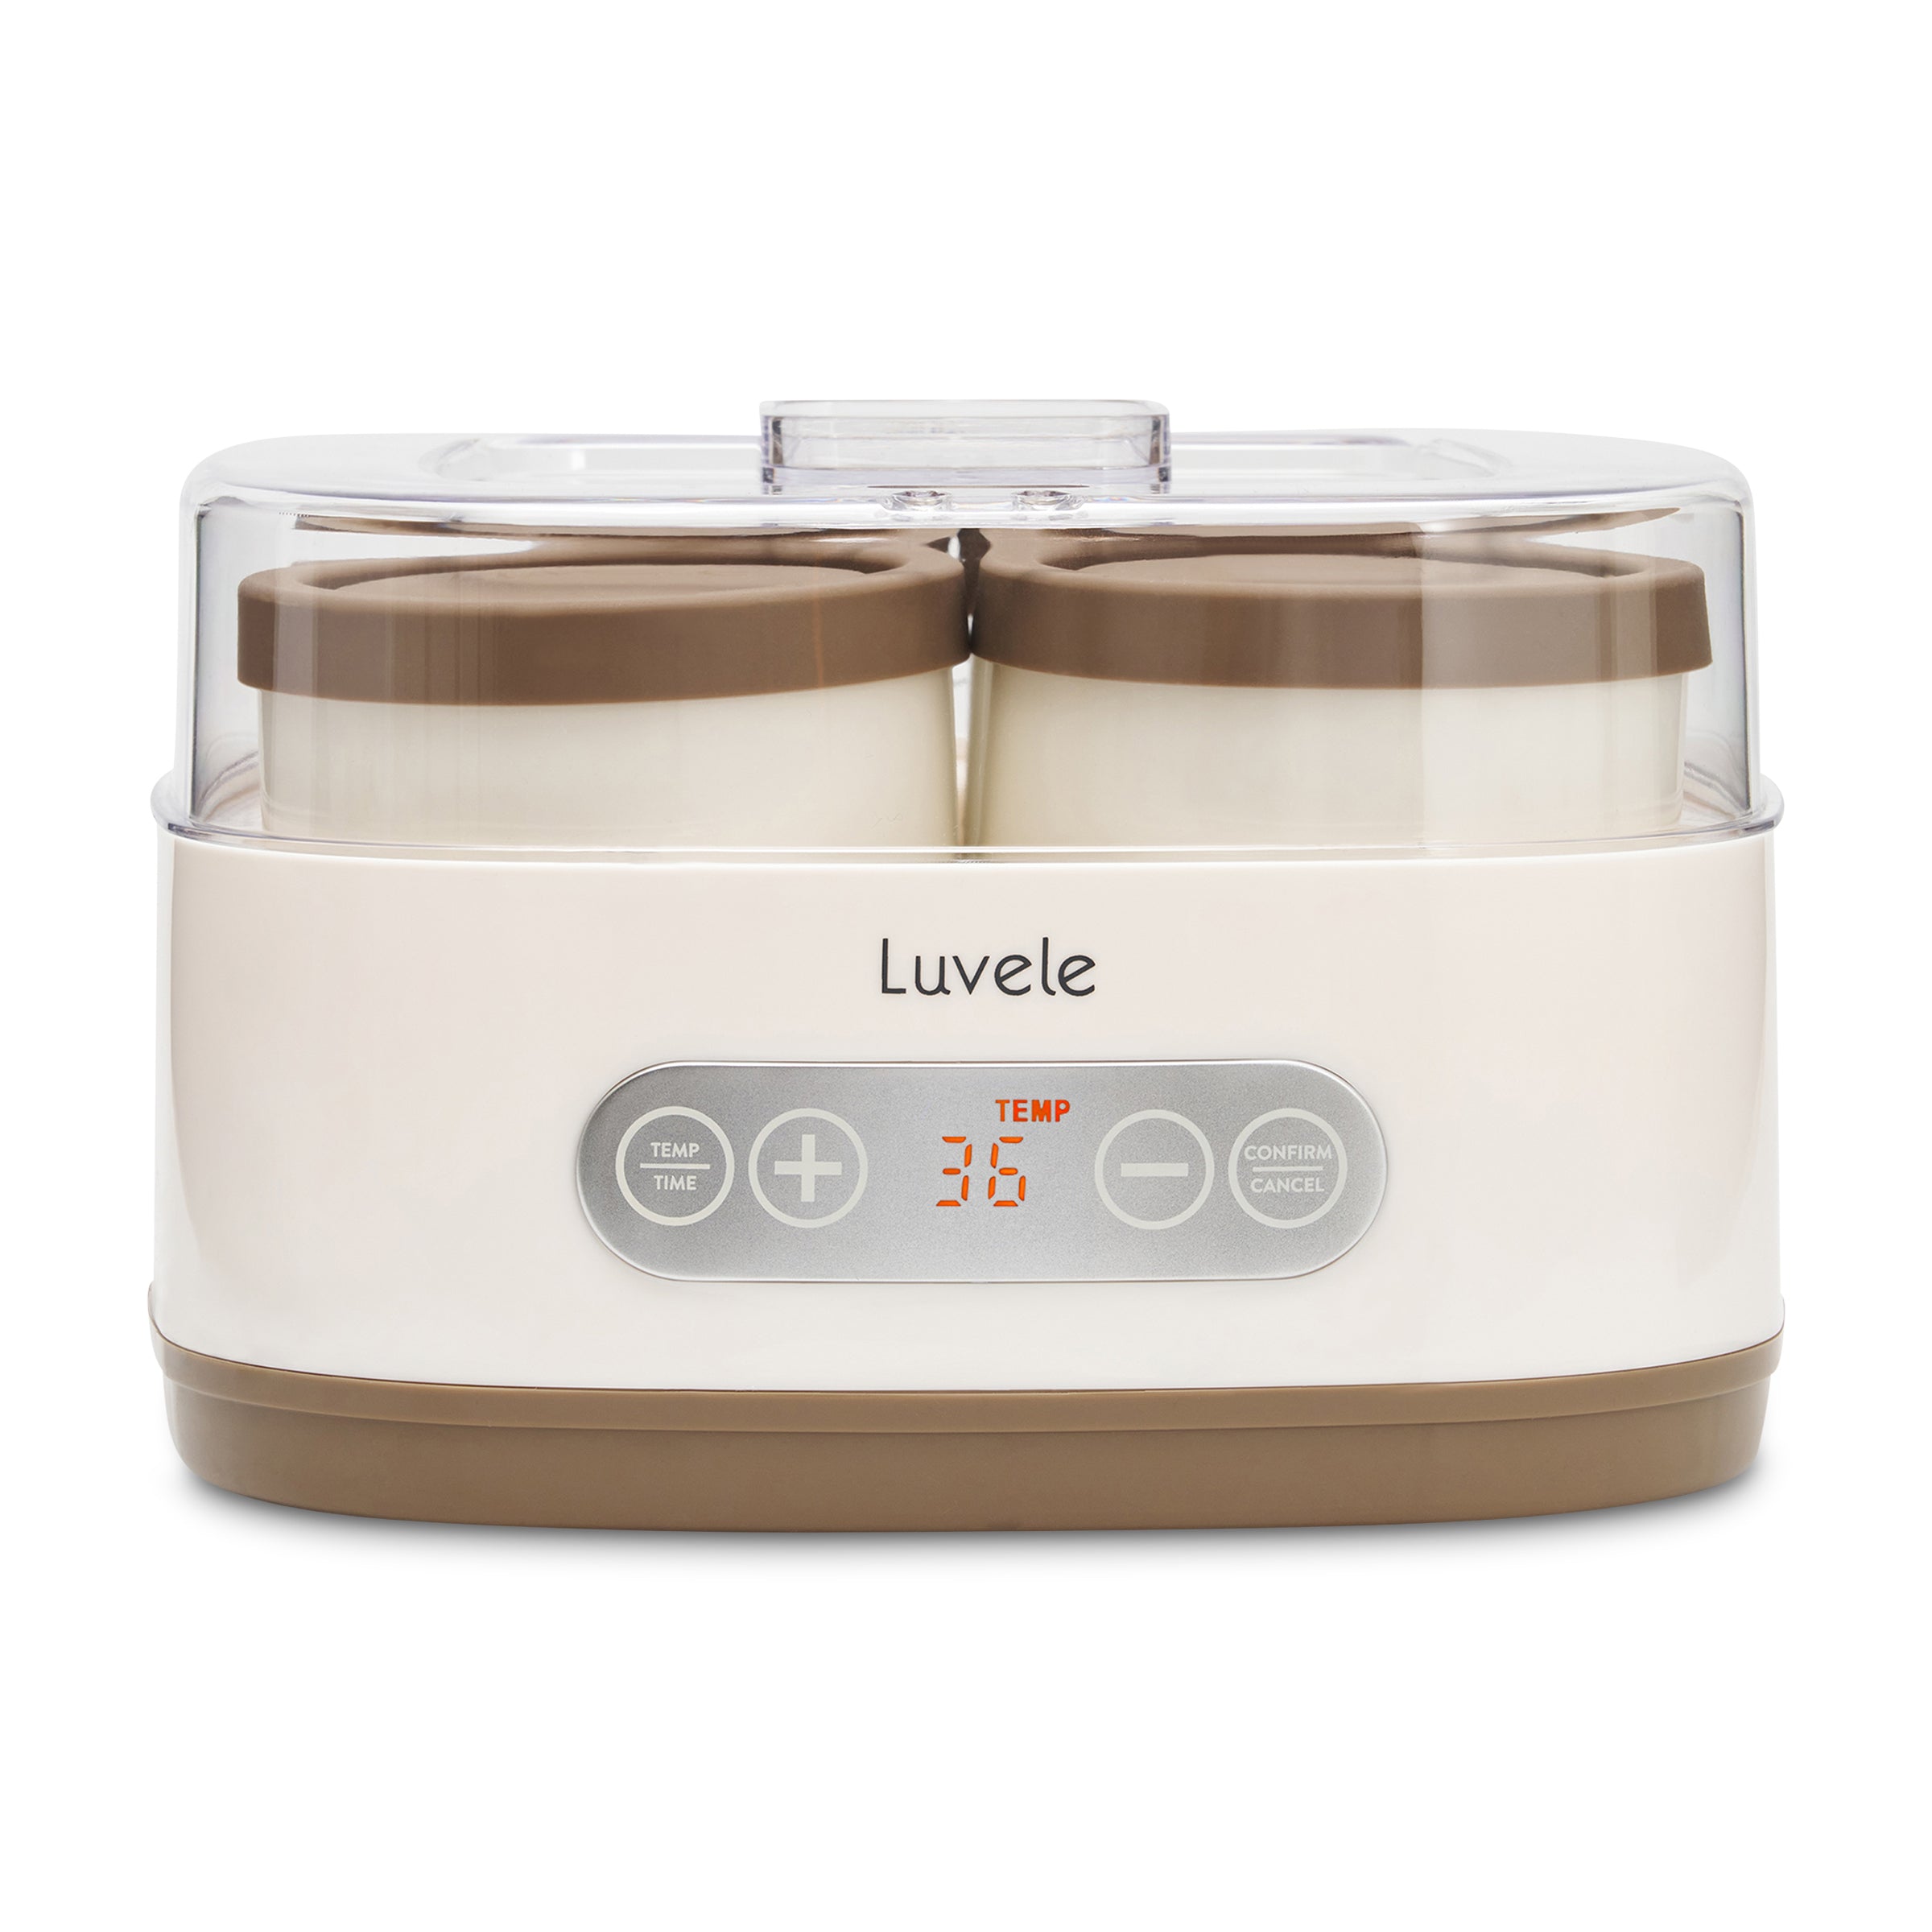
Before we dive into advanced techniques, let’s get back to basics. Why even use a dedicated yogurt maker? Can’t you just use an oven with the light on or a warm spot on the counter? Well, you could, but consistency is king in the world of fermentation. A yogurt maker is essentially a perfect, temperature-controlled incubator for the good bacteria (your starter culture) to do their job. It holds the milk at the ideal “Goldilocks” temperature—not too hot, not too cold—for hours on end, creating the perfect environment for a successful, and safe, fermentation. This unwavering stability is the foundation upon which great yogurt is built, and it’s especially crucial for techniques like the cold shock method.
How Does a Yogurt Maker Set You Up for Success?
A yogurt maker provides a consistent, low-level heat to encourage bacterial cultures to multiply and convert lactose (milk sugar) into lactic acid. This process is what thickens the milk and gives yogurt its signature tangy flavor. Think of it as providing a cozy, private room for the bacteria to work undisturbed. By removing temperature fluctuations, you eliminate one of the biggest variables that can lead to failed batches, setting the stage for more advanced and reliable results.
Bảng trống.What is the Cold Shock Method, Really?
The cold shock method is the process of rapidly cooling your fully incubated yogurt immediately after it has finished its warm fermentation cycle. Instead of letting it cool down slowly on the counter or even gently in the fridge, you transfer it directly from the warm yogurt maker into an ice bath or the coldest part of your freezer for a short period.
This sudden, drastic drop in temperature accomplishes two key things:
- It halts the fermentation process instantly. This stops the bacteria from producing more lactic acid, which prevents the yogurt from becoming overly tart or sour.
- It helps the protein structure set firmly. The rapid chilling causes the milk proteins (casein) that have formed a delicate gel-like mesh to contract and firm up quickly. This results in a noticeably thicker texture and reduces the likelihood of whey separation (that watery layer on top).
“The rapid temperature drop of the cold shock method forces the casein protein matrix to tighten abruptly, effectively wringing out less whey and creating a denser, creamier final product. It’s a simple trick of physics that has a profound impact on texture.”
— Dr. Eleanor Vance, Food Scientist and Fermentation Specialist
The Step-by-Step Guide to the Cold Shock Method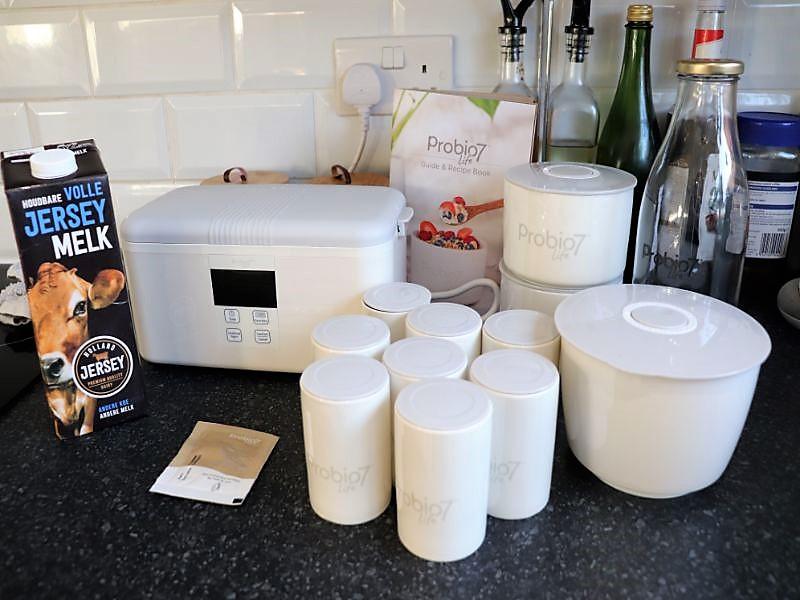
Ready to try it? It’s simpler than it sounds. Follow these steps precisely for the best results.
- Incubate as Usual. Make your yogurt according to your favorite recipe in your yogurt maker. Let it incubate for the full duration, typically 8-12 hours, until it is set. You’ll know it’s ready when it has a uniform, custard-like consistency and pulls away slightly from the side of the container when you tilt it. Do not stir it at this stage!
- Prepare for the Shock. About 15-20 minutes before your yogurt maker’s cycle is complete, prepare an ice bath. Fill a large bowl (big enough to hold your yogurt container) with ice and cold water. If you don’t have a bowl large enough or are using individual jars, the freezer is your next best option. Make sure you have a clear, level space ready.
- Execute the “Shock”. As soon as the incubation is finished, carefully remove the yogurt container or jars from the yogurt maker. Immediately place the container into the prepared ice bath or move it directly into the freezer. The key here is speed—you want to minimize the time it spends at room temperature.
- Chill Rapidly. Leave the yogurt in the ice bath for at least 30-45 minutes, or in the freezer for 45-60 minutes. Your goal is to get the core temperature down quickly, but be careful not to actually freeze the yogurt. Set a timer!
- Transfer to the Refrigerator. After the rapid chill, move the yogurt container to the refrigerator. Place a paper towel or a clean coffee filter directly on the surface of the yogurt to absorb any whey that might still release, then cover it with its lid.
- Let it Rest. Allow the yogurt to chill and set completely in the refrigerator for at least 6 hours, or preferably overnight. This final resting period is crucial for the flavor to mellow and the texture to become even firmer. Once it’s fully chilled, you can stir it (if you like a looser consistency) and enjoy your incredibly thick and creamy homemade yogurt.
Pro Tips for a Perfect Cold Shock Every Time
Getting the hang of the what is the cold shock method process is easy, but these tips will help you master it.
- Use Whole Milk: For the thickest, creamiest yogurt, always start with full-fat, whole milk. The higher fat content contributes significantly to a richer texture.
- Don’t Skip the Straining (for Greek Style): If you’re aiming for ultra-thick Greek yogurt, you can still strain your yogurt after the cold shock and refrigeration period. You’ll find it yields a thicker result with less effort.
- A Timer is Your Best Friend: Don’t guess the freezer time. Over-chilling can create ice crystals and ruin the texture. Use a kitchen timer to be precise.
- Single Container vs. Jars: This method works best with a single, larger container of yogurt, as it has more thermal mass. It still works with smaller jars, but they will chill faster, so you may need to reduce the time in the ice bath or freezer slightly.
The Amazing Benefits of Nailing Your Homemade Yogurt
Why go through all this trouble? The payoff is huge.
- Superior Texture and Taste: You get to control the thickness and tanginess to create yogurt that is perfect for you. No more settling for store-bought options that are too sweet or too thin.
- Health Benefits: Homemade yogurt is packed with live, active probiotics without the added sugars, preservatives, and thickeners found in many commercial brands.
- Cost Savings: Making your own yogurt, especially specialty styles like Greek yogurt, is significantly cheaper than buying it. A gallon of milk can produce a huge amount of yogurt for a fraction of the price.
- Creative Freedom: Once you have a perfect, thick base, you can flavor it any way you like—with fresh fruit, honey, vanilla, or even savory herbs.
How to Clean Your Yogurt Maker After Your Masterpiece
Keeping your yogurt maker clean is essential for food safety and ensuring your next batch is just as delicious. The best way to clean a yogurt maker is to follow the manufacturer’s instructions, but here are some general guidelines:
- Always unplug the machine and let it cool completely before cleaning.
- The base unit that contains the heating element should never be submerged in water. Wipe it down with a damp cloth.
- Most lids, inner containers, and individual jars are dishwasher safe (top rack recommended).
- If cleaning by hand, use warm, soapy water. Avoid abrasive scrubbers that could scratch the plastic.
- Ensure every component is completely dry before storing it to prevent mold or mildew growth.
Frequently Asked Questions About the Cold Shock Method
What if my yogurt is still thin after the cold shock method?
This could be due to a few factors: your starter culture might have been weak, your milk might not have been heated properly before incubation, or the incubation time was too short. The cold shock method improves texture, but it can’t fix a batch that didn’t set properly in the first place.
Can I perform the cold shock method without a yogurt maker?
Yes, if you’ve incubated your yogurt using another method (like an oven or Instant Pot), you can still apply the cold shock. The key is moving it from its warm incubation environment to the ice bath or freezer as quickly as possible.
How long does the yogurt last in the fridge?
Properly made and stored homemade yogurt will typically last for up to two weeks in the refrigerator in an airtight container.
Does the cold shock method work for non-dairy yogurts?
It can! Non-dairy yogurts (like almond, soy, or coconut) set differently because their protein structures are not the same as dairy milk. The cold shock method can still help them firm up more effectively, but you may also need to use a thickener like agar-agar or tapioca starch for a truly thick result.
Is it better to use an ice bath or a freezer?
The ice bath is generally more effective because water transfers cold more efficiently than air, leading to a faster and more even chill. However, if your container is an awkward shape or you don’t have a large enough bowl, the freezer is a perfectly good alternative.
Your Journey to Perfect Yogurt Starts Now
Understanding what is the cold shock method is like unlocking a new level in your homemade yogurt journey. It’s a simple, science-backed technique that transforms good yogurt into great yogurt—thick, creamy, and deliciously satisfying. It may seem like one extra step, but the incredible difference in texture is more than worth the small effort. So go ahead, grab your yogurt maker, and give your next batch the chill it deserves. You’ll be amazed at the results.